How to Draw a Bleeding Heart: Easy Step-by-Step Guide
This expressive drawing activity is perfect for artists ages 7 and up looking to practice line variation and emotional storytelling. You will only need a pencil, an eraser, and a piece of paper to bring this concept to life. Follow along to master the balance between structural shapes and fluid, organic details.
🎯 Final Result

Step-by-Step Instructions
Step 1: Sketching the Primary Lobes

Start by drawing the two rounded lobes of the heart using long, sweeping curved lines. Teacher's Tip: Keep your pencil grip loose and light; these are just guidelines, and you'll want them to be easy to erase if you need to adjust your symmetry.
Step 2: Adding Fluid Drips

Extend curved lines downward, doubling them back to create the appearance of liquid dripping from the heart's edge. Tip: Vary the length of your drips to make the drawing look more natural and less rigid.
Step 3: Defining the Base
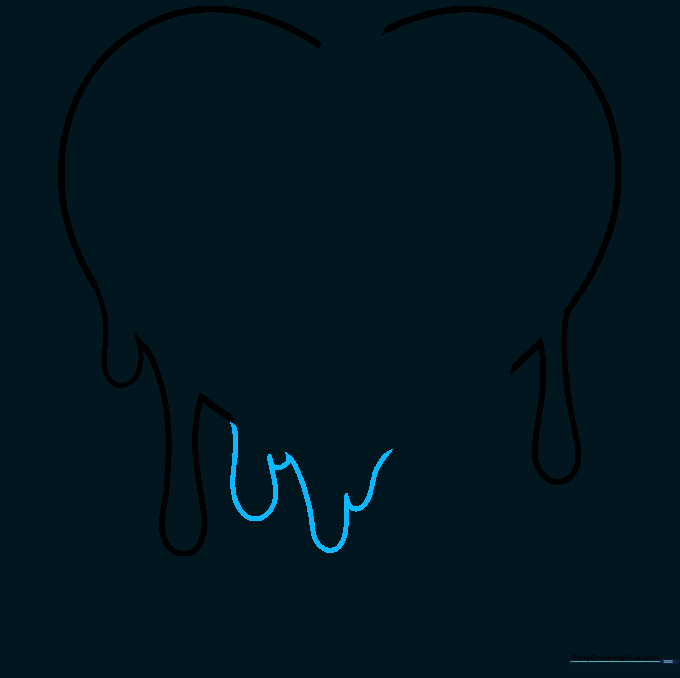
Focus on the bottom tip of the heart. Use a series of short and long curved lines to connect the drips, creating a tapered, pointed base. Tip: Use quick, confident strokes to keep the lines looking fluid rather than shaky.
Step 4: Closing the Outline
Complete the bottom section by adding two more drips and linking them with short, crisp lines. This creates the 'melting' effect. Tip: Ensure your lines meet cleanly to make the heart look like a solid object.
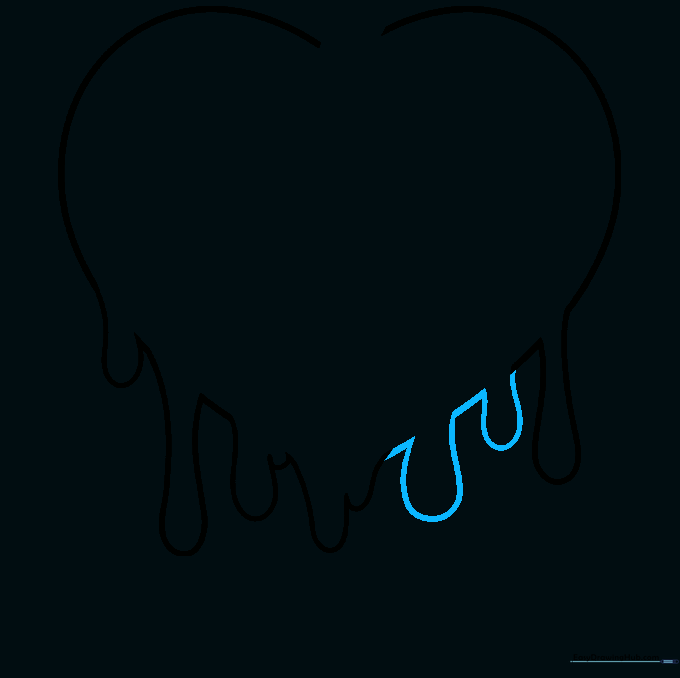
Step 5: Sketching the Fracture
Time to add character! Draw a jagged crack in the center of the heart using straight, angular lines. Tip: Think of a lightning bolt shape—the sharper the angles, the more dramatic the 'break' will look.
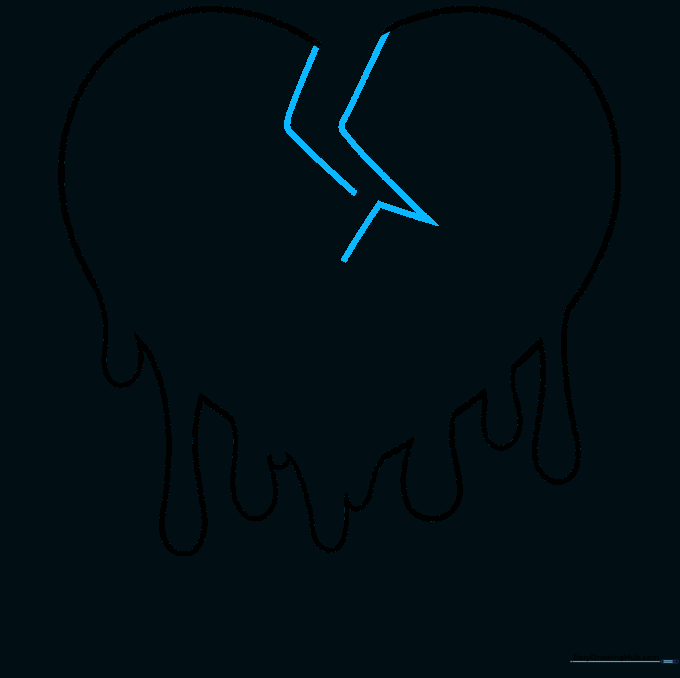
Step 6: Adding Surface Details

Finish the crack by meeting the lines at a sharp point. Then, add a few curved lines across the lobes to represent surface wounds or texture. Tip: Use a lighter touch for these surface lines so they don't overpower the main outline.
Step 7: Drawing the Stitches
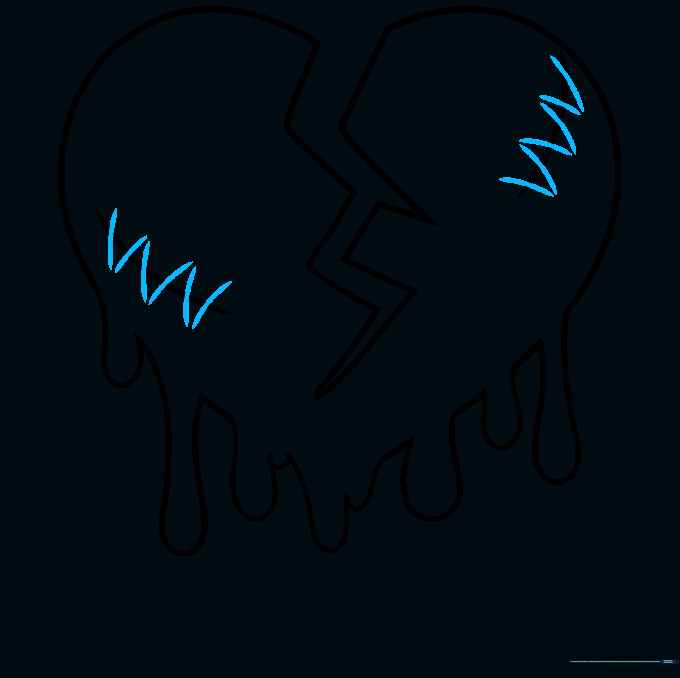
Add 'V' shaped lines across the cracks to look like stitches holding the heart together. Tip: Space them out unevenly to make the repair look more handmade and authentic.
Step 8: Adding Depth and Droplets
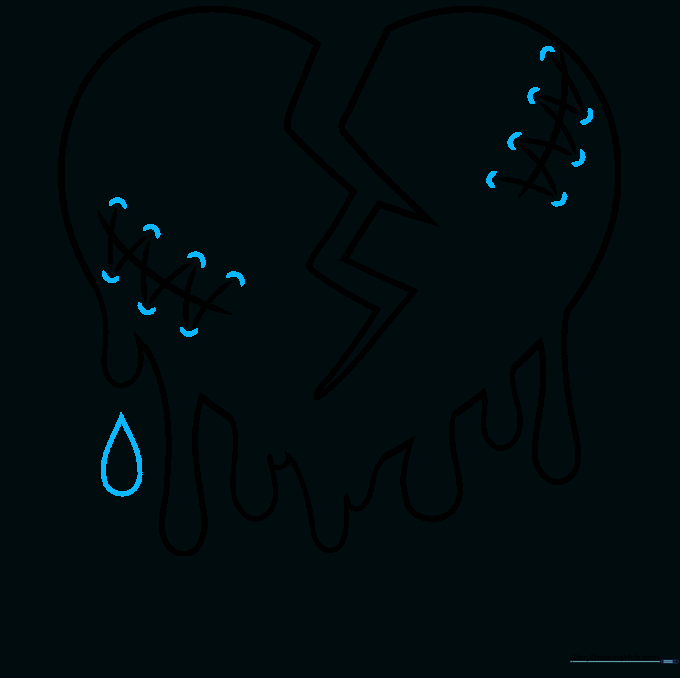
Draw a tiny curved line at the end of each stitch to create a 3D effect. Then, add a teardrop shape below the heart. Tip: The teardrop should be slightly wider at the bottom to show gravity pulling it down.
Step 9: Finalizing the Droplets

Complete your drawing by adding a few more teardrop shapes falling from the heart. Tip: Vary the sizes of the droplets to create a sense of motion and depth.
Step 10: Bringing it to Life with Color

Time to color! Use deep reds for a classic look, or try icy blues if you want to create a 'frozen' heart theme. Tip: Use a darker shade of your chosen color along the edges to give the heart a rounded, 3D appearance.
More Tutorials


