How to Draw a Realistic Black Man’s Face: Easy 10-Step Guide
Ready to improve your portrait drawing skills? This guide is perfect for artists ages 8+ looking to master facial structure. Grab a pencil, an eraser, and a sheet of paper to follow along as we break down the anatomy of the face into simple, manageable shapes.
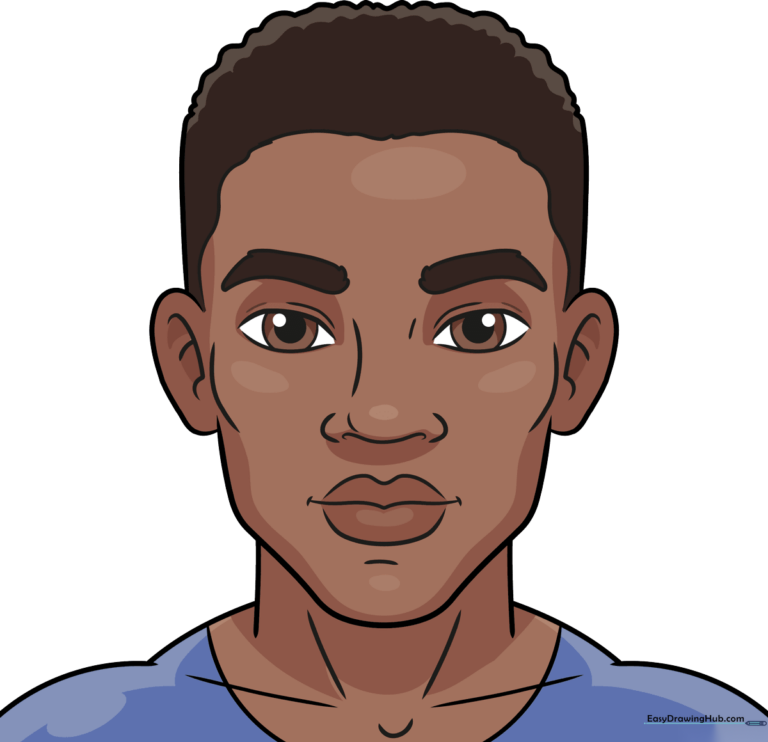
🎯 Final Result
Step-by-Step Instructions
Step 1: Sketching the Eyes

Start by drawing two almond-shaped outlines for the eyes. Tip: Keep your pencil pressure light so you can adjust the shape later. Add two partial circles inside for the pupils and shade them in—this gives your portrait an immediate sense of focus.
Step 2: Adding Eyelids and Brows
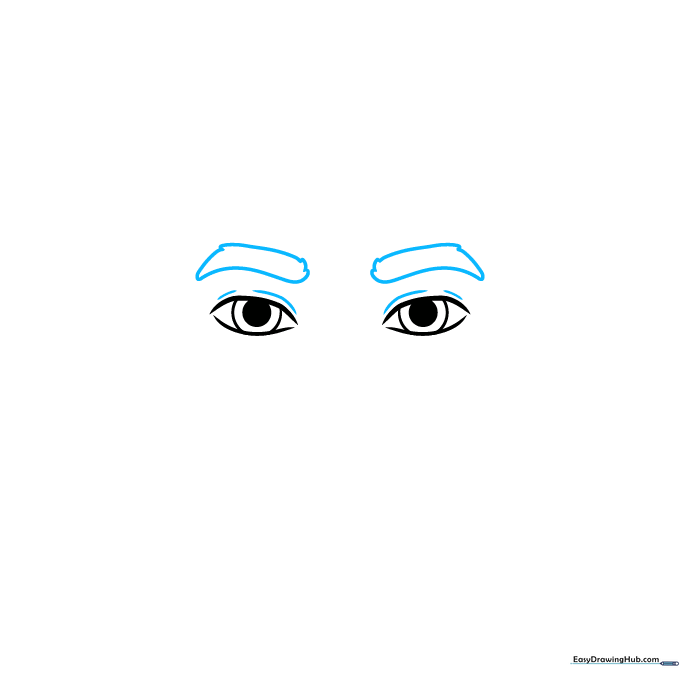
Draw a gentle curve above each eye to represent the eyelid. Then, sketch the eyebrows using short, overlapping strokes to mimic the texture of hair. Tip: Use a flicking motion with your pencil to make the brows look more natural and less like a solid block.
Step 3: Defining the Nose
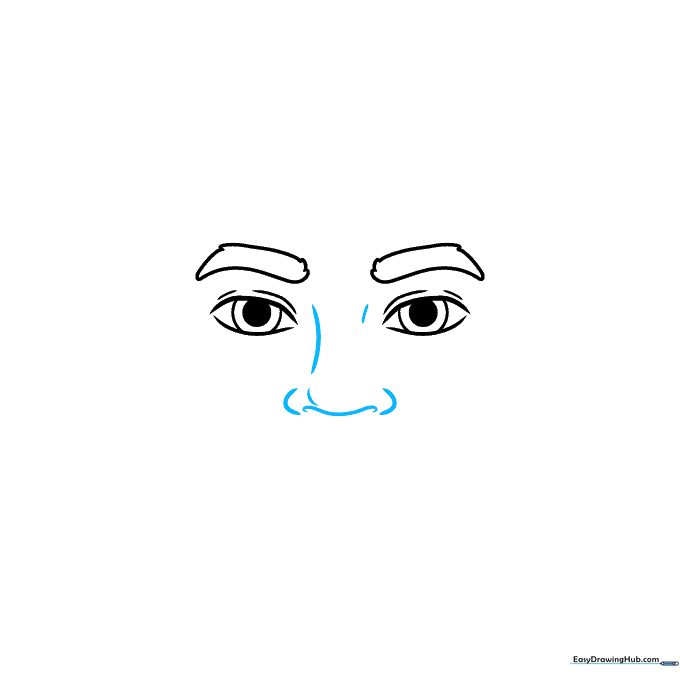
Sketch the bridge of the nose using two soft, vertical curves. Add the nostrils at the base with small, rounded shapes. Tip: Keep the nose lines subtle—you don't need to draw the entire outline of the nose to make it look realistic.
Step 4: Drawing the Mouth
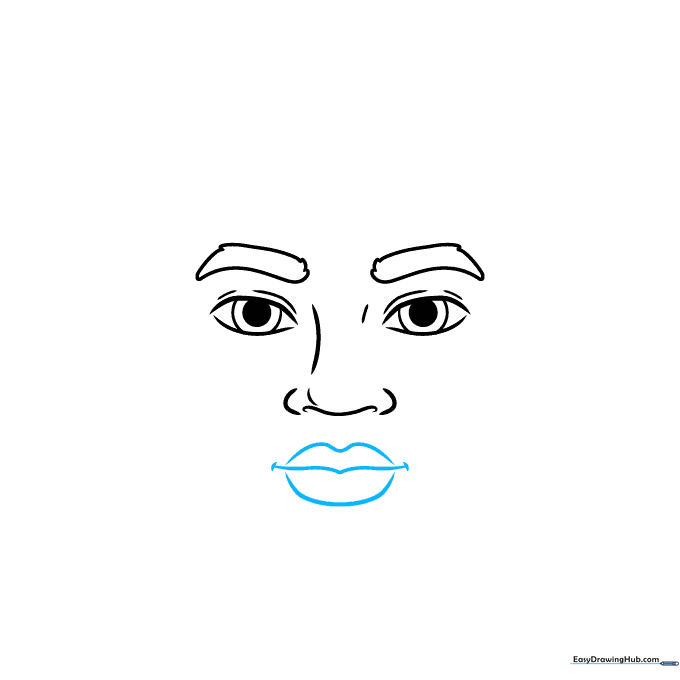
Start with a horizontal line that dips slightly in the middle like a shallow 'V'. Add the upper and lower lips using soft, curved lines. Tip: Add a tiny dash at each corner of the mouth to give your character a subtle, natural expression.
Step 5: Shaping the Jaw and Chin
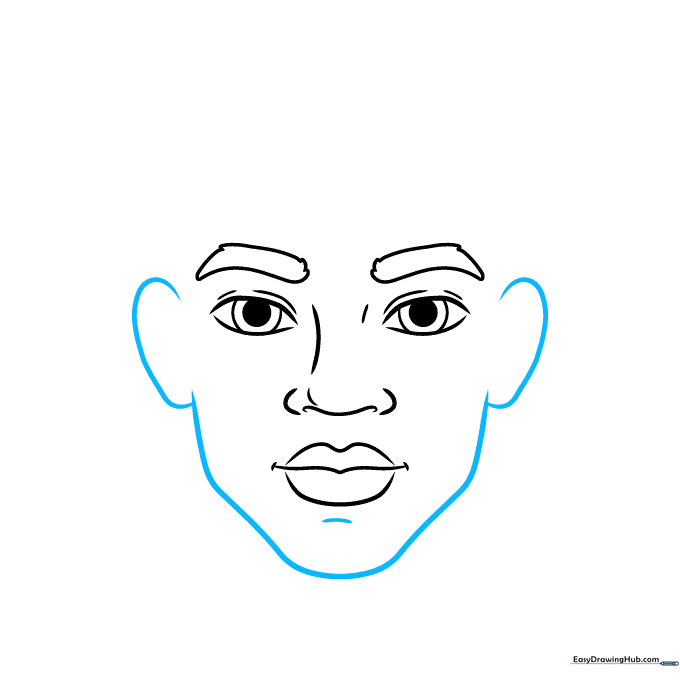
Draw the outline of the face, starting from the ears and curving down to a strong, defined chin. Tip: Use a single, confident stroke for the jawline to keep the face looking symmetrical.
Step 6: Adding Facial Contours
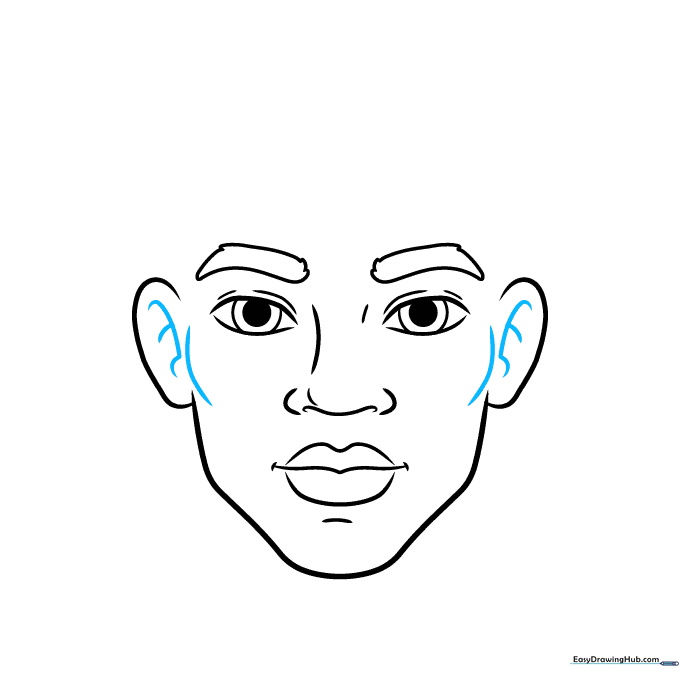
Add detail to the ears with small, curved lines inside the shell. Use light, curved lines to suggest the cheekbones. Tip: Keep these lines very faint—they are meant to suggest depth, not to be harsh outlines.
Step 7: Sketching the Hairline
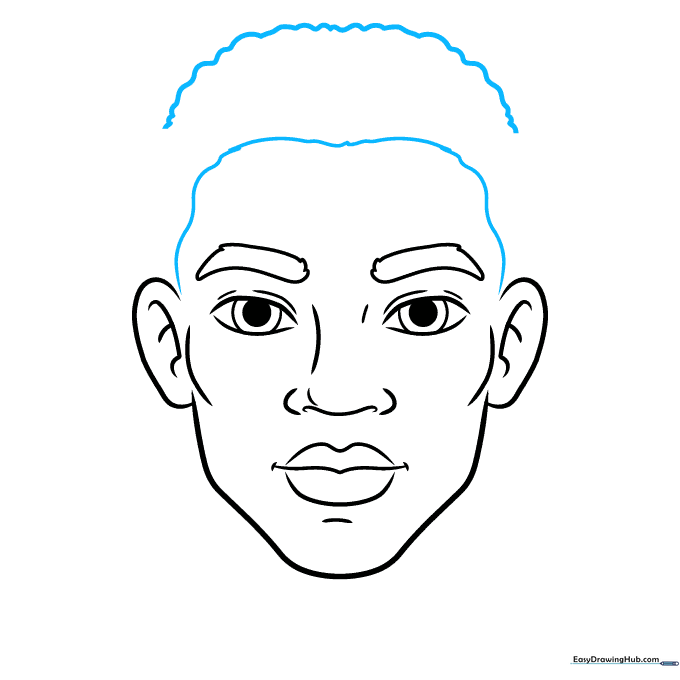
Draw a wavy line connecting the ears to create the hairline. Add another wavy layer above it to show the volume of the hair. Tip: Don't worry about making it perfectly straight; natural hair has a beautiful, organic flow.
Step 8: Drawing the Neck and Shoulders

Extend two lines down from the jaw to form the neck. Add curved lines at the base to represent the trapezius muscles and shoulders. Tip: Make the neck slightly wider to give your portrait a strong, balanced look.
Step 9: Adding Clothing Details
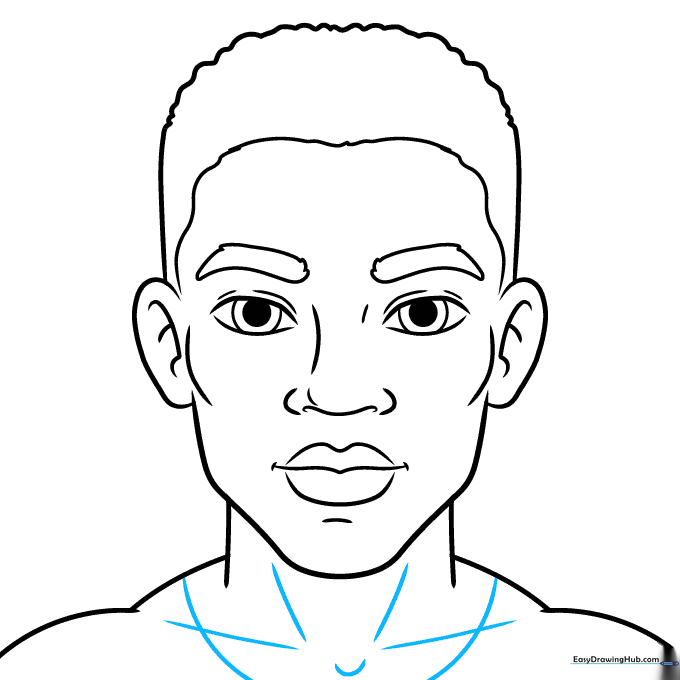
Draw the neckline of a shirt and add small curves to suggest the collarbones. Tip: This small detail adds a professional finish to your portrait.
Step 10: Bringing it to Life with Color
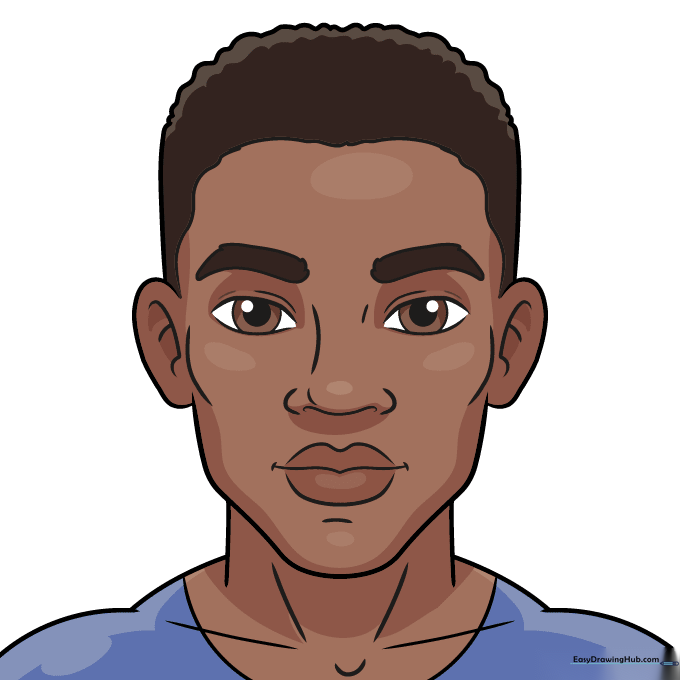
Your portrait is ready for color! Use warm brown tones for the skin and your favorite colors for the shirt. Tip: Try layering light and dark shades of brown to create natural shadows and highlights on the face.
More Tutorials


