How to Draw a Boy: Easy Step-by-Step Portrait Guide
This portrait tutorial is perfect for young artists ages 7+ looking to master facial proportions. You will only need a pencil, an eraser, and a sheet of paper to get started. By the end of this lesson, you will have a confident, expressive character portrait to color and share.
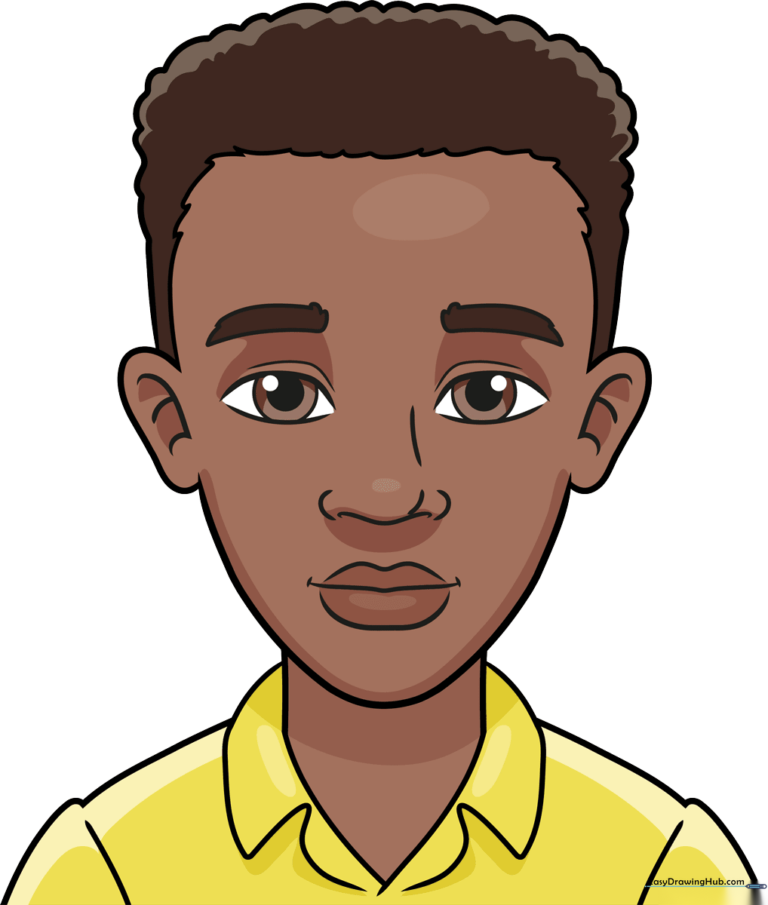
🎯 Final Result
Step-by-Step Instructions
Step 1: Sketching the Eyes
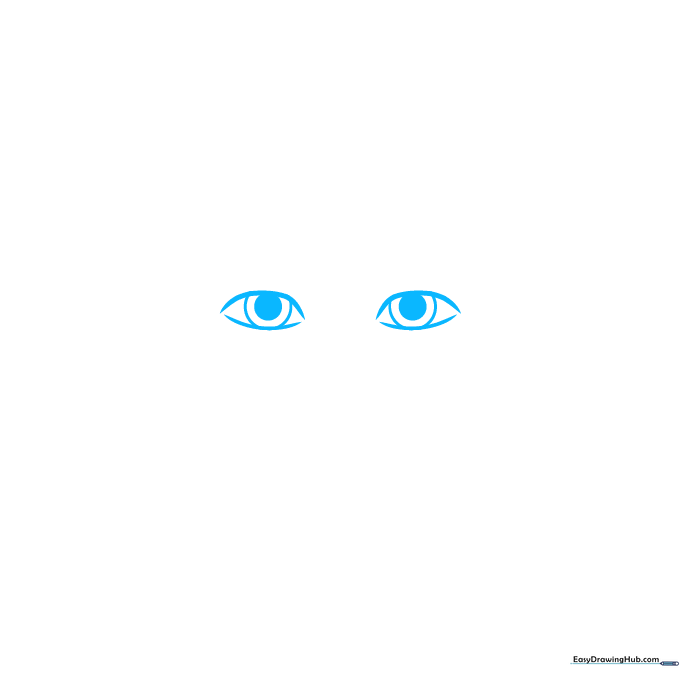
Draw two curved lines for the upper eyelids, leaving the corners open. Add two partial circles inside for the irises and shade in the pupils. Teacher's Tip: Keep the eyes level with each other to ensure the face looks balanced.
Step 2: Defining Brows and Nose Bridge

Add curved lines for the eyelids and the bridge of the nose. Sketch the eyebrows using short, flicking strokes to suggest texture. Teacher's Tip: Use light pressure for the eyebrows to make them look soft and natural.
Step 3: Adding the Nose and Mouth
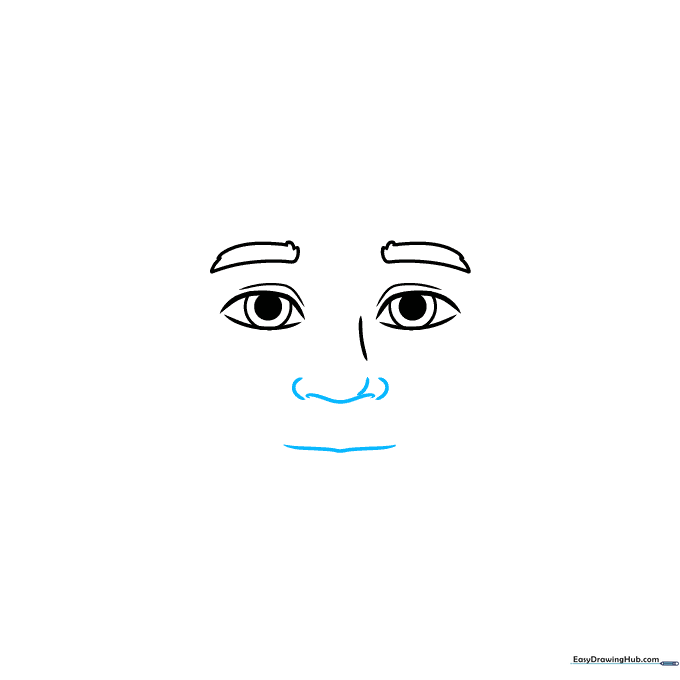
Draw the tip of the nose and the nostrils using small curves, then add the mouth below. Teacher's Tip: Keep the mouth small to maintain a friendly, cartoon-style expression.
Step 4: Shaping the Face and Lips
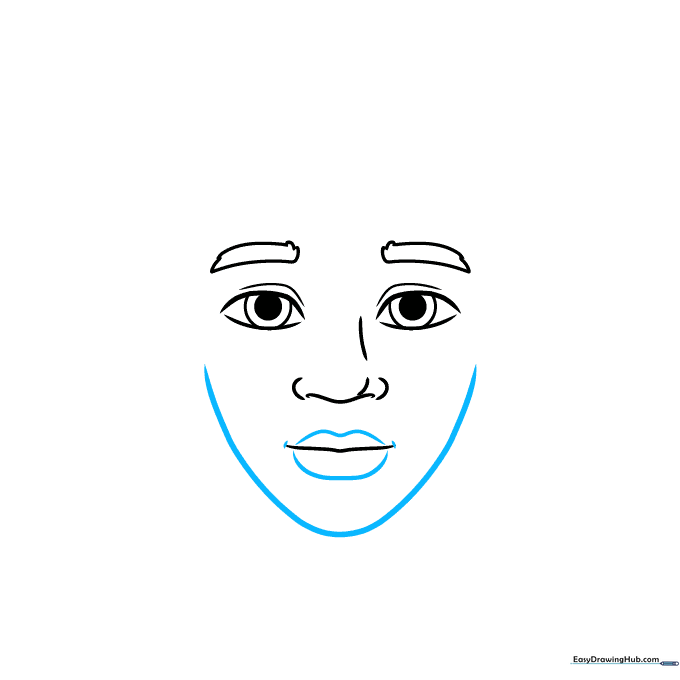
Trace the chin and jawline with a long, smooth curve. Define the lips with curved lines above and below the mouth. Teacher's Tip: If the jawline looks too sharp, gently round the corners with your eraser.
Step 5: Sketching the Ear and Hairline
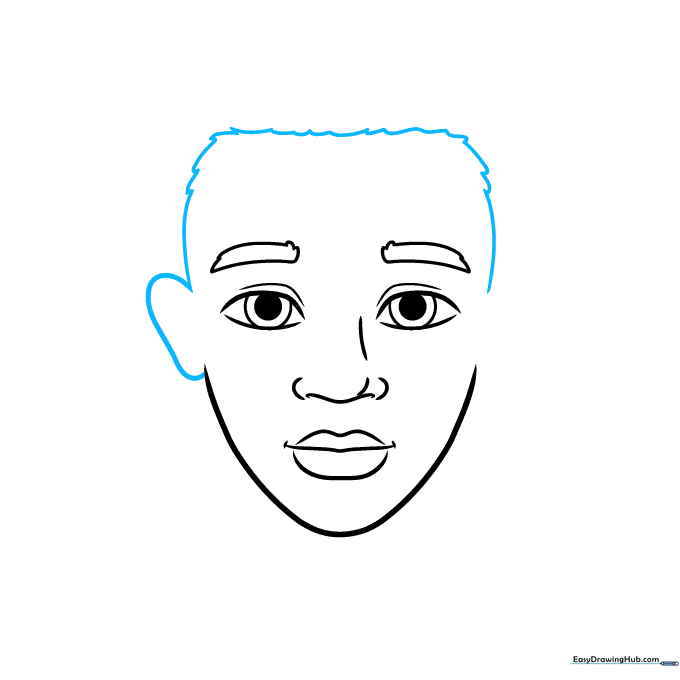
Add the ear on one side and begin sketching the hairline. Teacher's Tip: The top of the ear usually aligns with the eyebrows—use this as a guide for placement.
Step 6: Adding the Second Ear
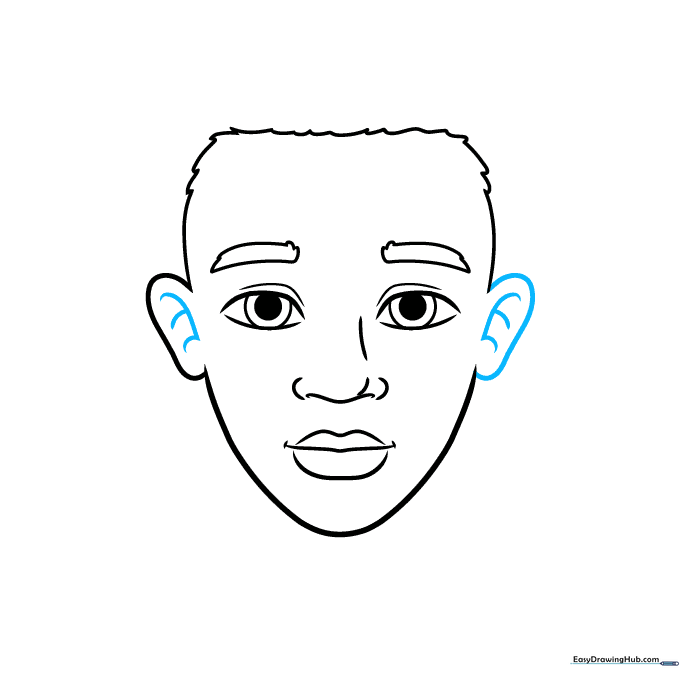
Draw the second ear to complete the face shape, then add inner ear details with small curved lines. Teacher's Tip: Keep the inner ear lines simple to avoid cluttering the drawing.
Step 7: Hair and Neck
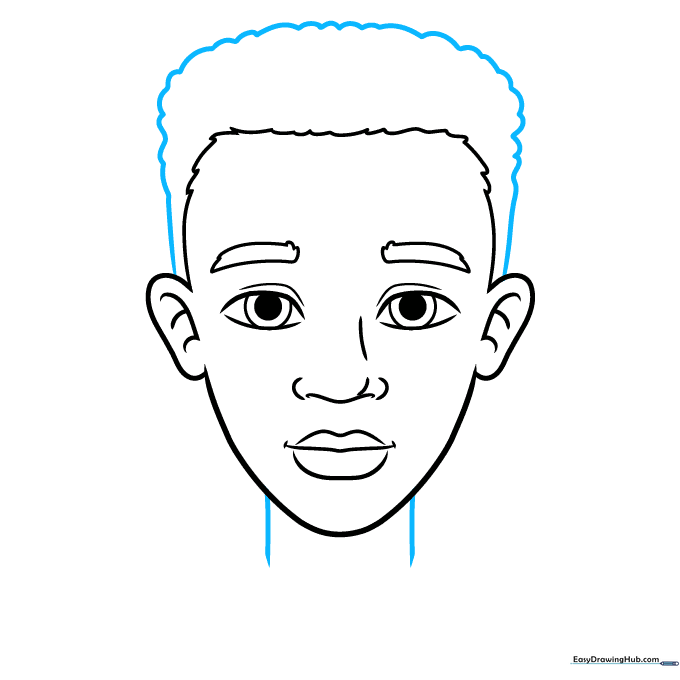
Use short, connected curved lines to create the hair texture, then draw two lines down for the neck. Teacher's Tip: Vary the length of your hair lines to make the hair look more realistic and voluminous.
Step 8: Drawing the Collar
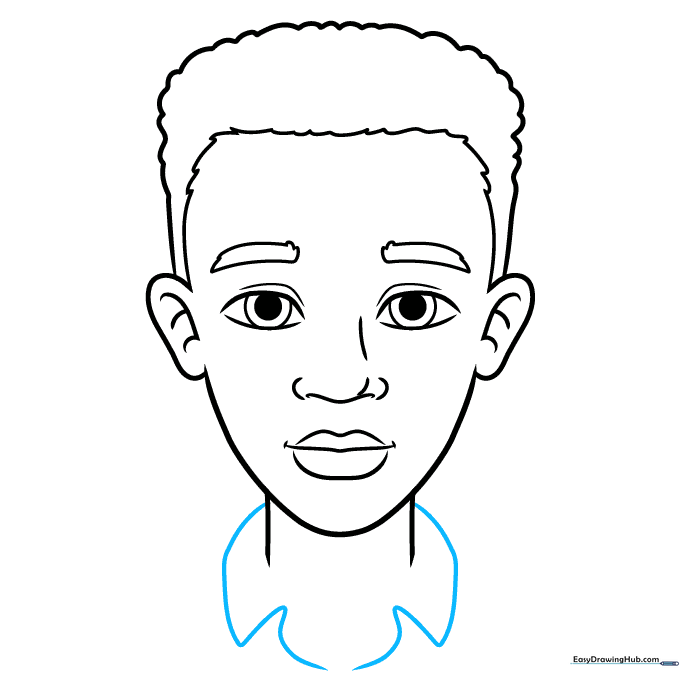
Sketch the shirt collar using rounded shapes. Teacher's Tip: Make sure the collar is centered under the chin so the shirt looks symmetrical.
Step 9: Finalizing the Shoulders
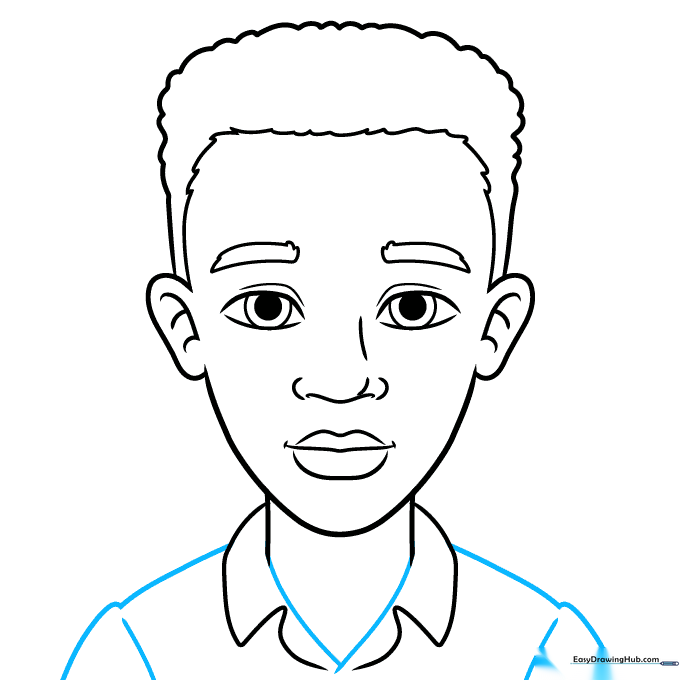
Complete the shirt by drawing a V-neck line and extending the shoulders outward. Teacher's Tip: Use long, confident strokes for the shoulders to give the character a sturdy frame.
Step 10: Adding Color
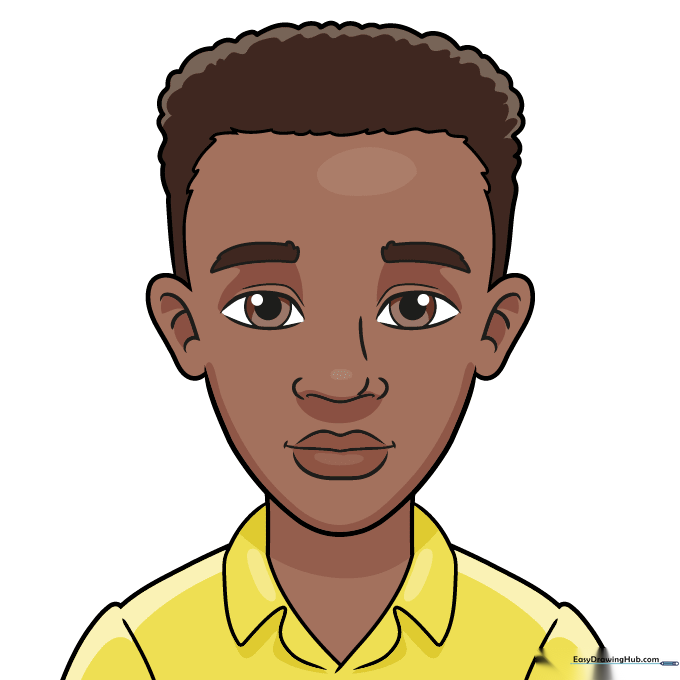
Your outline is finished! Use your favorite markers or colored pencils to bring your portrait to life. Teacher's Tip: Try using light and dark shades of the same color to add depth and shadows to the face.
More Tutorials


