How to Draw a Black Bear: Easy 9-Step Guide for Kids
Bring the forest to life with this simple black bear drawing tutorial, designed specifically for young artists ages 5 and up. You will only need a pencil, an eraser, and a piece of paper to get started. Follow these steps to master basic animal anatomy and fur texture techniques.
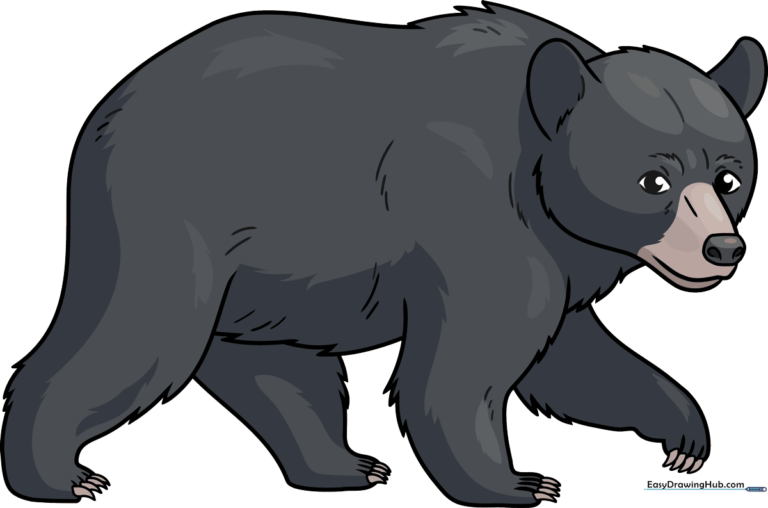
🎯 Final Result
Step-by-Step Instructions
Step 1: Sketching the Face
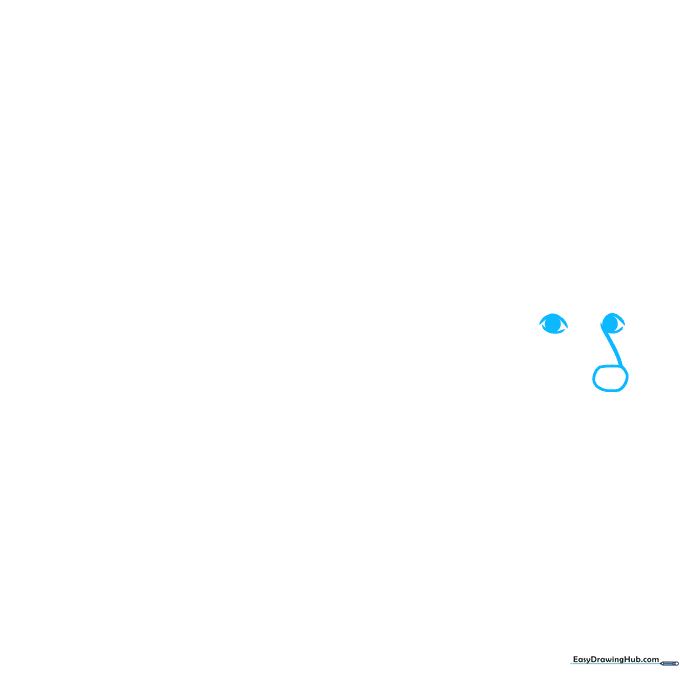
Start by drawing two almond-shaped eyes and a small, rounded nose. Teacher's Tip: Keep the eyes close together to give your bear a friendly, curious expression.
Step 2: Defining the Muzzle
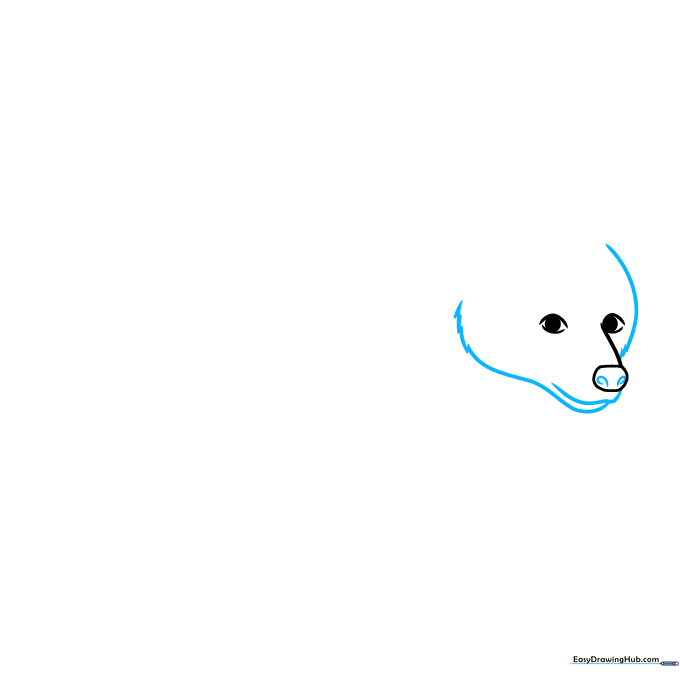
Add two small teardrop shapes for nostrils and outline the jawline. Tip: Use short, quick strokes to create a jagged edge, which mimics the look of shaggy fur.
Step 3: Adding Ears and Head
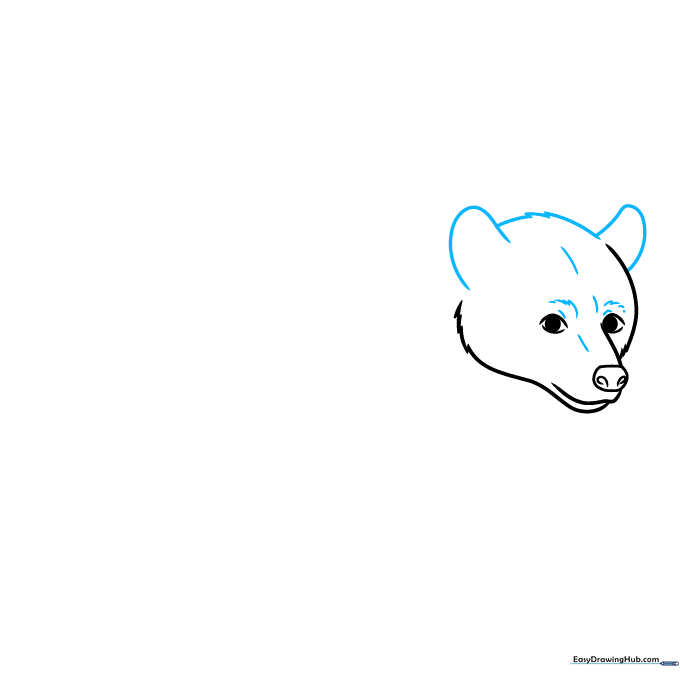
Draw the rounded ears and the top of the head. Tip: Make the ears slightly rounded to give the bear a soft, approachable appearance.
Step 4: The Chest and Front Leg
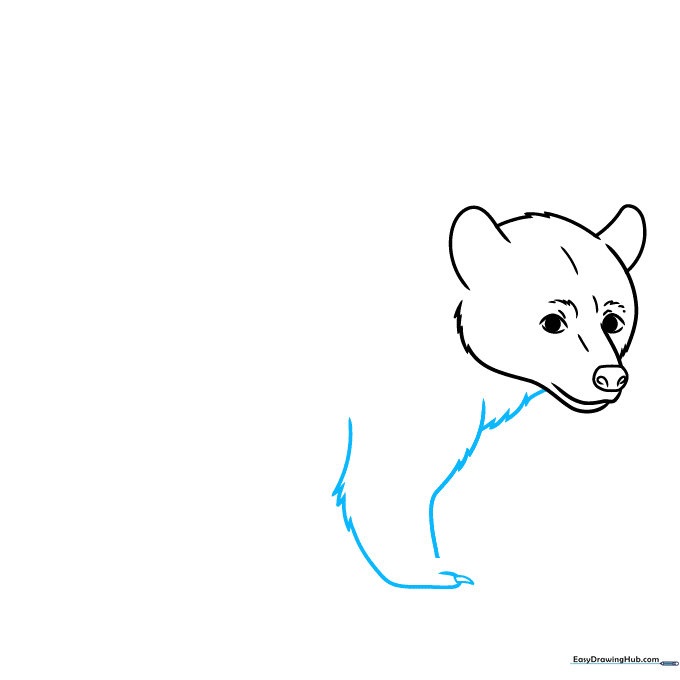
Sketch the chest and one front leg. Tip: Use long, sweeping lines for the chest and shorter, jagged lines for the leg to show where the fur is thicker.
Step 5: Belly and Rear Leg
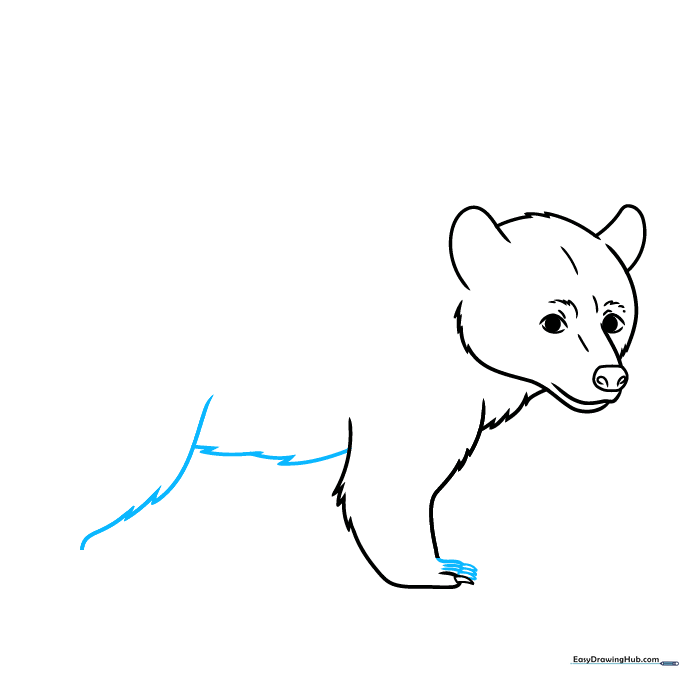
Draw the belly and the start of the back leg. Tip: Keep the belly line slightly curved to give the bear a sturdy, realistic shape.
Step 6: The Bear's Back
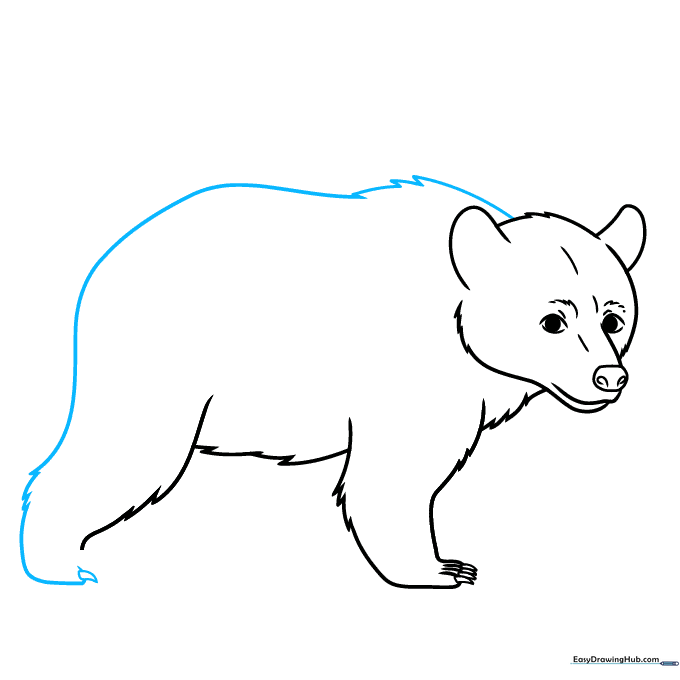
Continue the back line down to the rear leg. Tip: Use a long, continuous stroke for the back, then add small 'V' shapes along the edge to suggest fur texture.
Step 7: Adding the Second Front Leg
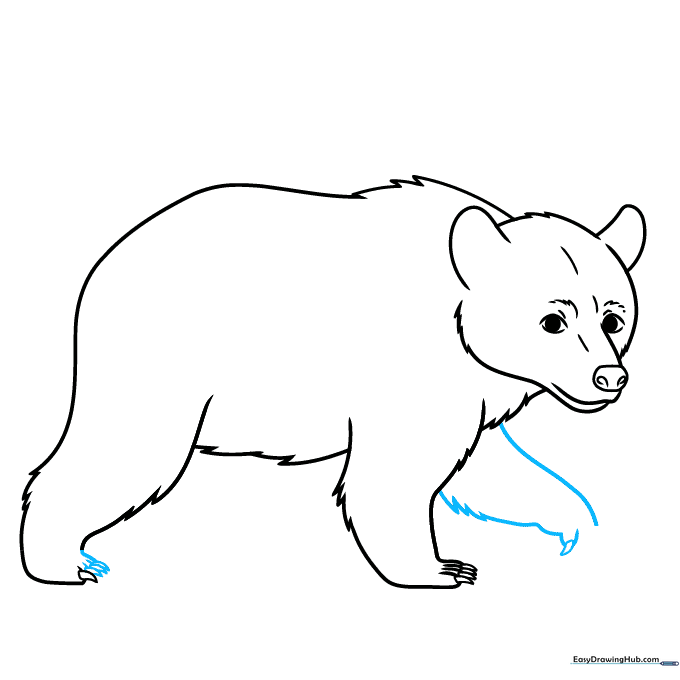
Draw the second front leg as if the bear is walking. Tip: Overlapping the lines slightly makes the leg look like it is positioned behind the body.
Step 8: Finalizing the Legs
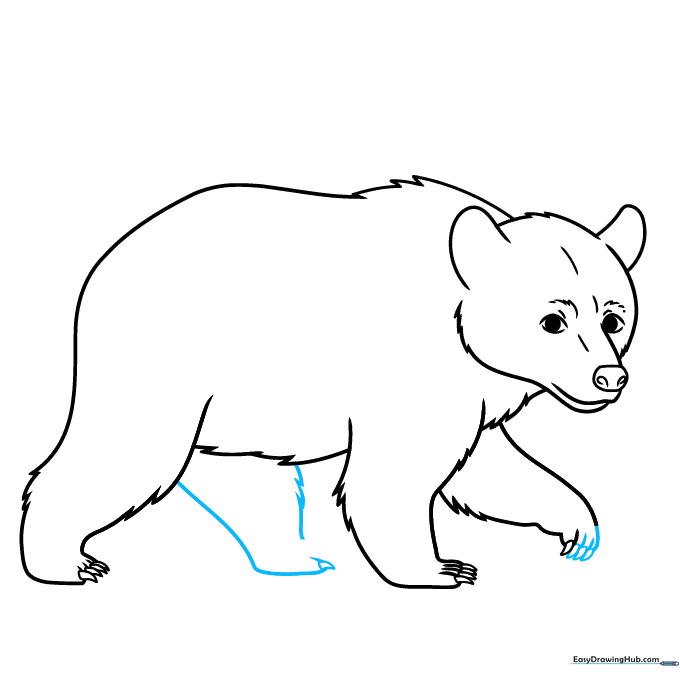
Complete the final rear leg and add the claws. Tip: Ensure the claws are triangular and sharp to give the bear a realistic look.
Step 9: Final Touches
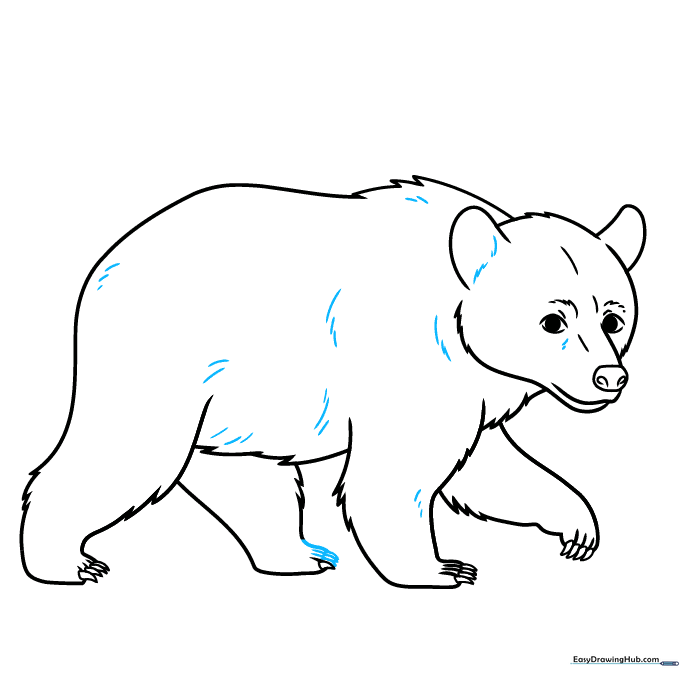
Add final fur details around the ears and body. Tip: Erase any overlapping sketch lines to clean up your drawing before you start coloring.
Step 10: Coloring Your Bear
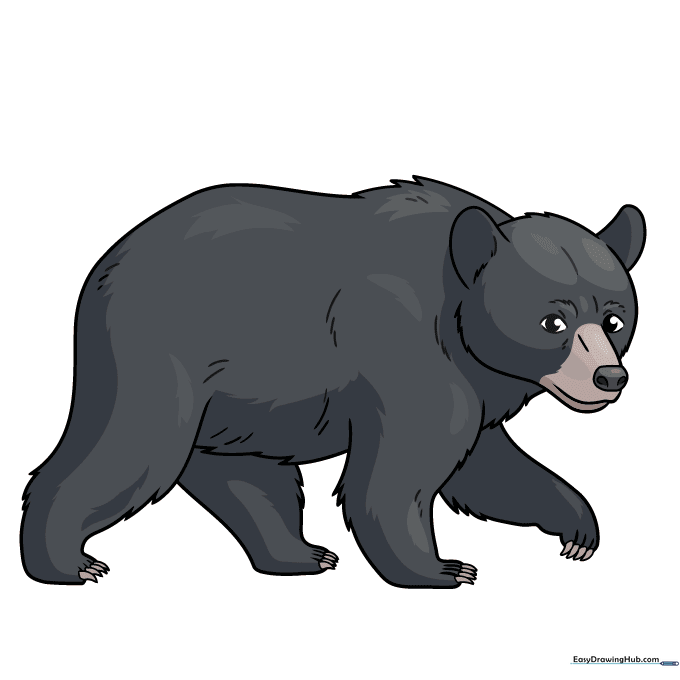
Use black or dark brown to fill in the fur, leaving the nose area slightly lighter. Tip: Use light pressure with your pencil to create a soft, natural fur texture.
More Tutorials


