How to Draw a Rose: Easy 10-Step Sketching Guide
Ready to capture the elegance of a rose on paper? This tutorial is perfect for artists ages 7 and up, requiring only a pencil, paper, and an eraser. By following these simple steps, you will learn how to structure organic floral shapes and develop your shading technique.
🎯 Final Result

Step-by-Step Instructions
Step 1: Sketching the Stem and Sepals

Start by drawing two long, gentle 'S' curves to form the stem, letting them meet at a point at the bottom. Add small twigs and the sepals—the little leaves at the base of the flower. Teacher's Tip: Keep your pencil pressure light so you can easily adjust the stem's curve if it looks too stiff.
Step 2: Outlining the First Petals

Begin the rose head by sketching the outer edges of the petals using long, sweeping curved lines. Tip: Think of these as soft, organic waves rather than rigid circles to give the flower a natural, blooming look.
Step 3: Defining the Rosebud
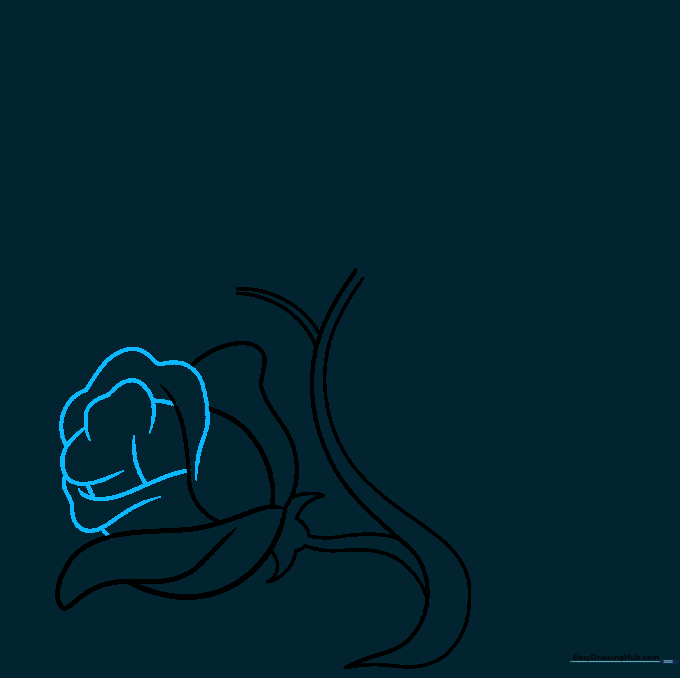
Complete the central rosebud by adding overlapping curved lines. These overlaps create the illusion of depth. Tip: Vary the size of your curves to make the petals look layered and realistic.
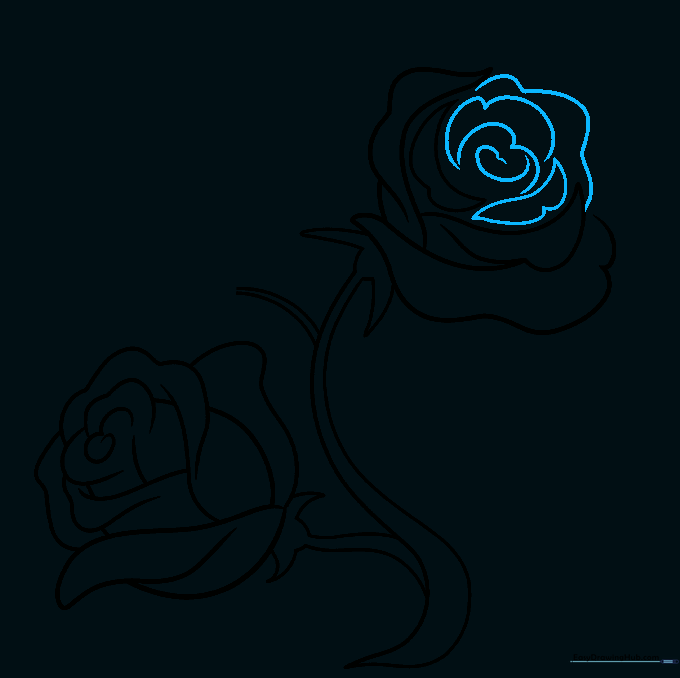
Step 4: Adding the Second Blossom

Draw a small spiral in the center of your first flower, then start the second blossom nearby. Use curved lines that meet at points for the sepals. Tip: A spiral is the secret to making a rose look 'full'—it draws the eye into the center of the bloom.
Step 5: Building Petal Volume

Continue adding petals to the second blossom. Use long, sweeping lines that double back at a point to create the folded edge of a petal. Tip: Don't worry about symmetry; roses are beautiful because they are slightly irregular.
Step 6: Enclosing the Rose Shape

Use a long, continuous curved line to enclose the outer petals of the rose. Add smaller, subtle lines inside to suggest texture. Tip: Use a lighter touch for these inner details to keep the drawing from looking too 'heavy'.
Step 7: Expanding the Stem
Add more outer petals to the second rose and extend the stem with parallel lines. Tip: Parallel lines help create the illusion of a sturdy, three-dimensional stem.
Step 8: Adding Leaves

Draw teardrop-shaped leaves on the twigs or directly onto the stem. Tip: Vary the sizes of the leaves to make the drawing look more organic and less like a pattern.
Step 9: Detailing and Thorns
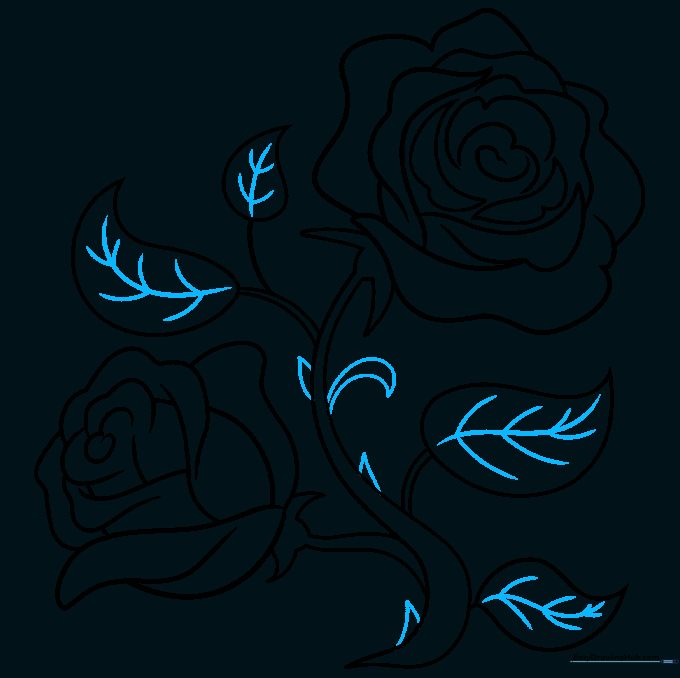
Add a central vein to each leaf with smaller lines branching out. Finally, add small, sharp triangles along the stem for thorns. Tip: Thorns are small, so keep them sharp and pointy to contrast with the soft curves of the petals.
Step 10: Shading and Finishing
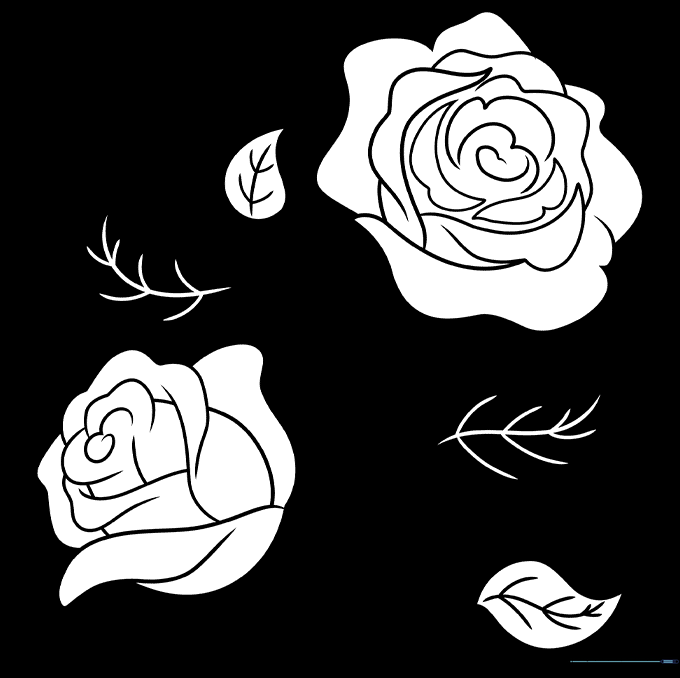
Add depth by shading the stem and the base of the leaves. Use a soft pencil stroke to create shadows. Tip: Shading is where your drawing comes to life—focus on the areas where the petals overlap to create natural shadows.
More Tutorials


