How to Draw a Bird: Easy 20-Step Guide for Kids
Ready to bring a feathered friend to life? This tutorial is perfect for young artists ages 5 and up. Grab a pencil, an eraser, and a piece of paper to practice these foundational shapes that build coordination and artistic confidence.
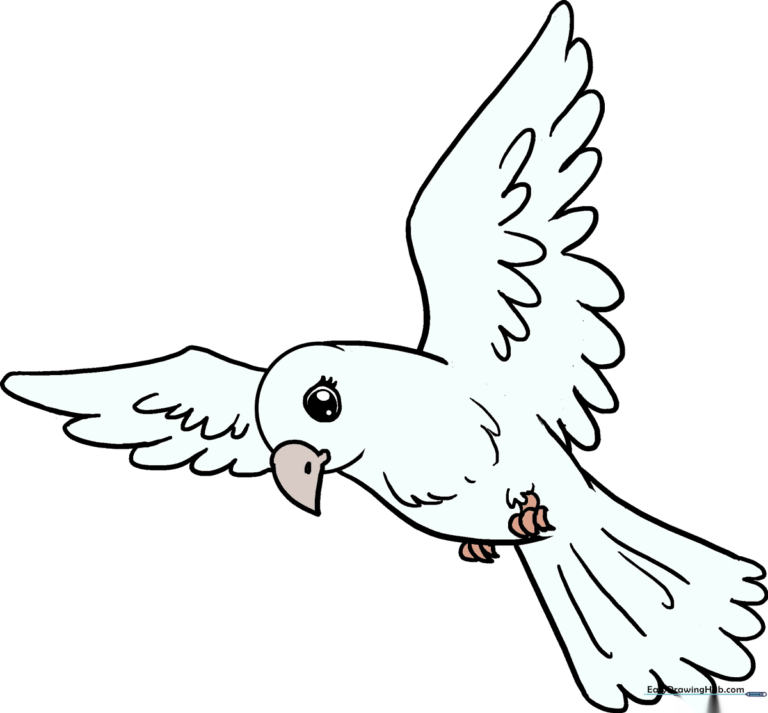
🎯 Final Result
Step-by-Step Instructions
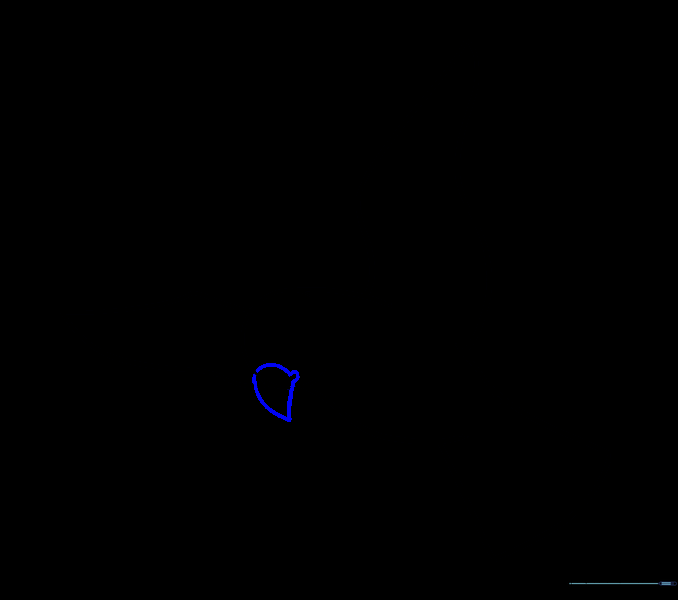
Step 1: Sketching the Head
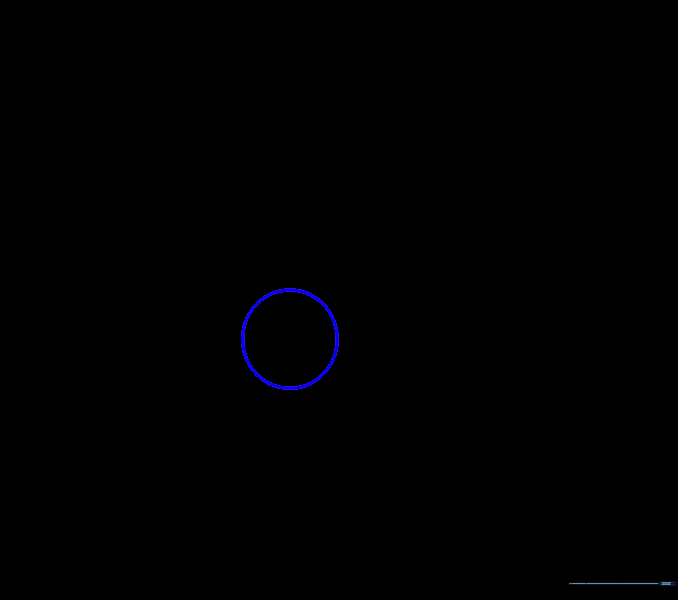
Draw a light circle for the bird's head. Tip: Keep it about the size of a coin and use a gentle touch so it's easy to erase later.
Step 2: Defining the Body
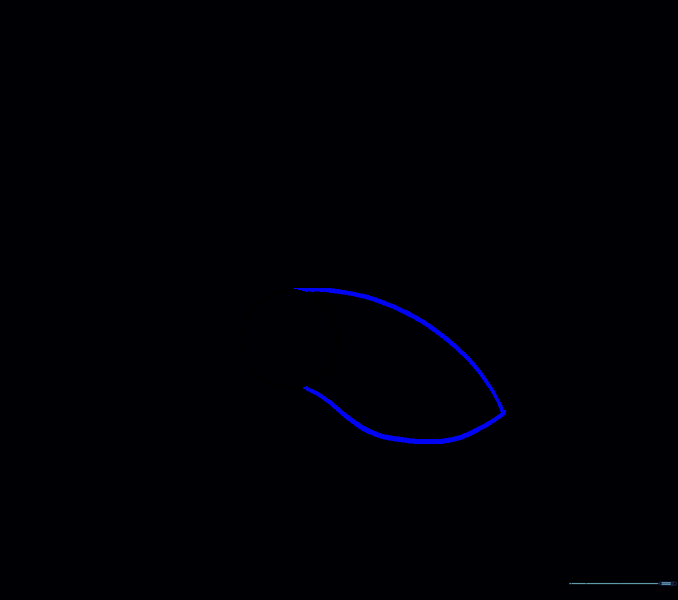
Add an irregular shape to the right of the head using two curved lines that meet at a point. This creates the torso. Tip: Think of it like a teardrop shape.
Step 3: Forming the Tail
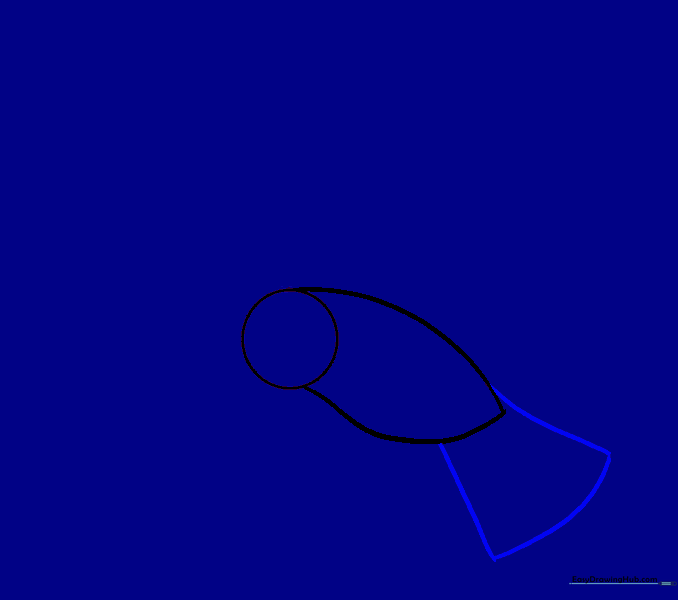
Extend two curved lines from the body point and connect them. This creates the tail. Tip: Make the tail look like a fan to give it movement.
Step 4: Sketching the First Wing
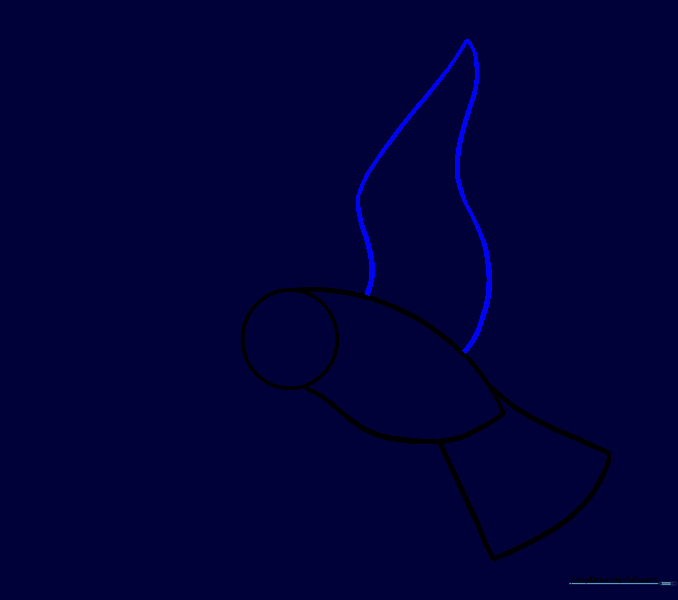
Draw two wavy, S-shaped lines on the upper body to form a wing. Tip: Keep the lines fluid to make the wing look like it's ready for flight.
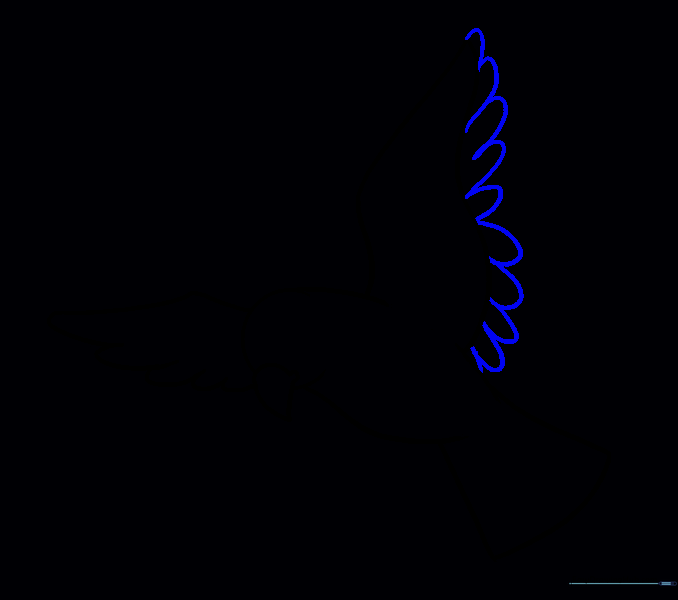
Step 5: Adding the Second Wing
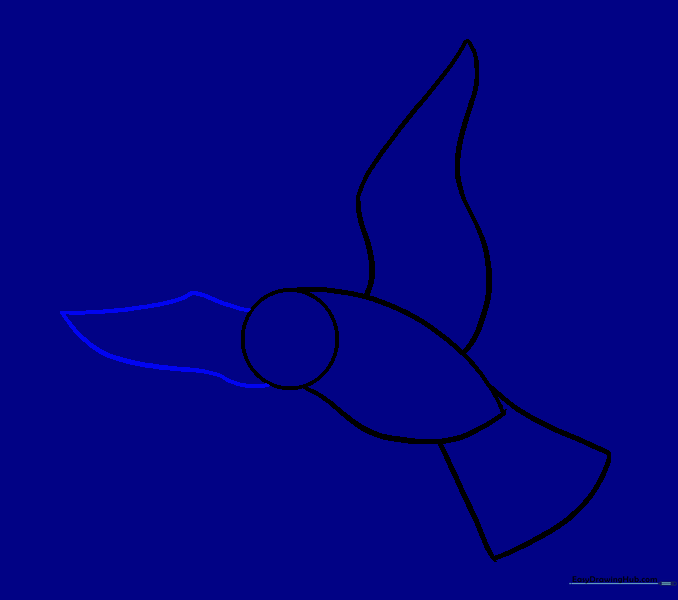
Extend two more curved lines from the head area to form the second wing. Tip: This adds depth to your drawing, making the bird look 3D.
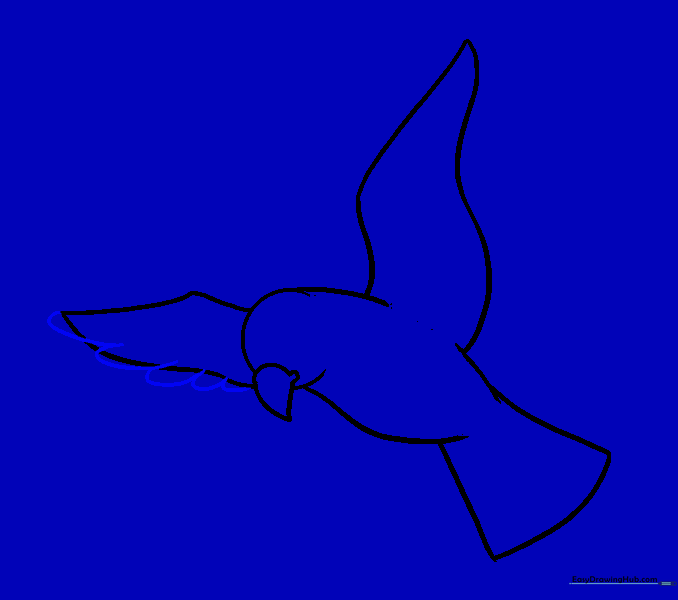
Step 6: Cleaning Up

Carefully erase the overlapping guide lines inside the wings and tail. Tip: Use a soft eraser to avoid smudging your work.
Step 7: Drawing the Beak
Add a beak using two curved lines that meet at a sharp point. Tip: Keep the beak small so it looks proportional to the head.
Step 8: Refining the Face

Erase the circle line inside the beak area. Tip: This makes the beak look like it is attached to the face.
Step 9: Adding Wing Feathers
Draw overlapping U-shaped lines along the bottom of the wing. Tip: Vary the size of the U's to make the feathers look natural.
Step 10: Cleaning the Wing

Erase the guide lines inside the wing feathers. Tip: This step really makes your drawing look professional.
Step 11: Second Wing Feathers
Repeat the U-shaped pattern on the second wing. Tip: Keep the feathers consistent with the first wing.
Step 12: Refining the Second Wing

Erase the guide lines from the second wing. Tip: Take your time to ensure the edges are smooth.
Step 13: Tail Feathers
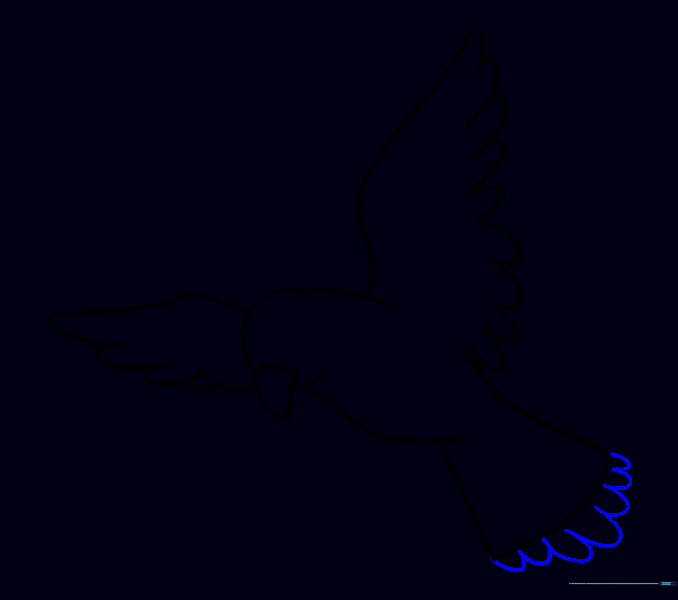
Add U-shaped lines to the end of the tail. Tip: These should be slightly larger than the wing feathers.
Step 14: Cleaning the Tail

Erase the guide lines from the tail. Tip: Use a small eraser for precision.
Step 15: Adding Body Detail

Add more U-shaped lines to the wings and curved lines to the torso and tail. Tip: Don't make them too uniform; nature is messy!
Step 16: The Eye and Nostril
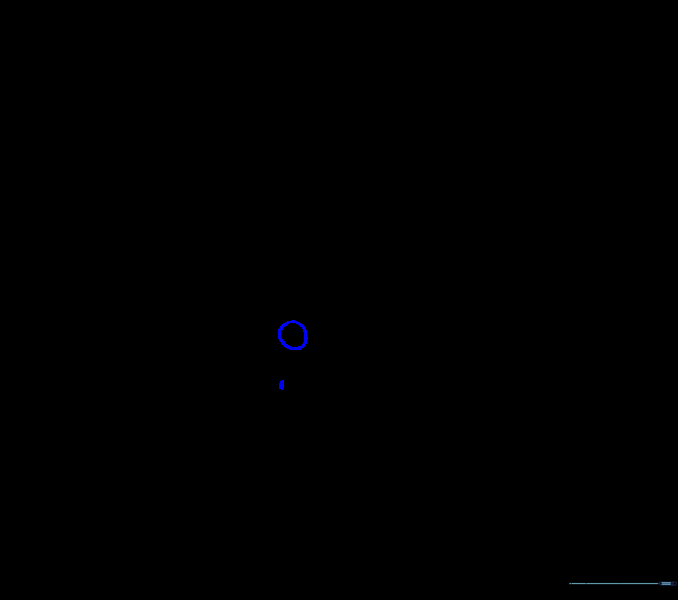
Draw a circle for the eye and a small dot for the nostril. Tip: Place the eye slightly above the center of the head.
Step 17: Eye Detail
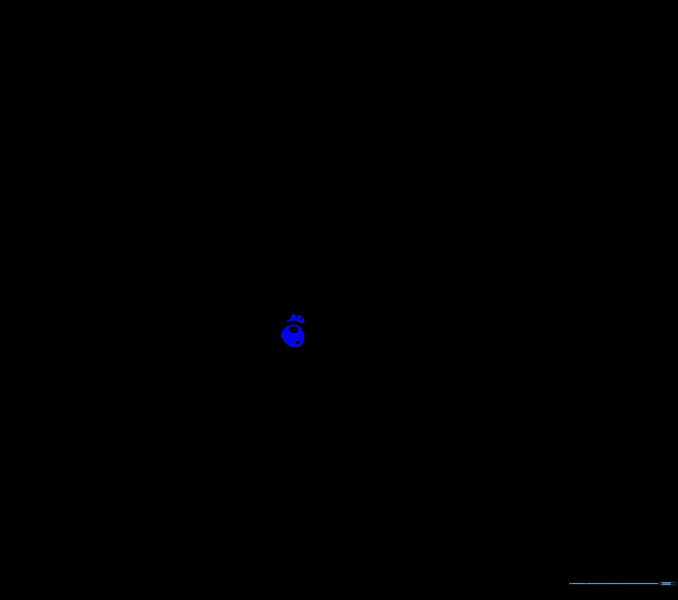
Add eyelashes and shade the pupil. Tip: Leave a tiny white spot in the pupil to make the eye look shiny and alive.
Step 18: First Leg
Draw a small ruff of feathers and a leg with teardrop-shaped toes. Tip: Keep the toes pointed to show the bird is perched.
Step 19: Second Leg
Add the second leg using similar teardrop shapes. Tip: Place it slightly behind the first leg to show depth.
Step 20: Final Touches
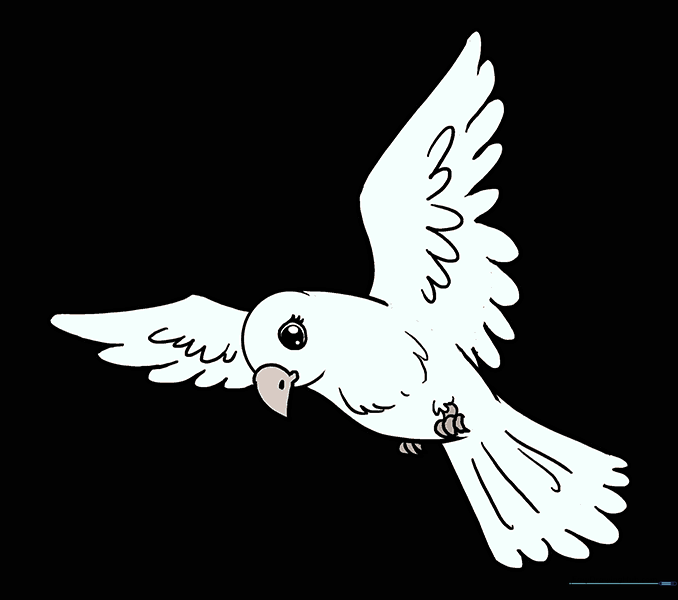
Color your bird! Use bright colors to make it pop. Tip: Try using different shades of the same color to add shadow and depth.
More Tutorials


