How to Draw a Flexing Arm: Easy Step-by-Step Guide
Ready to add some muscle to your character designs? This tutorial is perfect for young artists ages 7+ looking to master the classic 'flexing' pose. Grab a pencil, an eraser, and a piece of paper to start building your figure drawing skills with this fun, structured approach.
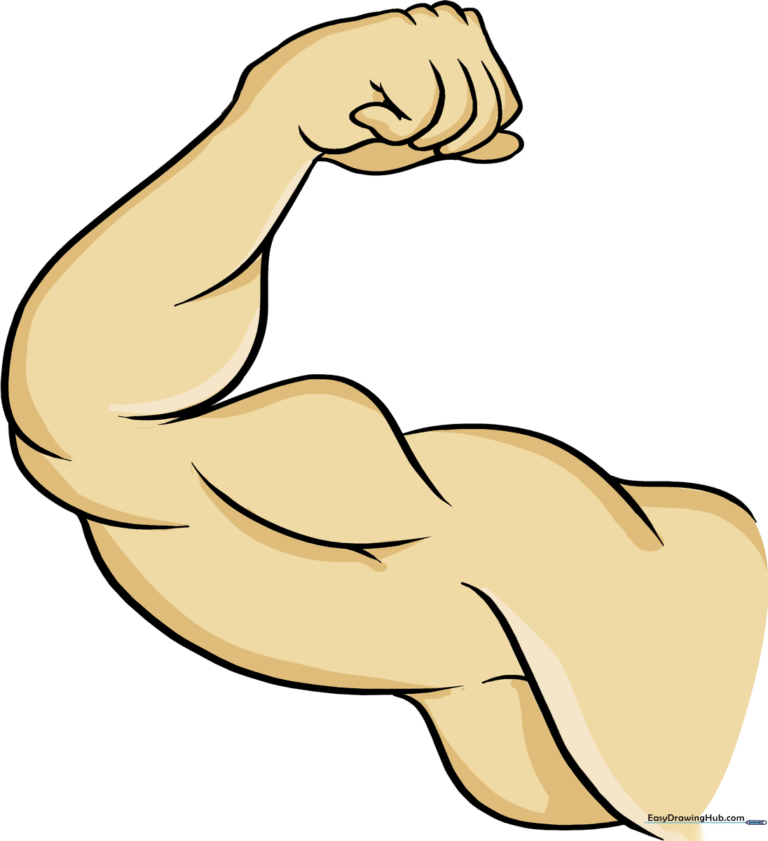
🎯 Final Result
Step-by-Step Instructions
Step 1: Sketching the Shoulder and Biceps

Start by drawing two overlapping curved lines to represent the shoulder and the top of the arm. Teacher's Tip: Keep your pencil pressure light here so you can easily adjust the shape of the muscle as you build the rest of the arm.
Step 2: Defining the Muscle Head

Add another curved line that overlaps the first to complete the shape of the biceps muscle. Tip: Think of this like drawing a rounded hill; keep the curve smooth to make the muscle look firm.
Step 3: Sketching the Forearm

Draw two overlapping curved lines to create the forearm. Tip: Notice how the arm tapers slightly toward the wrist; this helps make your drawing look more realistic.
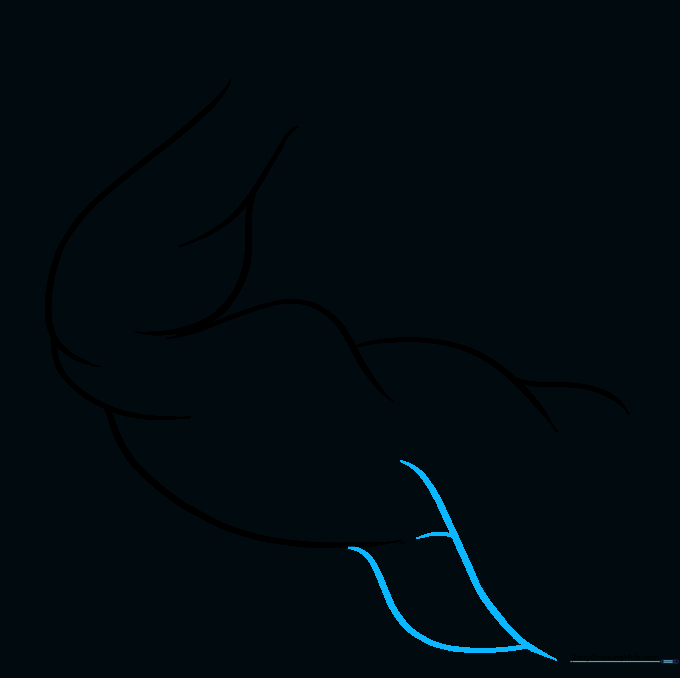
Step 4: Outlining the Back of the Arm

Draw a long, sweeping curved line to form the back of the forearm, connecting the wrist area to the elbow. Tip: Use a fluid motion with your wrist to get a smooth, continuous line.
Step 5: Adding the Triceps

Draw two overlapping curved lines on the bottom of the upper arm to represent the triceps. Tip: These lines should be slightly shorter than the ones you used for the biceps to show the arm's natural curve.
Step 6: Defining the Armpit and Chest
Add several overlapping curves to form the armpit and the side of the chest. Tip: Keep these lines soft to show where the arm connects to the body torso.
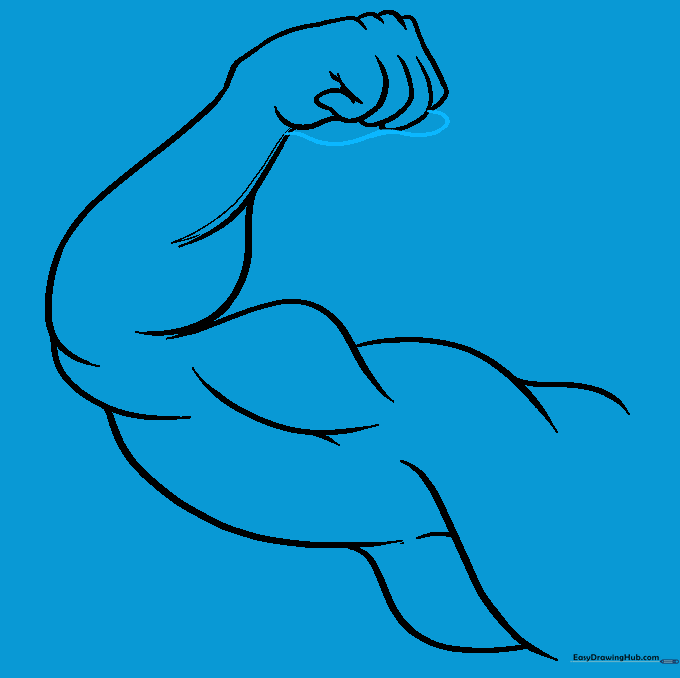
Step 7: Adding Muscle Definition

Draw a curved line across the middle of the upper arm to create the 'cut' or muscle definition. Tip: This small detail makes the muscle look much more defined and 'flexed'.
Step 8: Drawing the Clenched Fist
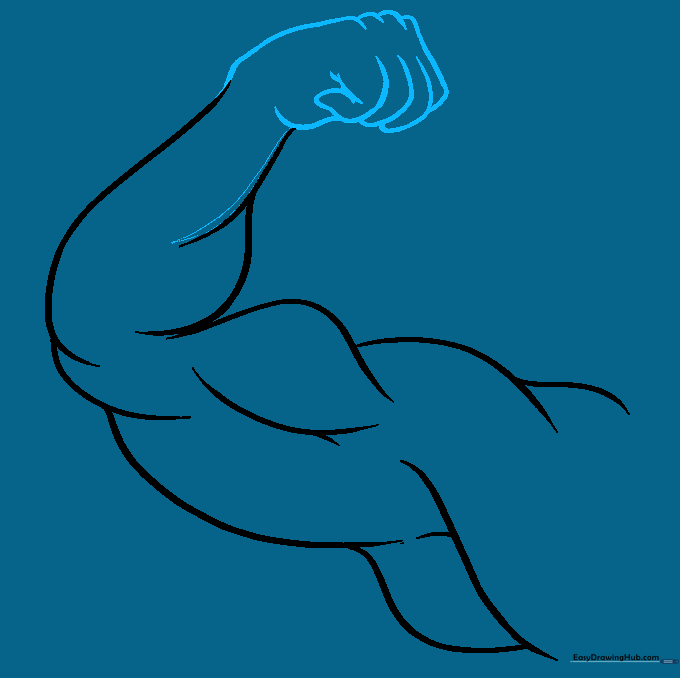
Use 'U' shaped lines for the knuckles and long curved lines for the fingers to create a clenched fist. Tip: Draw the knuckles slightly overlapping to give the hand a sense of action.
Step 9: Completing the Hand
Add a final curved line to outline the thumb and the remaining palm area. Tip: Keep the thumb shape simple so it doesn't distract from the main arm muscles.
Step 10: Adding Color
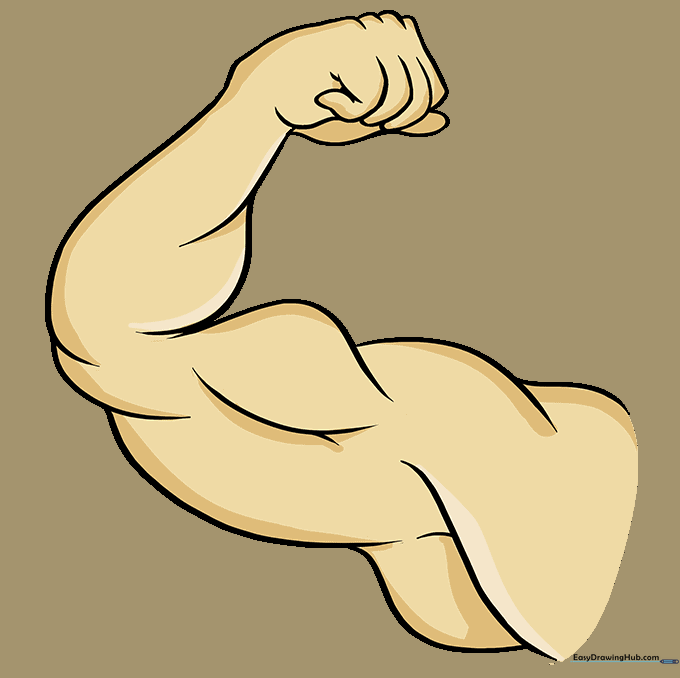
Now, bring your drawing to life with your favorite colors! Tip: Use darker shades on the undersides of the muscles to create a shadow effect, which makes the arm look even more 3D.
More Tutorials


