How to Draw a Best Mom Heart: Easy Step-by-Step Guide
Looking for a meaningful, screen-free activity for Mother's Day? This 'Best Mom' heart tutorial is perfect for artists ages 5 and up. Grab a pencil, eraser, and some markers to create a personalized gift that shows exactly how much you care.
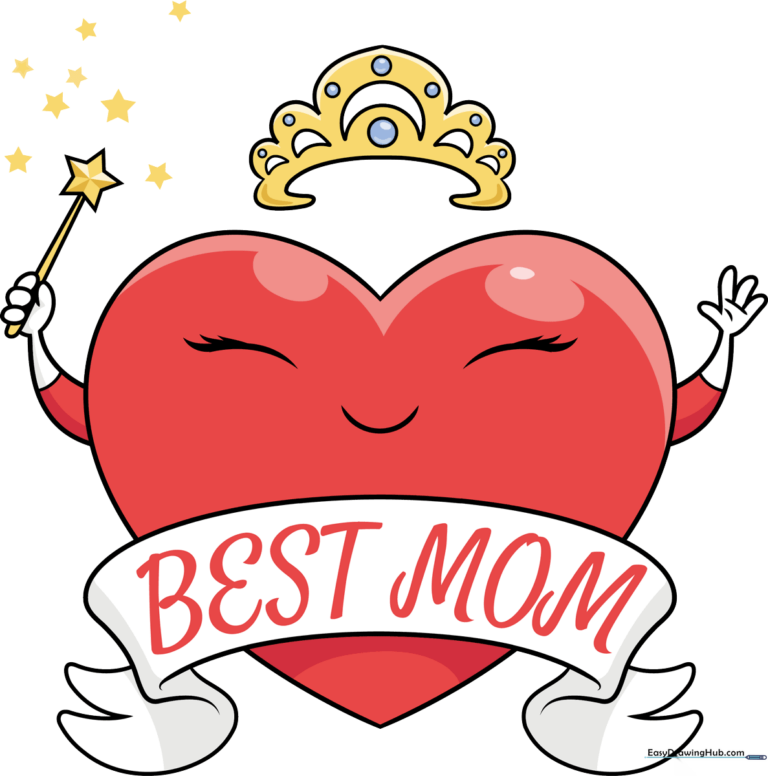
🎯 Final Result
Step-by-Step Instructions
Step 1: Sketching the Heart Base

Start by drawing a large, symmetrical heart shape. Add a sweet, smiling face inside using two small curves for closed eyes and a simple arc for the mouth. Teacher's Tip: Keep your pencil lines light so you can easily erase any mistakes later.
Step 2: Adding the First Arm
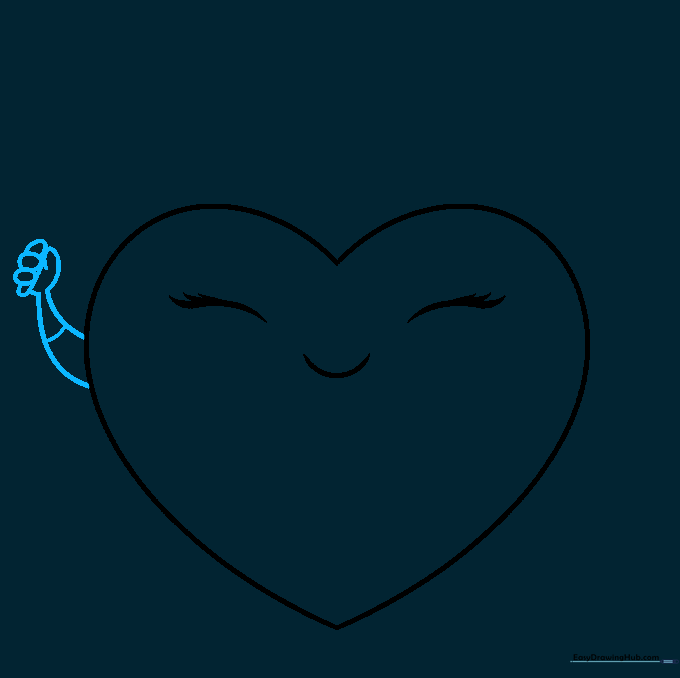
Draw a pair of curved lines extending from the side of the heart to form an arm. Add small ovals and 'U' shapes at the end to create a cute, waving hand. Teacher's Tip: Think of the arm like a soft, rounded tube.
Step 3: Drawing the Magic Wand

Extend two parallel lines from the hand and top them with a five-pointed star. On the opposite side, draw a second arm resting against the body. Teacher's Tip: Use a ruler if you struggle with straight lines for the wand handle.
Step 4: Starting the Crown
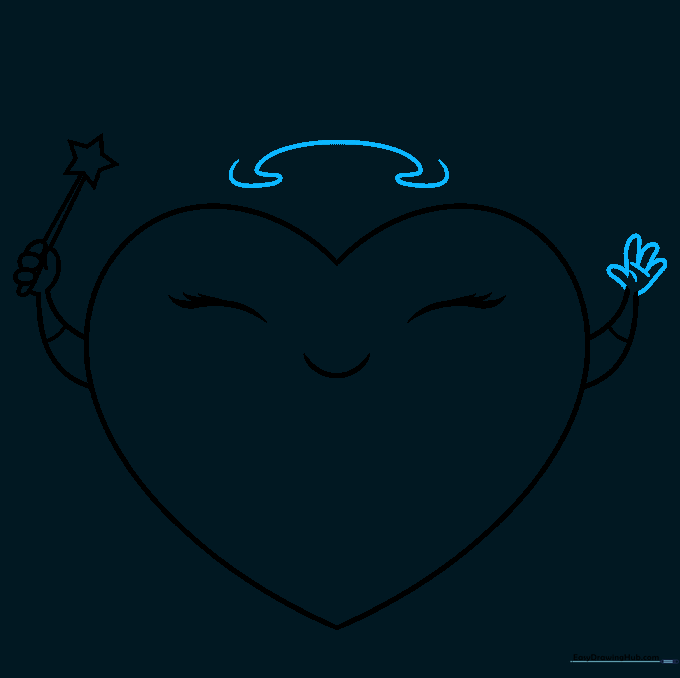
Draw a wide 'C' shape floating above the heart. Connect the ends with curved lines to create the base of a royal crown. Teacher's Tip: Make sure the crown is centered so your character looks balanced.
Step 5: Detailing the Crown
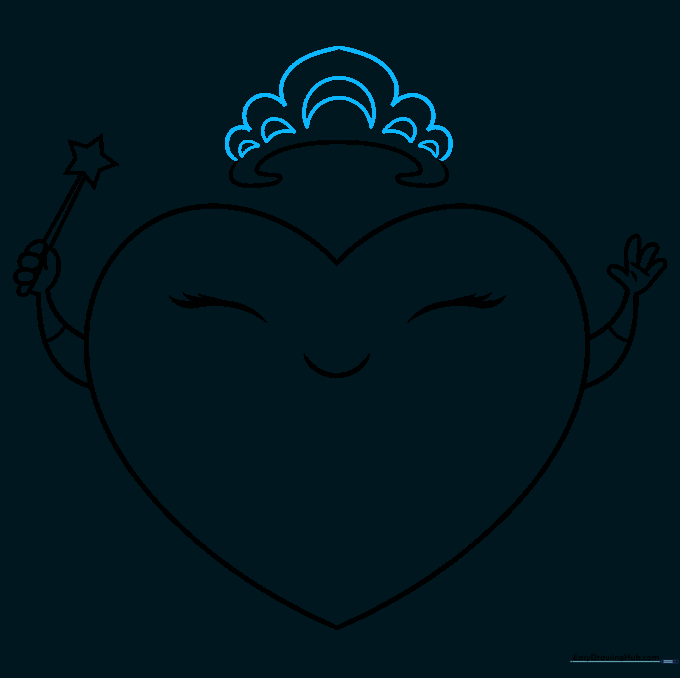
Use a series of 'U' shapes to create the scalloped top of the crown. Add a small crescent moon inside each scallop for extra sparkle. Teacher's Tip: Take your time with the 'U' shapes to keep them uniform.
Step 6: Adding Jewels and Banner
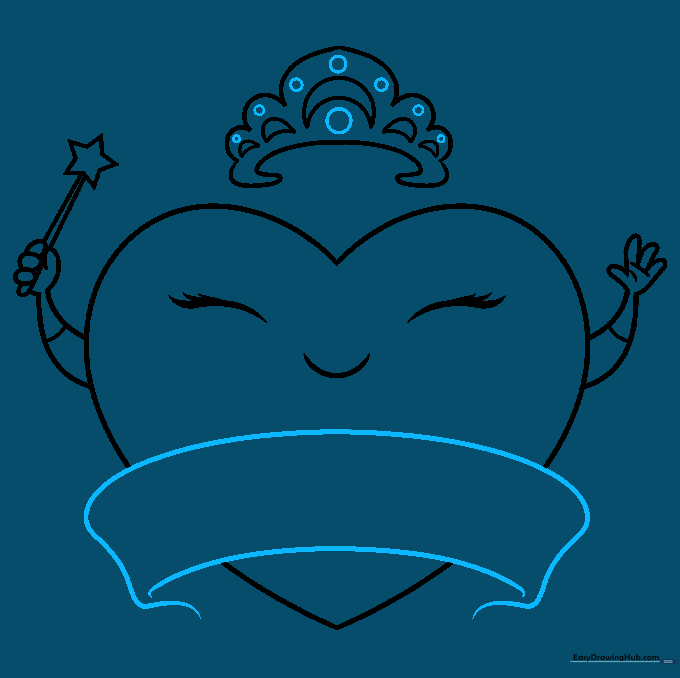
Draw small circles on the crown to represent jewels. Then, sketch a wide banner across the heart. Erase any lines from the heart that are hidden behind the banner. Teacher's Tip: Use a soft eraser to keep your paper clean.
Step 7: Finishing the Banner
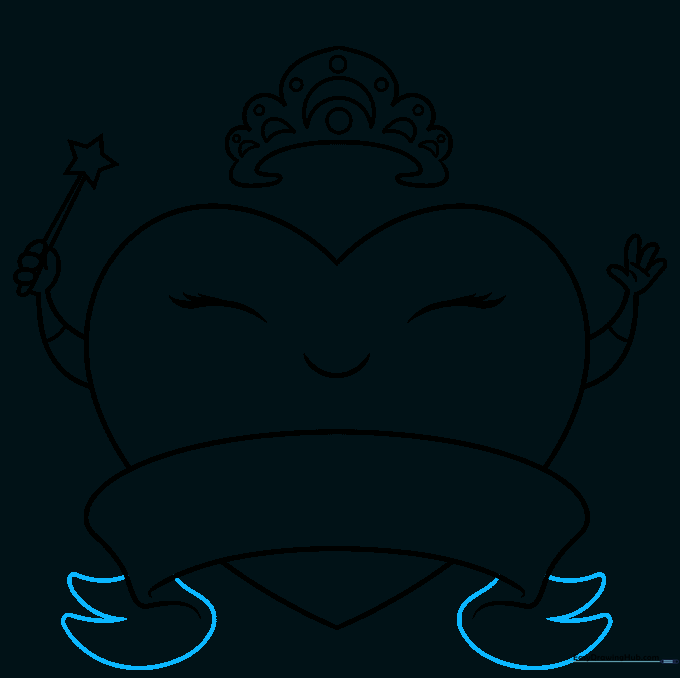
Draw the split tips of the ribbon banner on either side using curved lines. This gives the banner a realistic, flowing look. Teacher's Tip: Make the tips look like 'V' shapes to show where the ribbon ends.
Step 8: Adding Magical Sparkles
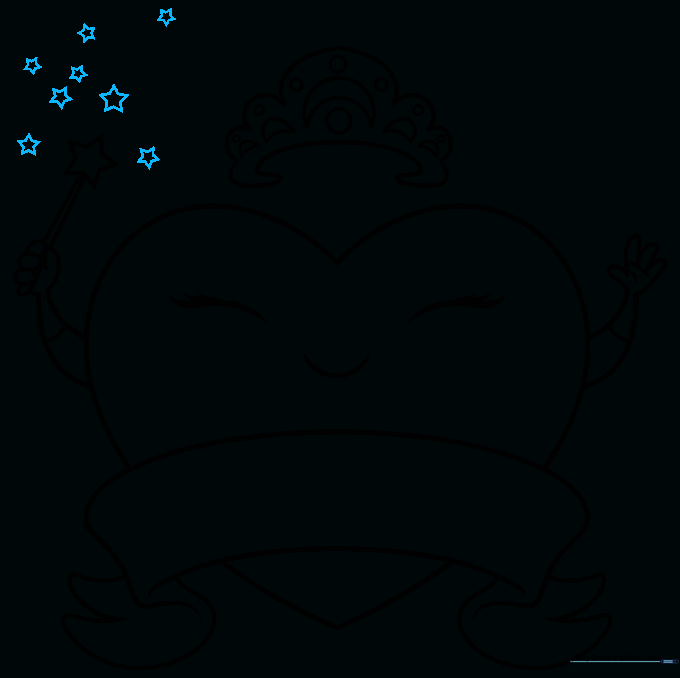
Draw several small, five-pointed stars around the tip of the wand to make it look magical. Teacher's Tip: Vary the sizes of the stars to create a sense of depth.
Step 9: Adding the Message
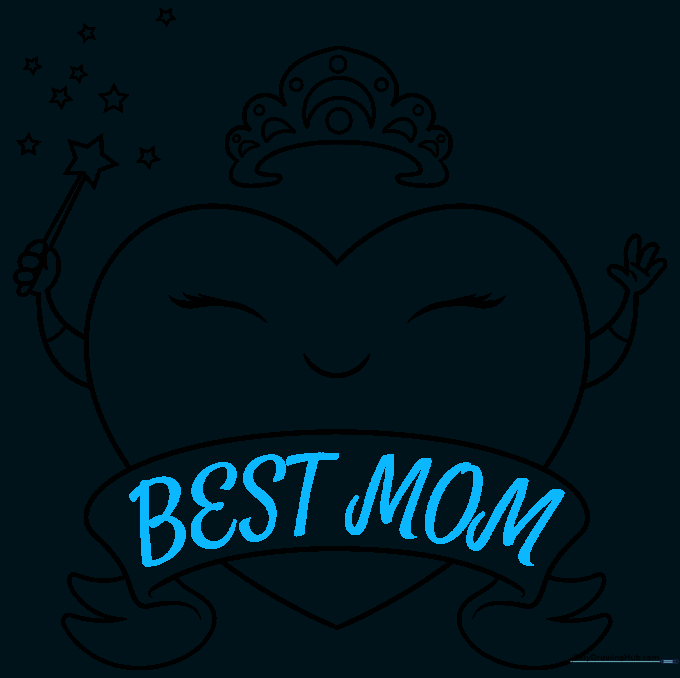
Carefully write 'BEST MOM' in a neat script or block letters across the banner. Teacher's Tip: Practice writing the letters on a separate piece of paper first to ensure they fit perfectly.
Step 10: Bringing It to Life with Color
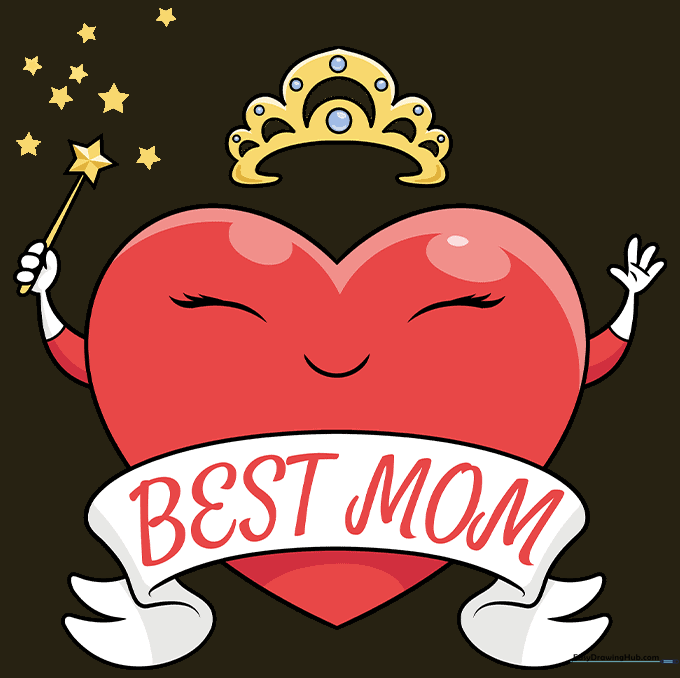
Time to color! Use bright red for the heart to show love, and choose your favorite colors for the crown and banner. Teacher's Tip: Use colored pencils for better control over shading.
More Tutorials


