How to Draw a Bench: Easy 10-Step Guide for Beginners
This park bench tutorial is perfect for artists ages 5 and up looking to practice perspective and structural drawing. You will only need a pencil, an eraser, and a piece of paper to complete this scene. By the end, you'll have a charming, three-dimensional bench ready to anchor your next landscape drawing.
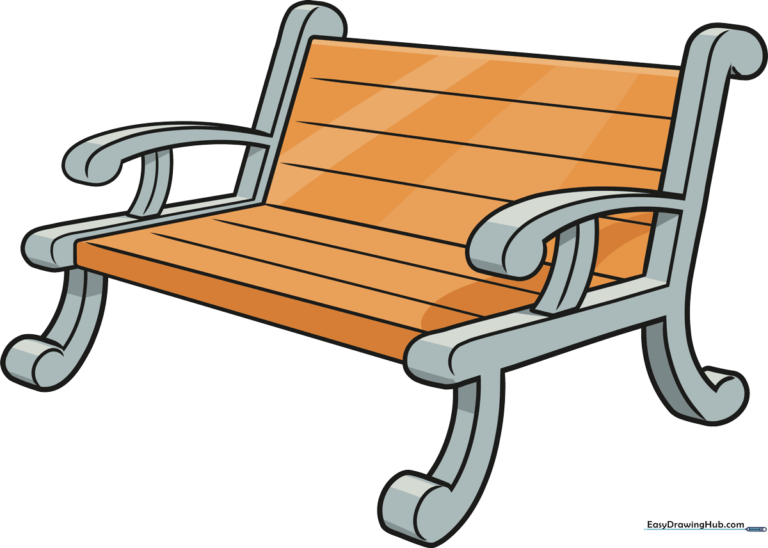
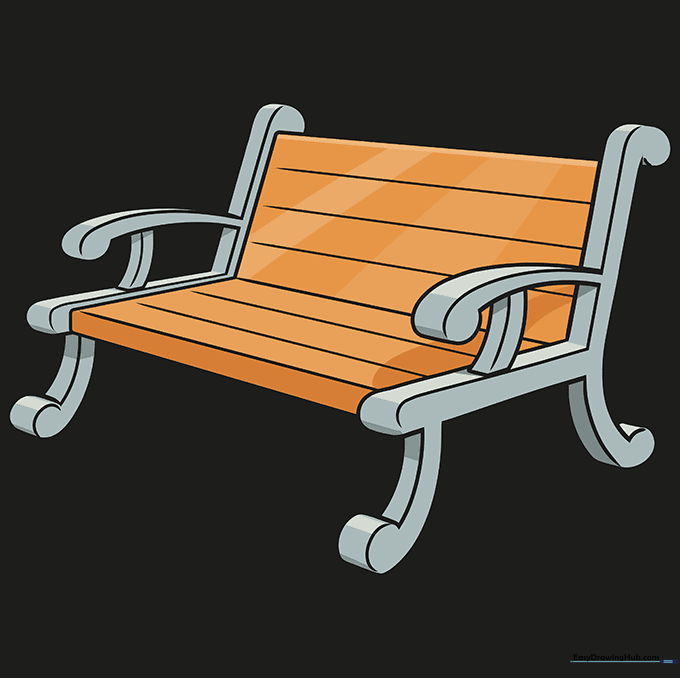
🎯 Final Result
Step-by-Step Instructions
Step 1: Sketching the Base Structure

Lightly sketch two connected partial parallelograms to represent the seat and backrest. Teacher's Tip: Keep these lines faint; they are just your 'map' for the bench's proportions.
Step 2: Defining the Side Profile
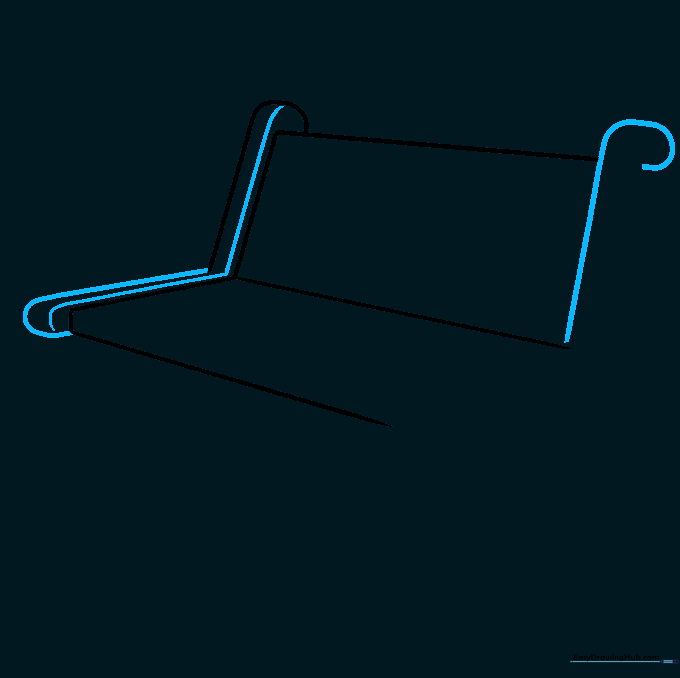
Draw a curved line from the seat corner to meet the backrest in a 'V' shape. Tip: Use a smooth, continuous motion to make the bench look sturdy rather than jagged.
Step 3: Creating the Side Rail
Complete the side rail with a curved line that doubles back on itself. Tip: Think of this as the metal frame of the bench—keep the curves consistent on both sides.
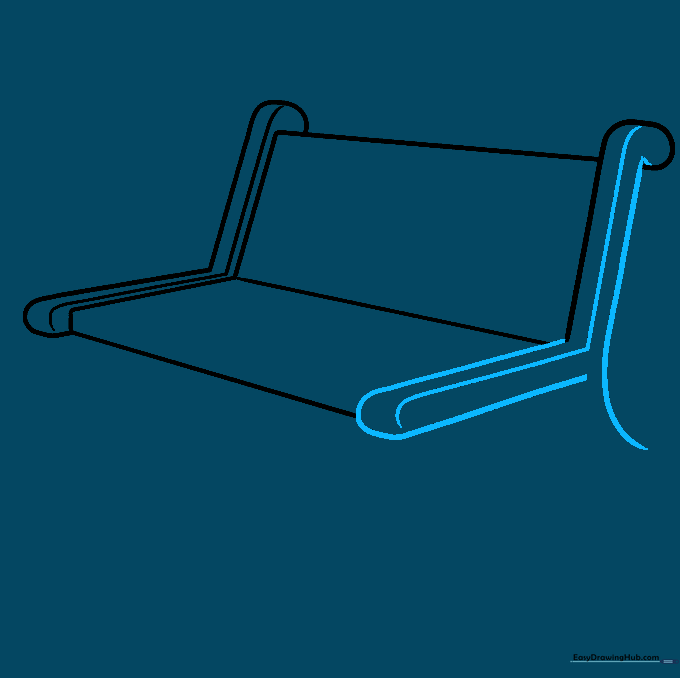
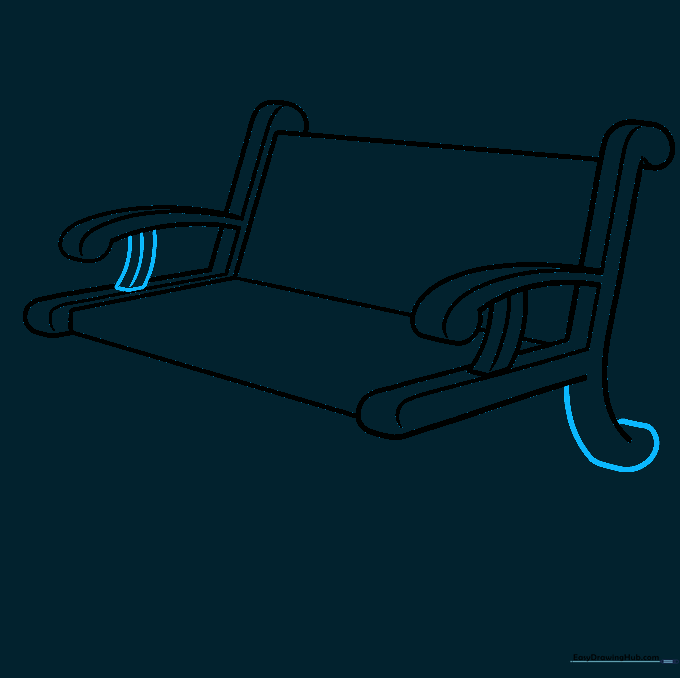
Step 4: Drawing the Armrests

Extend a curved line from the side rail to form the armrest. Tip: If you make a mistake, use your eraser to clean up the overlapping lines before moving to the next step.
Step 5: Detailing the Armrest Support
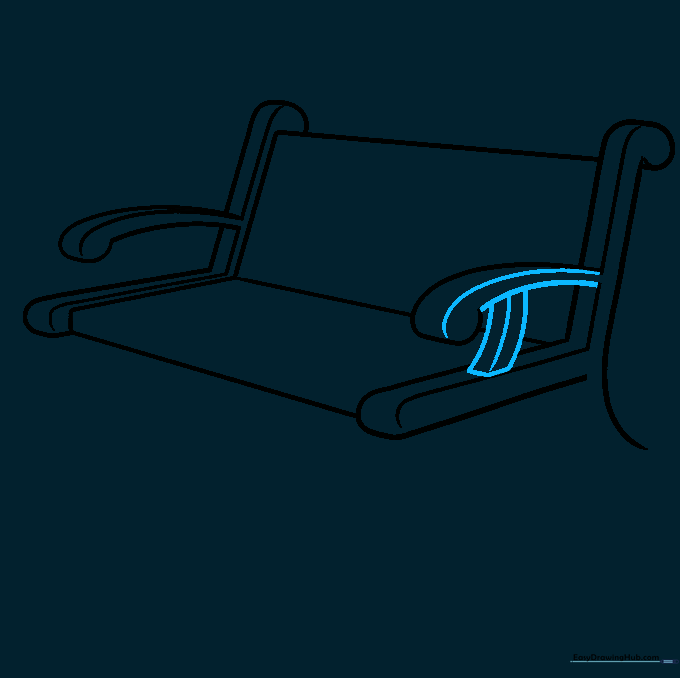
Add three parallel curved lines connecting the armrest to the seat. Tip: These lines represent the support bars; try to keep them evenly spaced for a professional look.
Step 6: Balancing the Design
Repeat the process on the opposite side to keep the bench symmetrical. Tip: Symmetry is key to making your drawing look realistic!
Step 7: Sketching the Legs
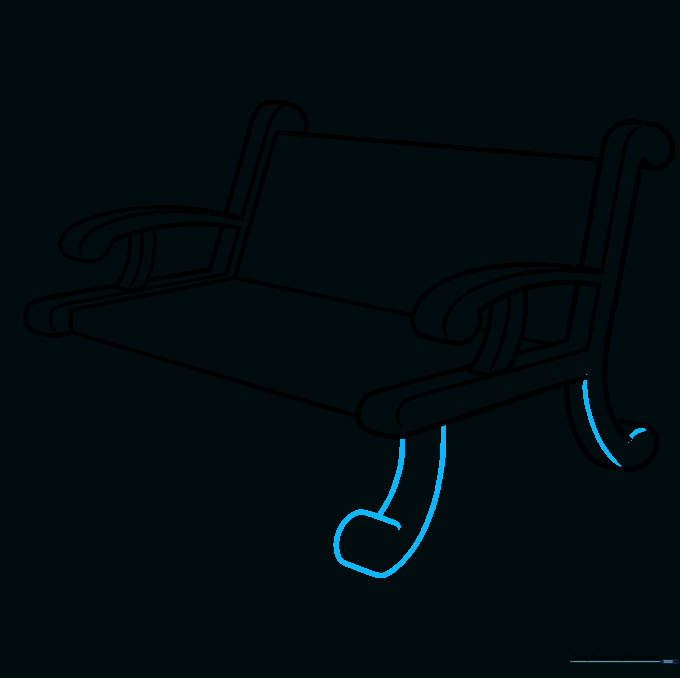
Use two curved lines to define the front legs. Tip: Notice how they overlap at the foot—this creates a sense of depth and weight.
Step 8: Finalizing Leg Details
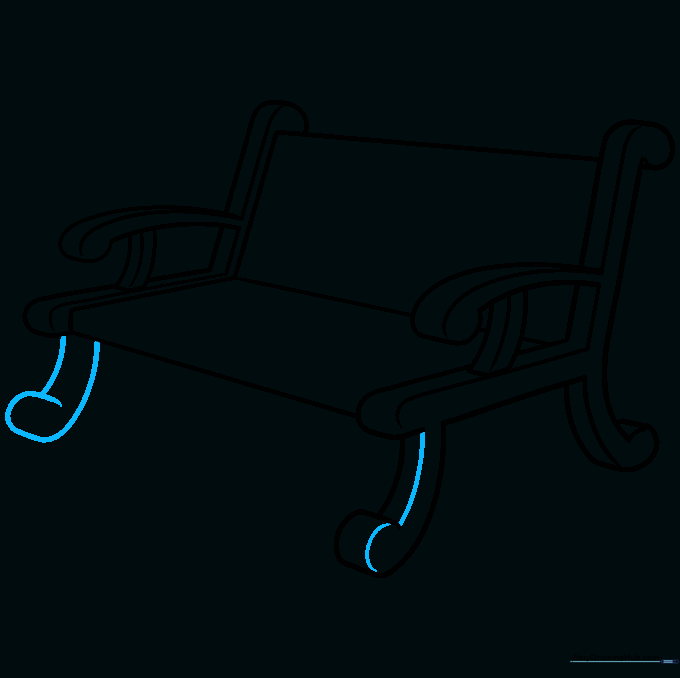
Add depth to the rear legs using overlapping curved lines. Tip: Imagine where the light is hitting the bench; keep the inner lines slightly thinner.
Step 9: Adding Wooden Slats
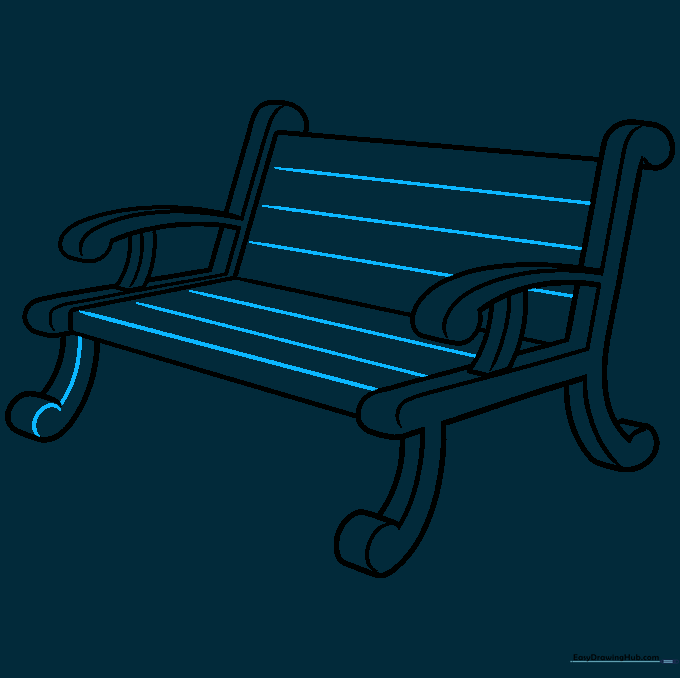
Draw straight lines across the seat and backrest to indicate wooden slats. Tip: Use a ruler if you want them perfectly straight, or freehand them for a rustic look.
Step 10: Adding Color
Bring your bench to life with color! Try using grey for the metal frame and warm browns for the wood. Tip: Use a darker shade of brown on the edges of the slats to create a shadow effect.
More Tutorials


