How to Draw a Bee Hive: Easy 10-Step Guide for Kids
Ready to bring a little nature into your sketchbook? This tutorial is perfect for young artists ages 6+ looking to practice their organic shapes and character design. Grab your pencil, eraser, and paper, and let’s create a cozy home for some busy bees!
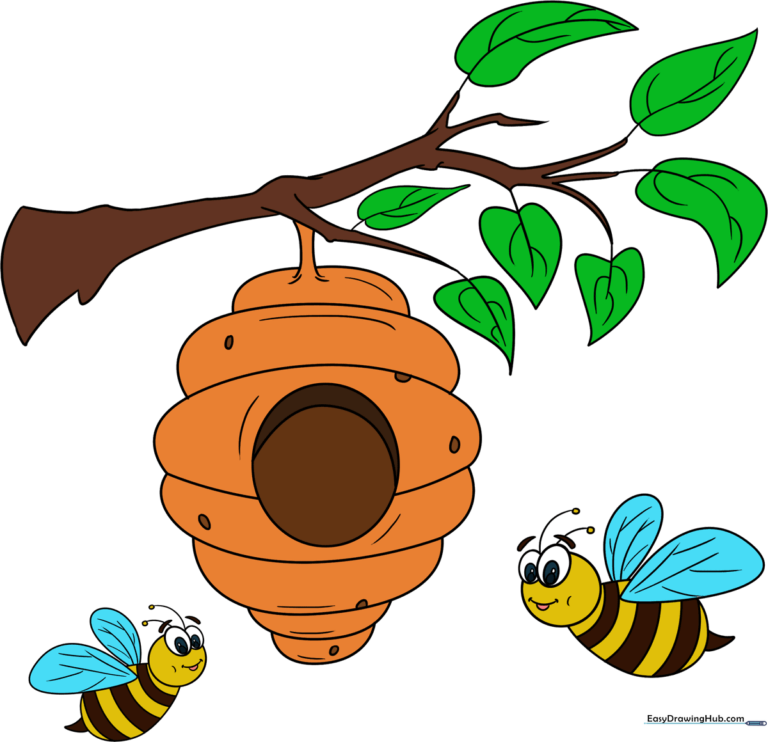
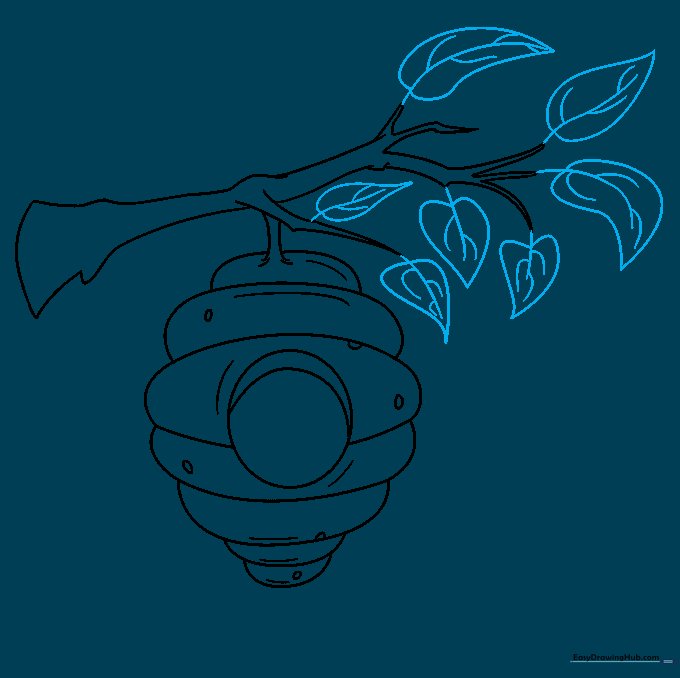
🎯 Final Result
Step-by-Step Instructions
Step 1: Sketching the Branch Base

Start by drawing the tree branch using curved lines of varying lengths. Tip: Keep your pencil pressure light so you can easily adjust the branch shape later if it looks too stiff.
Step 2: Shaping the Hive
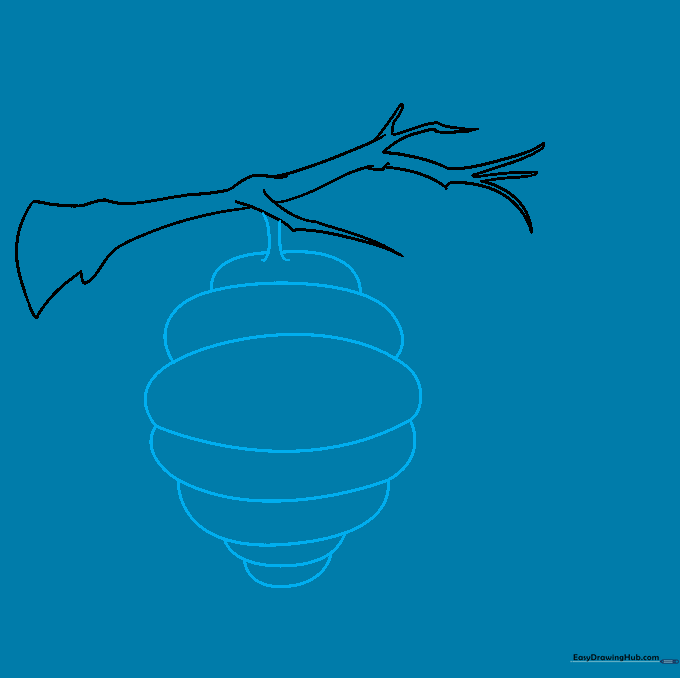
Extend two curved lines downward from the branch to create the hive's silhouette. Tip: Think of the hive as a teardrop or a rounded pear shape—don't worry about perfect symmetry, as nature is rarely perfectly round!
Step 3: Creating the Hive Entrance
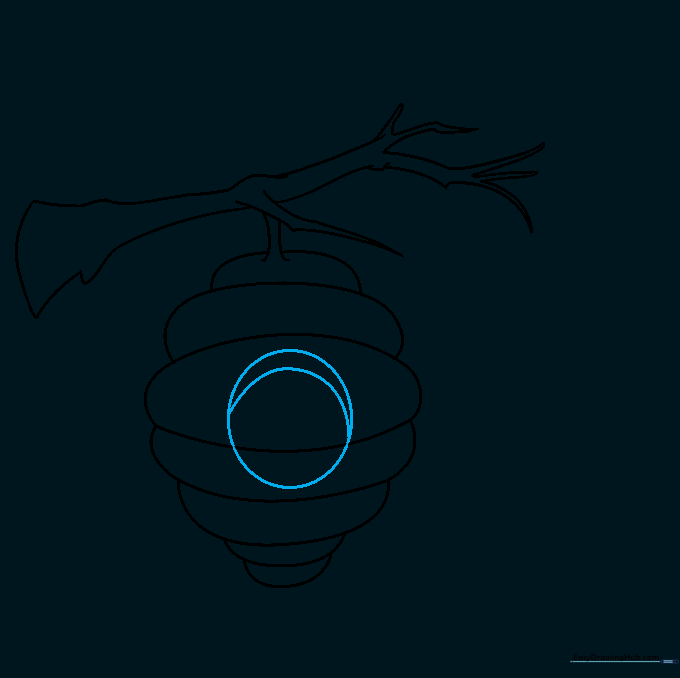
Draw a circle in the center of the hive for the entrance. Add a curved line across the top to give it depth. Tip: Use a light touch here; this circle acts as the 'door' where your bees will fly in and out.
Step 4: Adding Texture
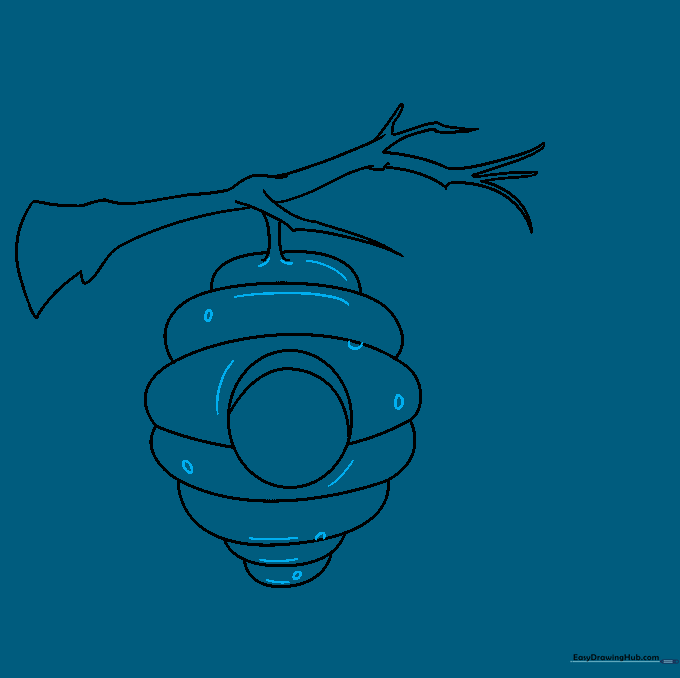
Add character to your hive by drawing small curved lines and circles across the surface. Tip: These represent the woven grass or wax texture of the hive—keep them scattered randomly for a natural look.
Step 5: Drawing the Leaves
Draw leaves at the tips of the twigs using pointed, curved lines. Tip: Add a center vein to each leaf to make them look more realistic and three-dimensional.
Step 6: Outlining the Bees
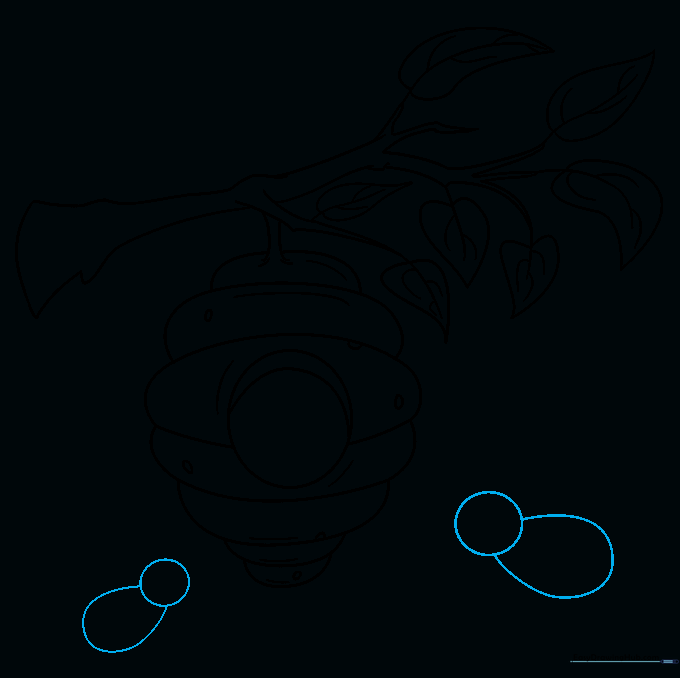
Start your bees by drawing small circles for heads and oval shapes for bodies. Tip: Place them near the hive entrance to make it look like they are busy working!
Step 7: Adding Bee Stripes
Add curved stripes to the bee bodies and a small triangle for the stinger. Tip: Keep the stripes consistent in width to make the bees look uniform and cute.
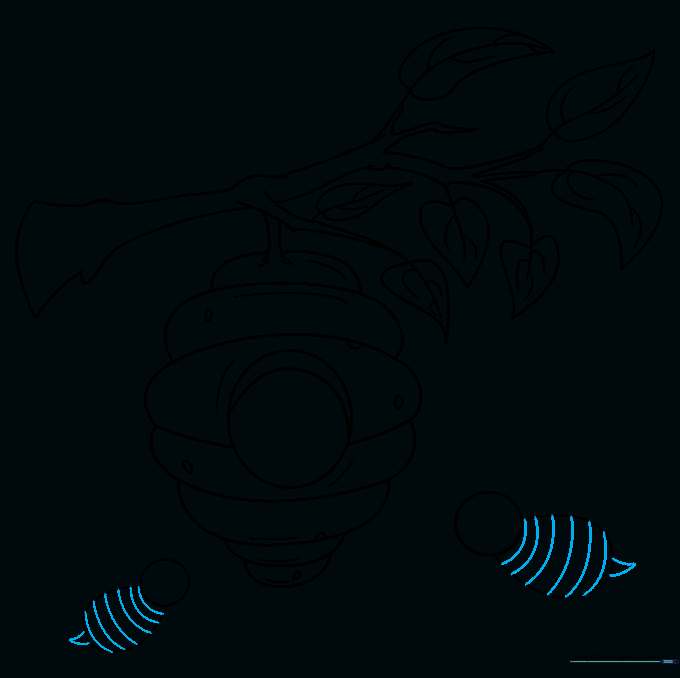
Step 8: Drawing Bee Wings

Draw rounded, teardrop-shaped wings on the bees' backs. Tip: Add thin lines inside the wings to represent the delicate veins—this adds a professional touch to your cartoon insects.
Step 9: Giving Bees Personality
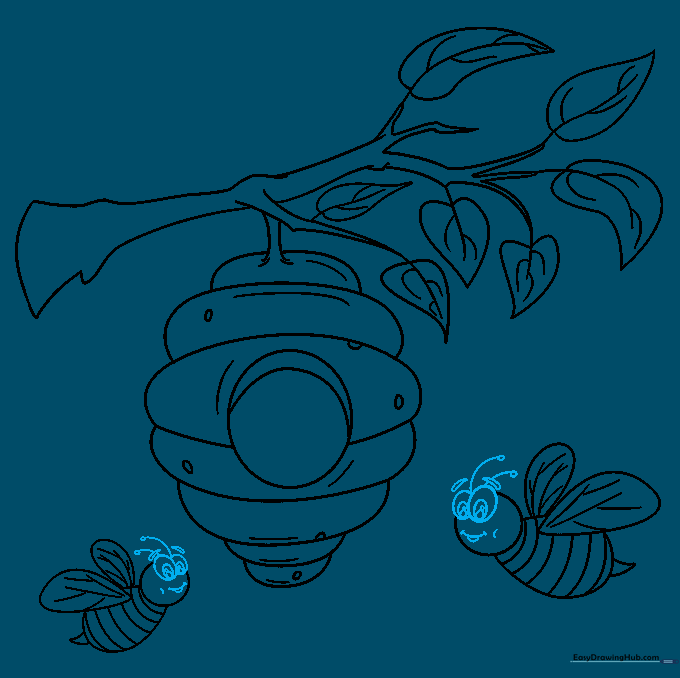
Draw large, friendly eyes and a smiling mouth on each bee. Add two antennae with small dots at the ends. Tip: The eyes are the most important part—make them large to give your bees a friendly, approachable expression.
Step 10: Adding Color
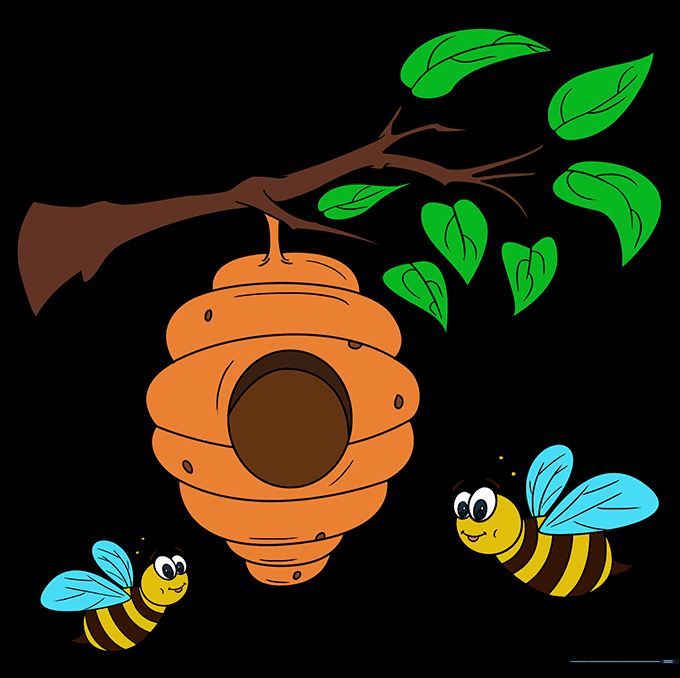
Bring your drawing to life with yellow and black for the bees and warm, golden-brown tones for the hive. Tip: Use light pressure with your yellow pencil to create a soft, glowing effect on the hive.
More Tutorials


