How to Draw a Beaver: Easy 10-Step Guide for Kids
Ready to bring a busy beaver to life? This tutorial is perfect for young artists ages 5 and up, requiring only a pencil, paper, and an eraser. Follow these steps to master basic shapes and build the confidence to draw your favorite woodland animals.
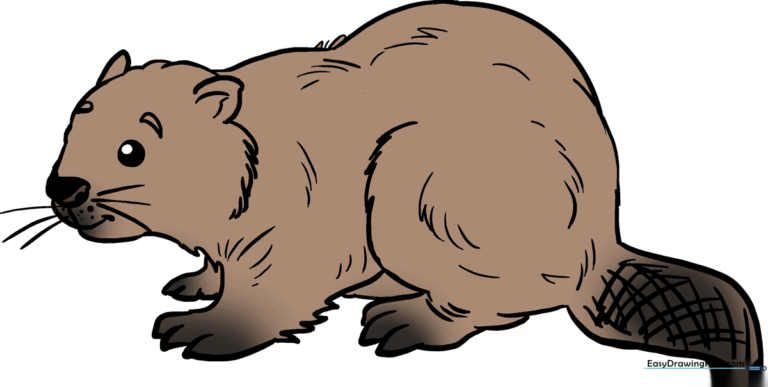
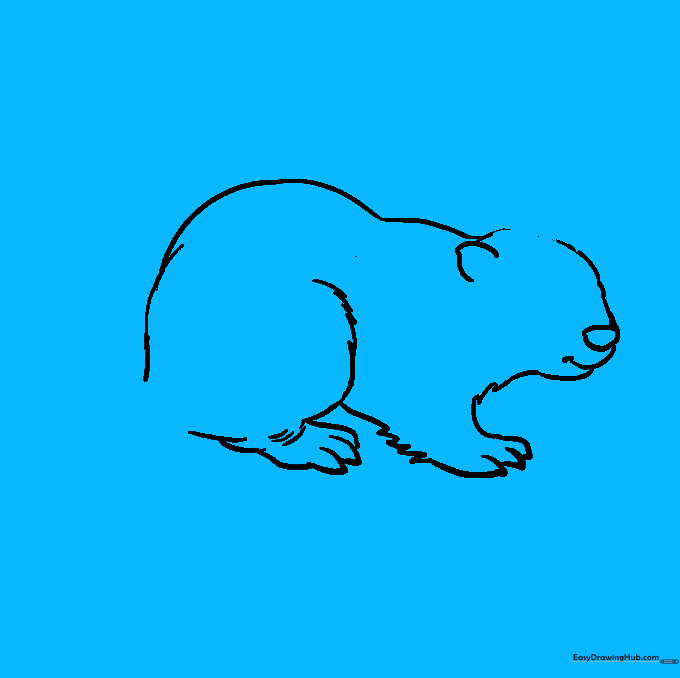
🎯 Final Result
Step-by-Step Instructions
Step 1: Sketching the Base Shapes

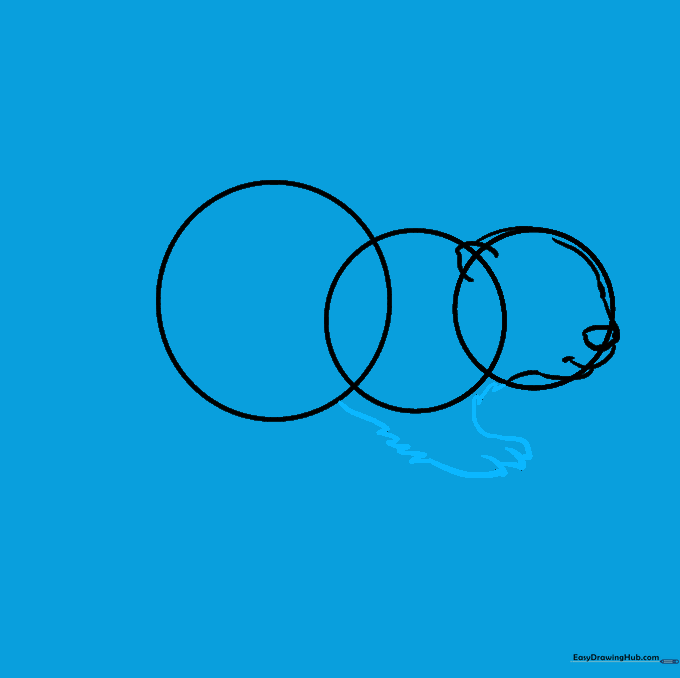
Draw three overlapping circles to form the head and body. Tip: Keep the largest circle in the middle for the body; use a light touch so you can easily erase these guides later.
Step 2: Defining the Head

Use curved lines to outline the snout, forehead, and ear. Add a small, rounded shape for the nose. Tip: Beavers have blunt, rounded snouts, so keep your curves soft and gentle.
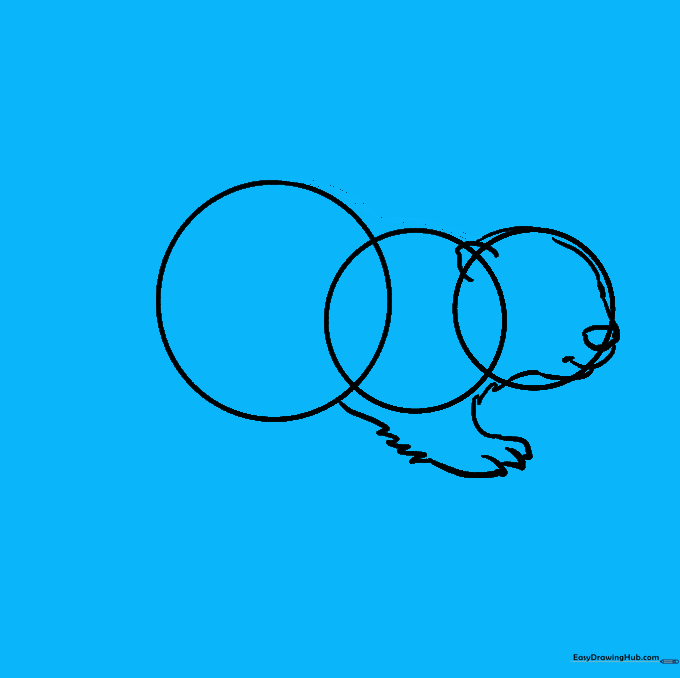
Step 3: Sketching the Foreleg
Draw the foreleg using short, jagged lines to suggest fur. End the foot with small points for claws. Tip: Use a 'zig-zag' motion with your pencil to make the leg look fuzzy.
Step 4: Outlining the Back
Connect the head and body circles with a long, smooth curved line to form the beaver's back. Tip: Imagine the shape of a gentle hill as you draw this line.
Step 5: Adding the Rear Leg
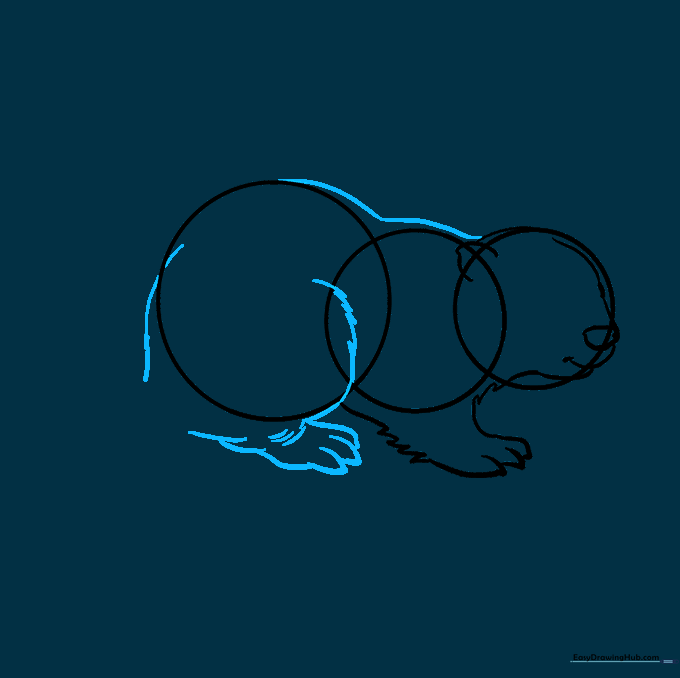
Draw the back leg using the same jagged, furry lines as the front. Add a small bend in the foot to make it look natural. Tip: Beavers have large, strong back feet for swimming!
Step 6: Cleaning Up
Carefully erase the original guide circles inside the body. Refine the head shape and add the far ear. Tip: Use a soft eraser and brush away the crumbs so you don't smudge your work.
Step 7: Drawing the Tail
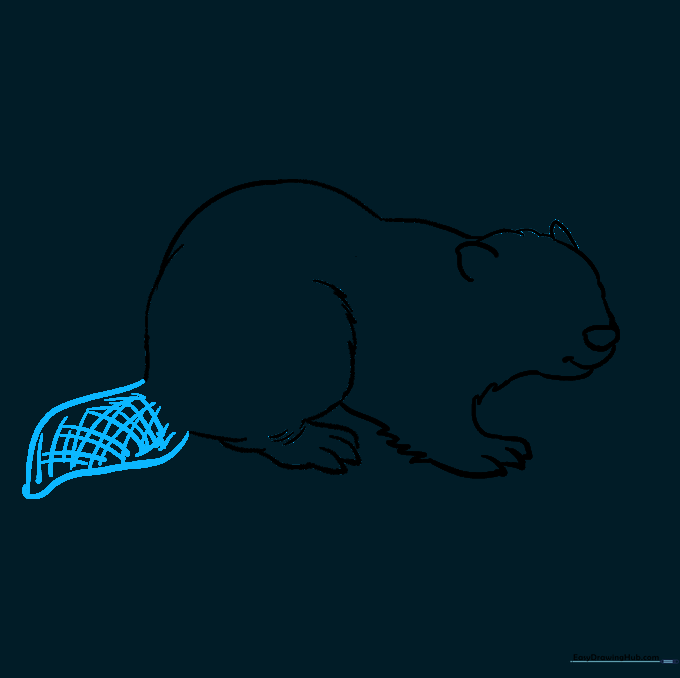
Draw the iconic flat tail using two curved lines. Add a cross-hatch pattern inside to show the texture. Tip: Keep your cross-hatch lines light; they should look like a small checkerboard.
Step 8: Facial Features
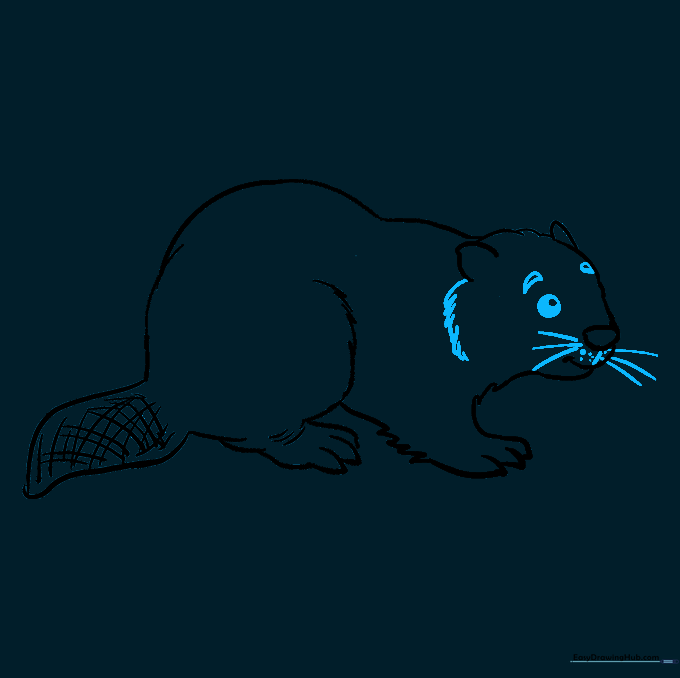
Add the eye, eyebrow, and whiskers. Use a circle-within-a-circle for the eye to give it depth. Tip: Draw the whiskers with quick, flicking motions of your pencil.
Step 9: Final Details
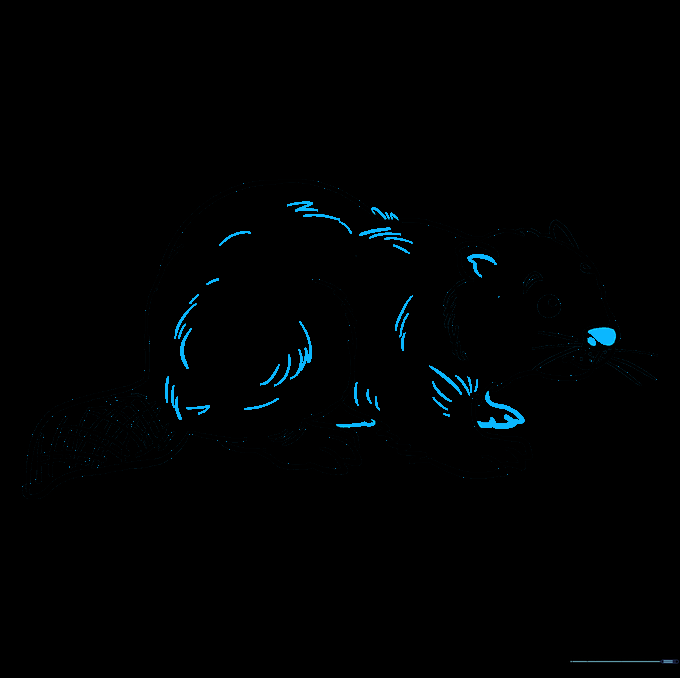
Shade the nose and add final fur texture lines across the body. Tip: Vary the length of your fur lines to make the beaver look more realistic.
Step 10: Bring it to Life with Color
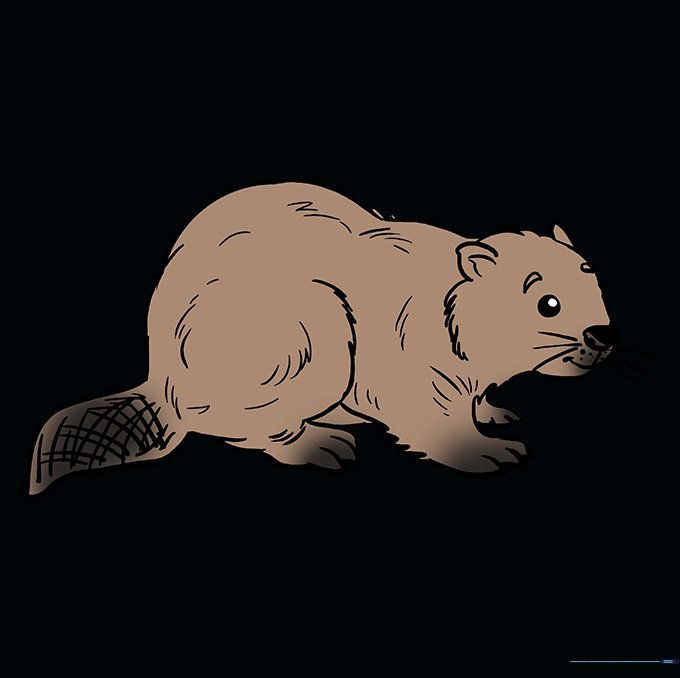
Color your beaver in shades of brown. Tip: Use a darker brown for the tail and a lighter, warmer brown for the fur to create contrast.
More Tutorials


