How to Draw a Beautiful Flower: Easy 10-Step Guide
Bring the garden to your sketchbook with this simple floral drawing tutorial. Designed for ages 5 and up, this activity requires only a pencil, paper, and an eraser to build confidence in basic shape construction. Follow along to create a vibrant, professional-looking flower in just a few minutes.
🎯 Final Result

Step-by-Step Instructions
Step 1: Sketching the Central Petal

Start by drawing a loose, uneven heart shape, closing it with a teardrop point facing left. Teacher's Tip: Keep your lines fluid and don't worry about perfection—nature is rarely perfectly symmetrical!
Step 2: Adding Overlapping Petals
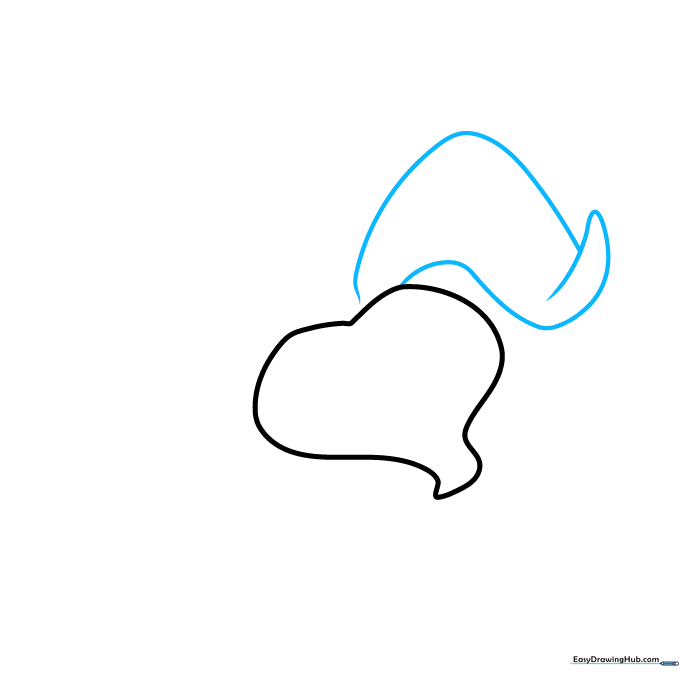
Sketch a gentle hill shape over your first petal, then add a smaller one just below it. Add a narrow, rounded triangle to the right to give the petal a sense of depth. Tip: Think of these as soft, overlapping layers of fabric.
Step 3: Building the Right Side
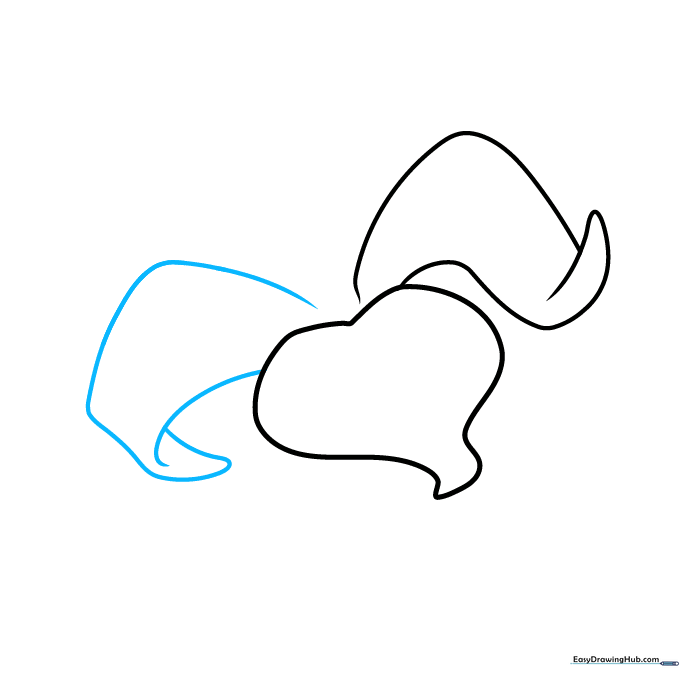
Draw another hill to the right with a soft curve underneath. Close the shape using a diagonal line and a small triangle that tucks under the petal. Tip: Use short, light strokes to maintain control of the curve.
Step 4: Creating Height
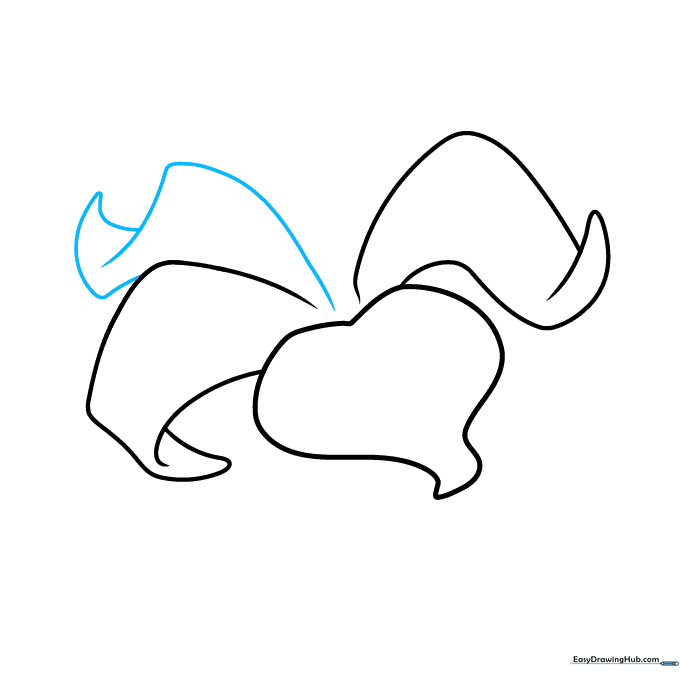
Add an uneven hill above your existing shape. Sketch a curvy, upward-pointing triangle and connect it to the main flower body with a diagonal line. Tip: Ensure the hill overlaps slightly to create a natural, organic look.
Step 5: Closing the Petal Structure
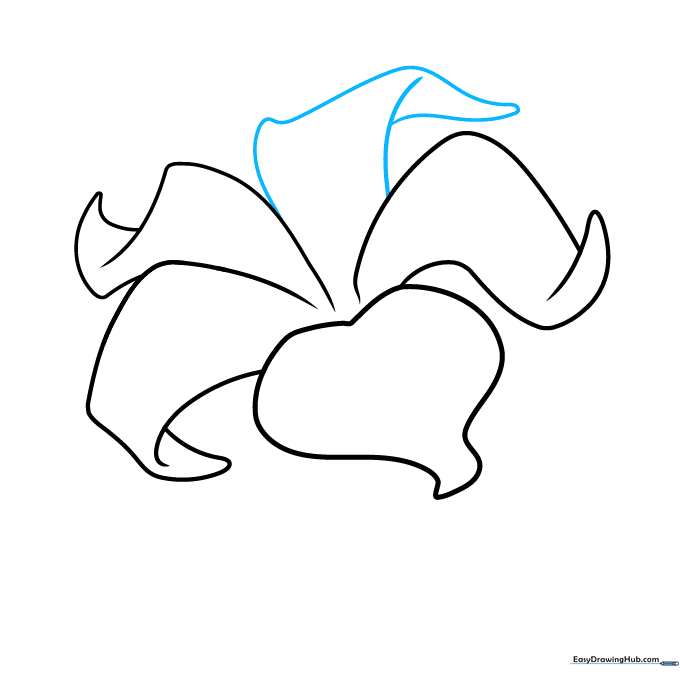
Complete the petal cluster using two curved vertical lines and a small hill between them. Add a long, rounded triangle pointing to the right. Tip: This creates the 'full' look of a blooming flower.
Step 6: Adding Floral Details
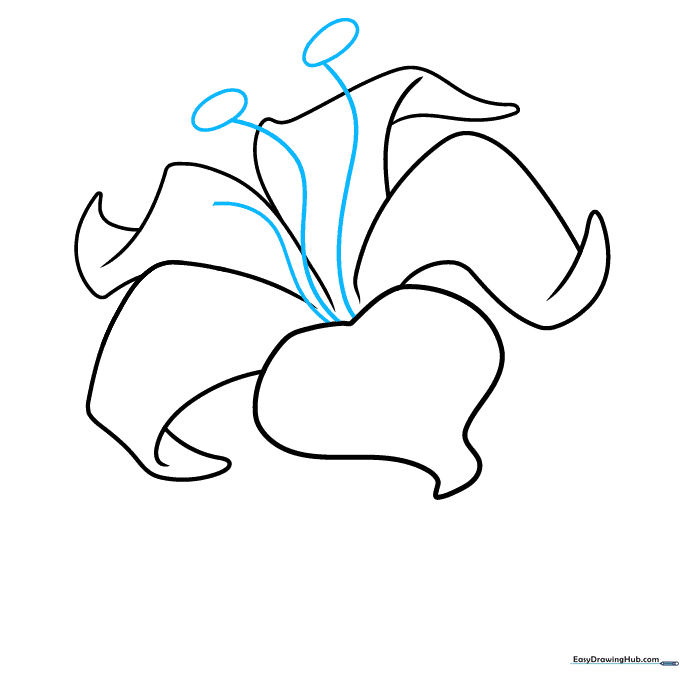
Draw three wavy lines and attach an oval to two of them. This adds texture and detail to the center of your flower. Tip: Imagine these as the delicate stamens found in real blossoms.
Step 7: Refining the Center
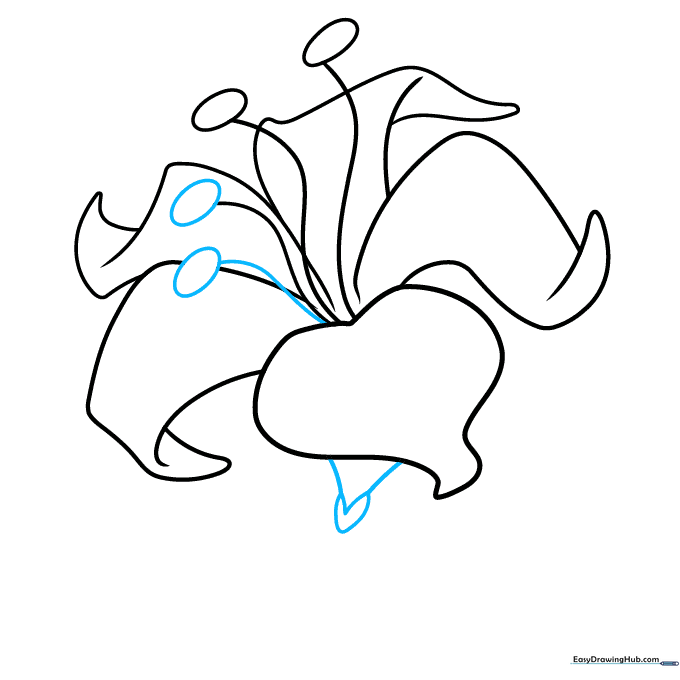
Add more ovals to the remaining lines. Beneath your first petal, sketch an uneven triangle that overlaps a small oval. Tip: Varying the sizes of these shapes makes the drawing look more realistic.
Step 8: Drawing the Stem and Leaves
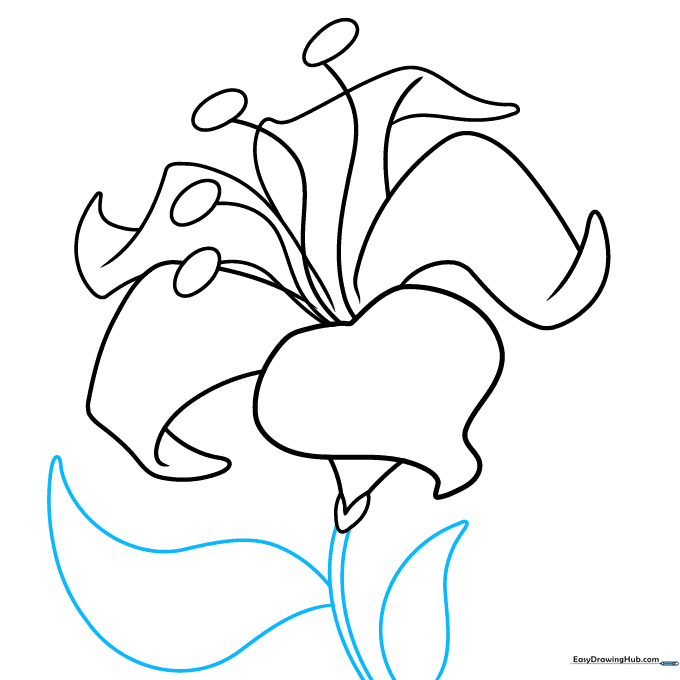
Use two vertical lines to create the stem. Draw a teardrop shape for the first leaf, then add two curved horizontal lines for a broad, swooping leaf. Tip: Use a ruler if you struggle with straight lines, but freehand is better for a natural look!
Step 9: Adding Final Details
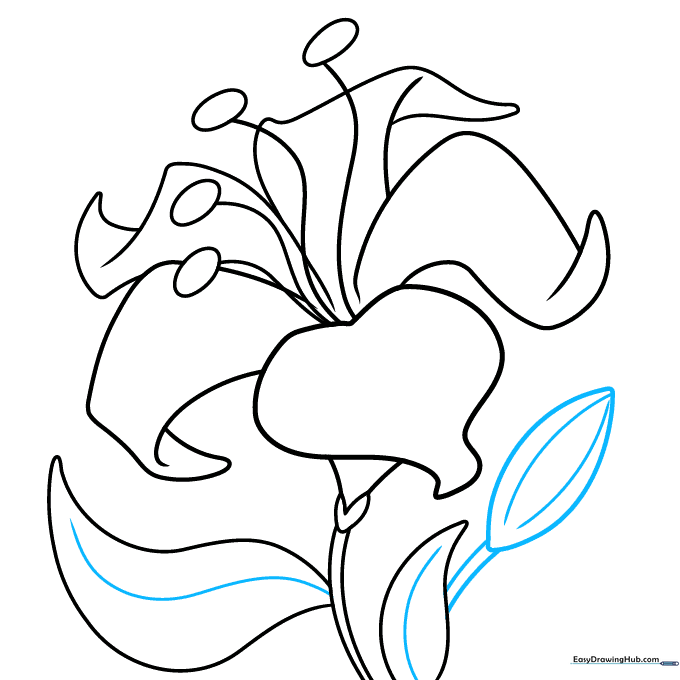
Draw a line down the center of each leaf for veins. Add a football-shaped bud and connect it to the leaf with two small lines. Tip: These small details add professional polish to your work.
Step 10: Outlining and Finishing

Trace over your pencil lines with a black pen or marker. Once the ink is dry, gently erase any remaining pencil marks. Tip: Use a steady hand and rotate your paper to get the best angle for your curves.
More Tutorials


