How to Draw a Beard: Easy 10-Step Guide for Beginners
Ready to add some character to your portraits? This tutorial is perfect for young artists ages 6+ looking to master facial hair. All you need is a pencil, an eraser, and a sheet of paper to get started.
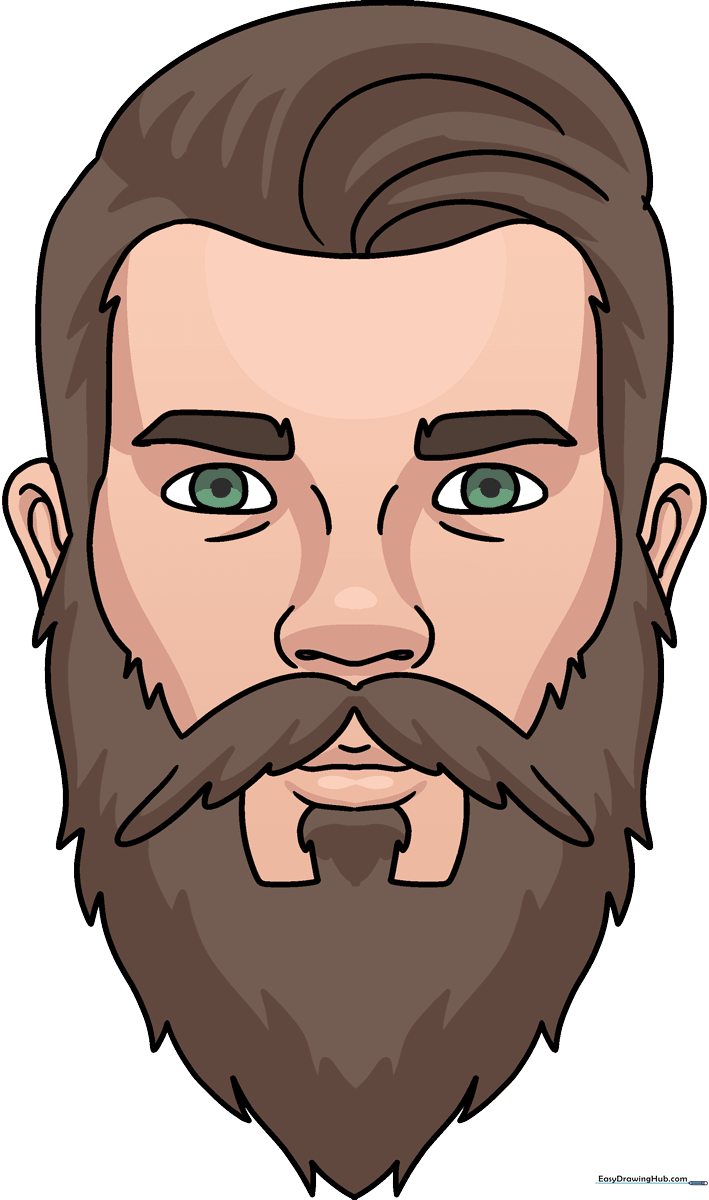
🎯 Final Result
Step-by-Step Instructions
Step 1: Sketching the Eyes
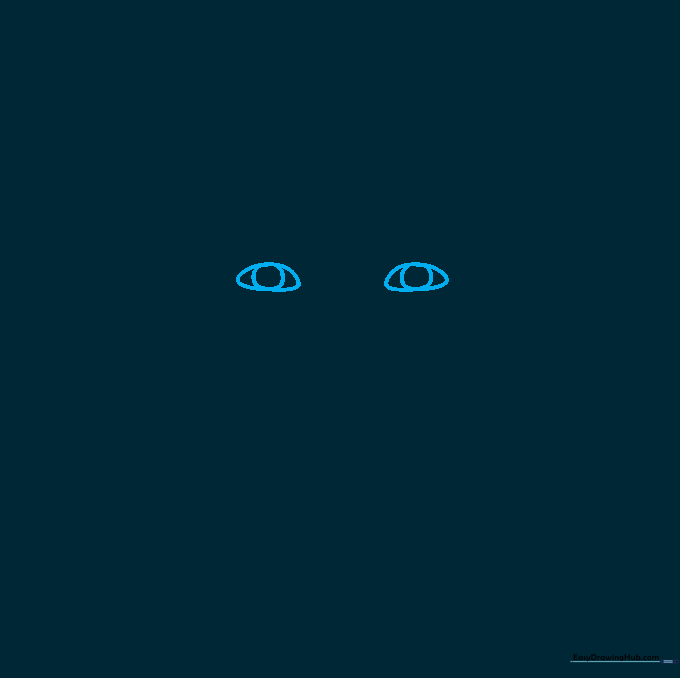
Draw two almond-shaped eyes using curved lines, then add a circle inside each for the pupil. Teacher's Tip: Keep the eyes level so your character doesn't look surprised!
Step 2: Defining the Brows and Bridge
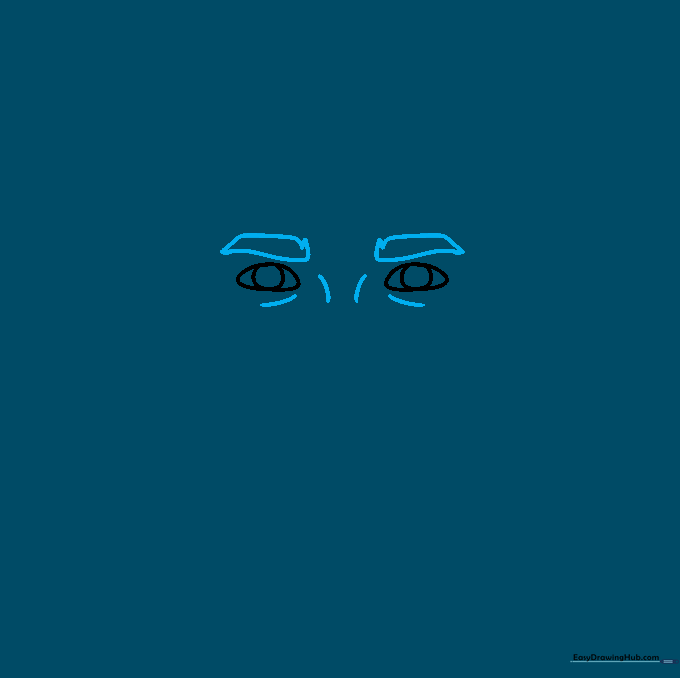
Draw the bridge of the nose between the eyes and sketch the eyebrows using short, flicking strokes. Teacher's Tip: Use a light touch to make the eyebrows look like natural hair growth.
Step 3: Shaping the Nose and Face
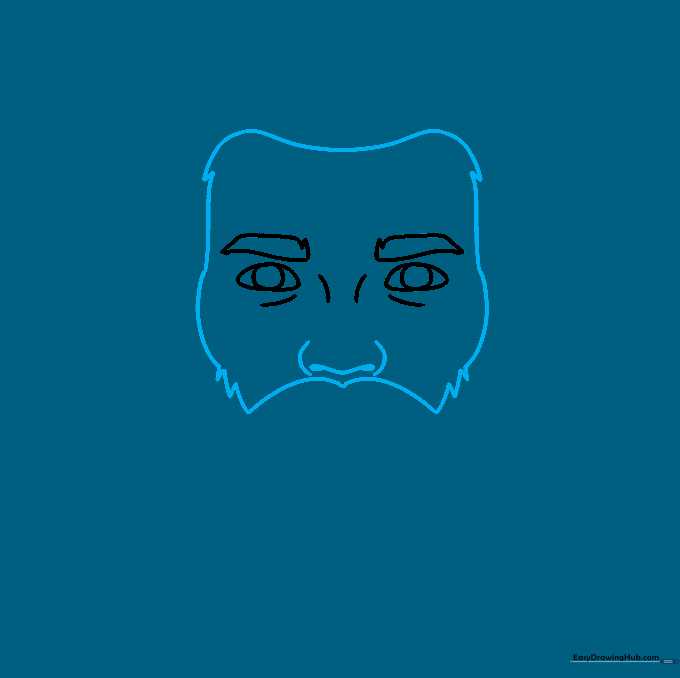
Outline the nose and shade the nostrils, then draw the outer contour of the face. Teacher's Tip: Use jagged lines for the cheeks to suggest the start of the beard.
Step 4: Outlining the Beard
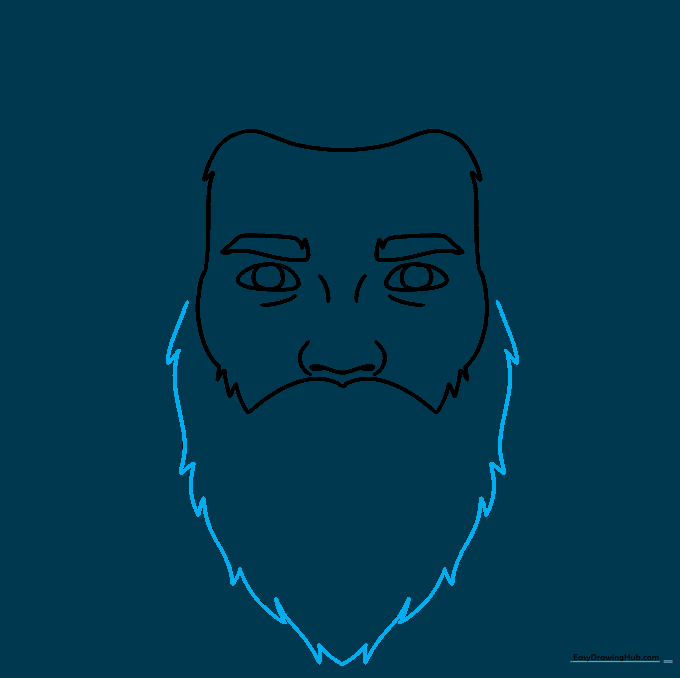
Use a series of connected curved lines to create the jagged outline of the beard. Teacher's Tip: Vary the length of your lines to make the beard look realistic rather than perfectly smooth.
Step 5: Adding Ears
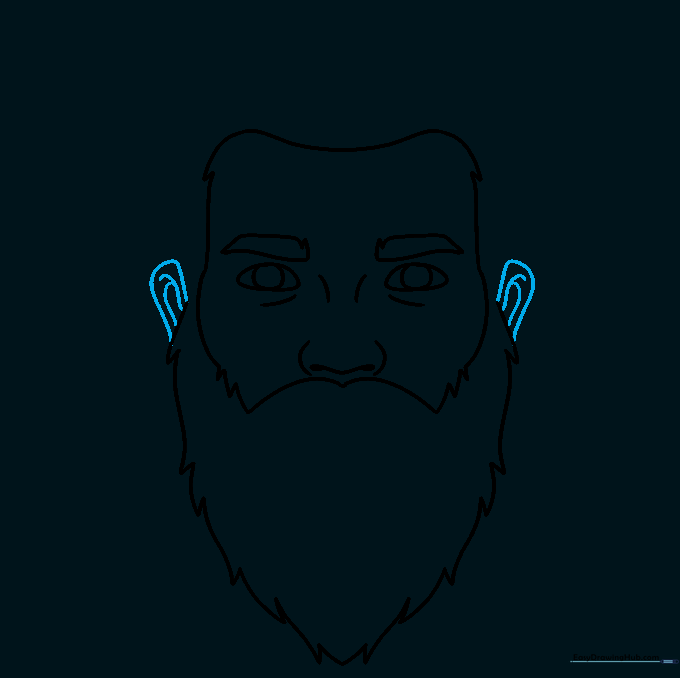
Sketch the ears on either side of the head using curved lines. Teacher's Tip: Ears usually align with the top of the eyes and the bottom of the nose.
Step 6: Drawing the Hair
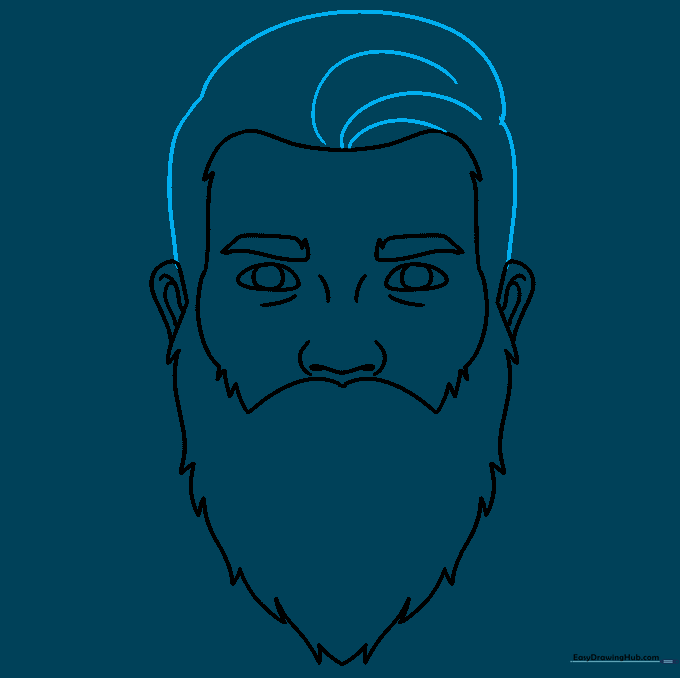
Draw the hair on top of the head, connecting it to the ears. Add texture lines to show direction. Teacher's Tip: Draw hair in clumps rather than individual strands for a cleaner look.
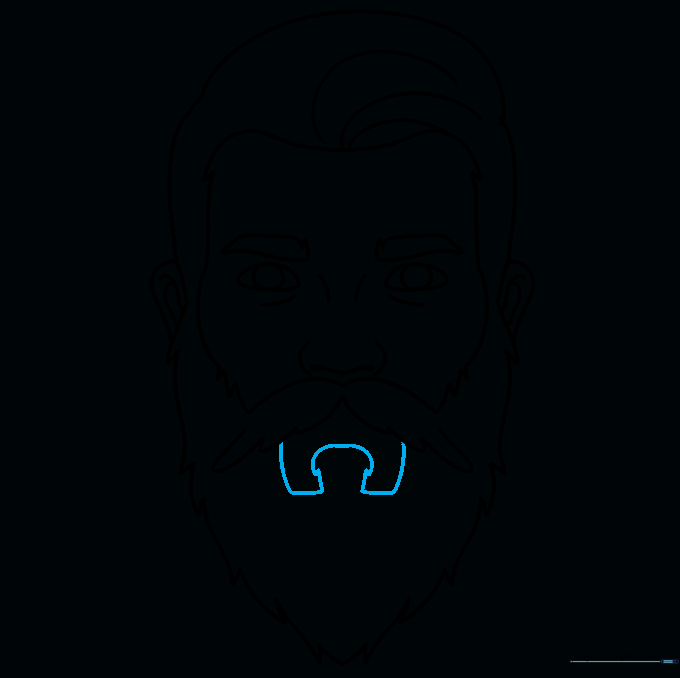
Step 7: Sketching the Mustache
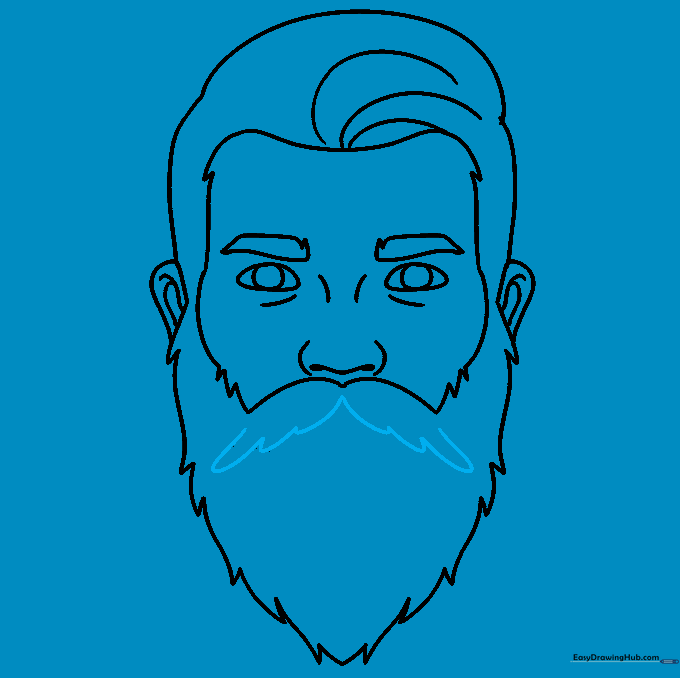
Draw a downward-facing 'V' shape for the mustache. Teacher's Tip: Keep the lines soft to make the mustache look like it blends into the beard.
Step 8: Refining the Beard
Add more irregular curved lines below the mouth to fill out the beard. Teacher's Tip: Think of this as adding 'weight' to the chin area.
Step 9: Adding the Lips
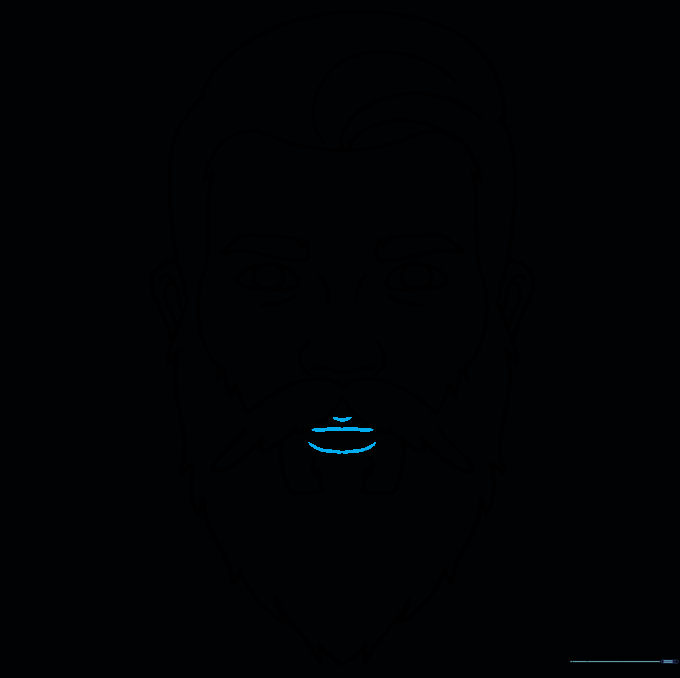
Draw the lips using simple curved lines. Teacher's Tip: Don't make the lips too dark; keep them subtle so the beard remains the focus.
Step 10: Coloring Your Character

Add color to your character! Use browns, grays, or even bright colors to give your bearded man personality. Teacher's Tip: Use light pressure for a soft look or heavy pressure for a bold, dark beard.
More Tutorials


