How to Draw a Bear: Easy 9-Step Guide for Kids
Looking for a fun, screen-free activity? This guide is perfect for young artists ages 6+ to practice basic shapes and animal anatomy. Grab a pencil, an eraser, and a piece of paper to start building your own friendly forest bear today.
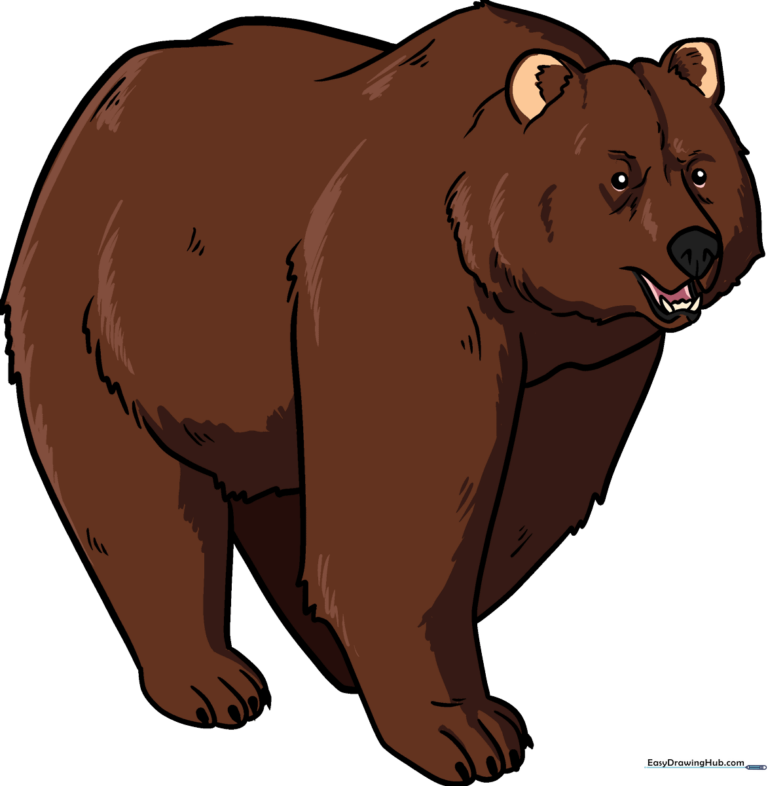
🎯 Final Result
Step-by-Step Instructions
Step 1: Sketching the Eyes
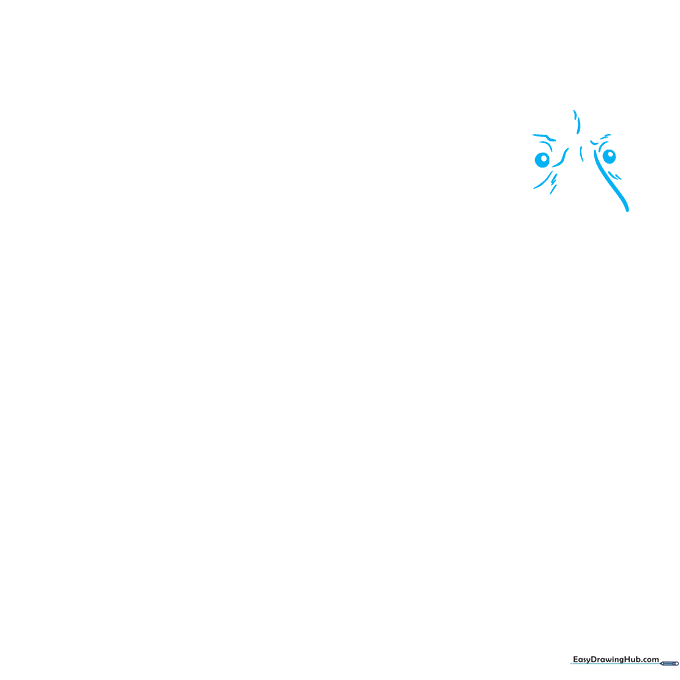
Draw two circles for the eyes with smaller dots inside for pupils. Shade the space between them. Teacher's Tip: Keep these circles small and close together to give your bear a friendly, focused expression.
Step 2: Defining the Snout
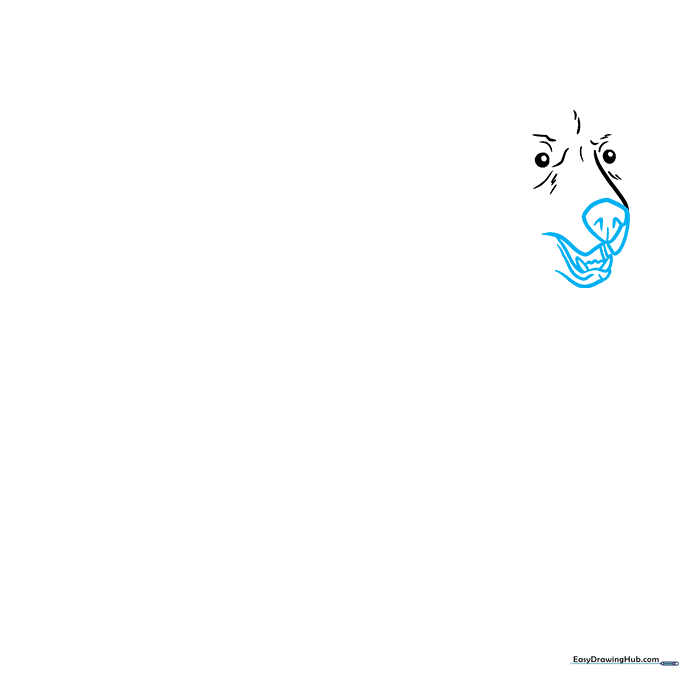
Enclose an irregular round shape for the nose and add curved lines for the nostrils. Sketch the open mouth and sharp teeth. Teacher's Tip: Use light, quick strokes for the teeth so they look natural rather than perfectly straight.
Step 3: Shaping the Head and Ears
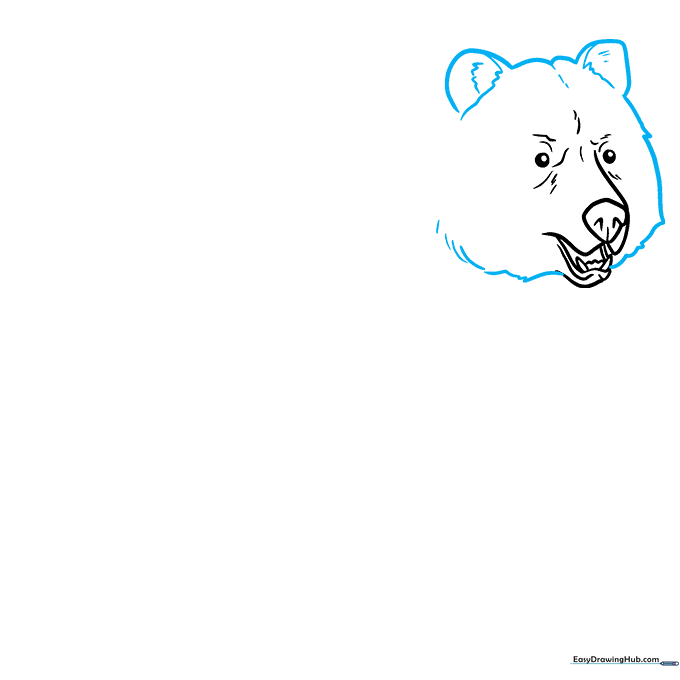
Outline the head using curved lines and add rounded ears. Use jagged, short strokes to suggest fur texture. Teacher's Tip: Think of the fur as 'spiky' grass to get that realistic, wild look.
Step 4: Starting the Body
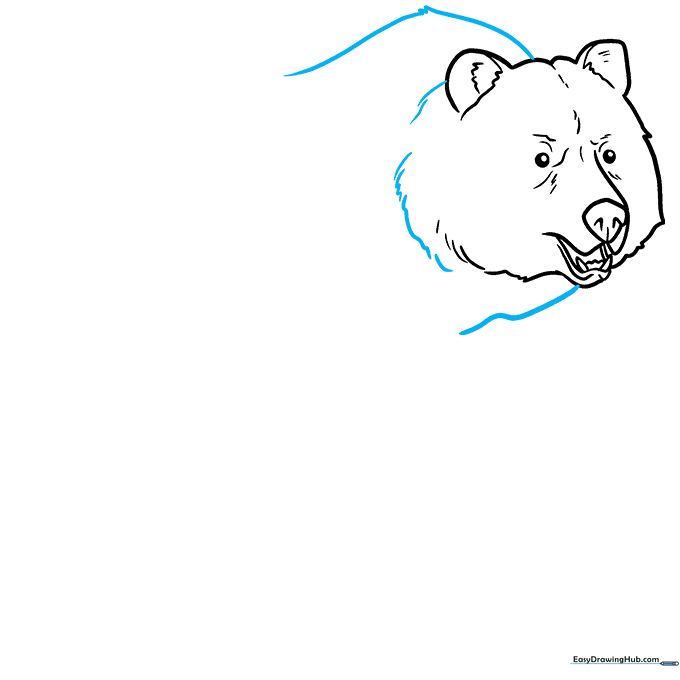
Extend long, curved lines from the head to create the neck and shoulders. Use short, choppy lines at the base of the neck to show fur. Teacher's Tip: Don't worry about making the lines perfectly smooth; fur is naturally messy!
Step 5: Drawing the Front Leg
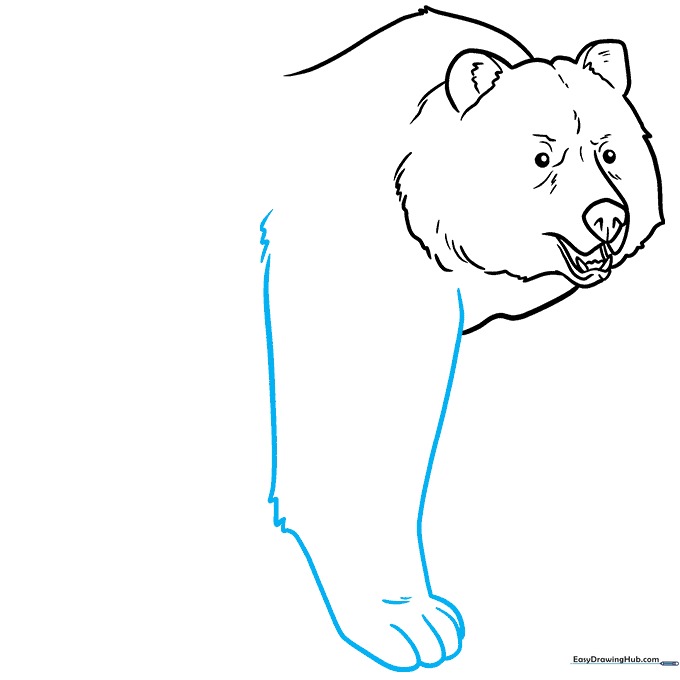
Draw the front leg using long, curved lines. Add overlapping lines at the bottom to form the toes. Teacher's Tip: Focus on the weight of the leg; bears are heavy animals, so make the base of the leg look sturdy.
Step 6: Adding Claws and Belly
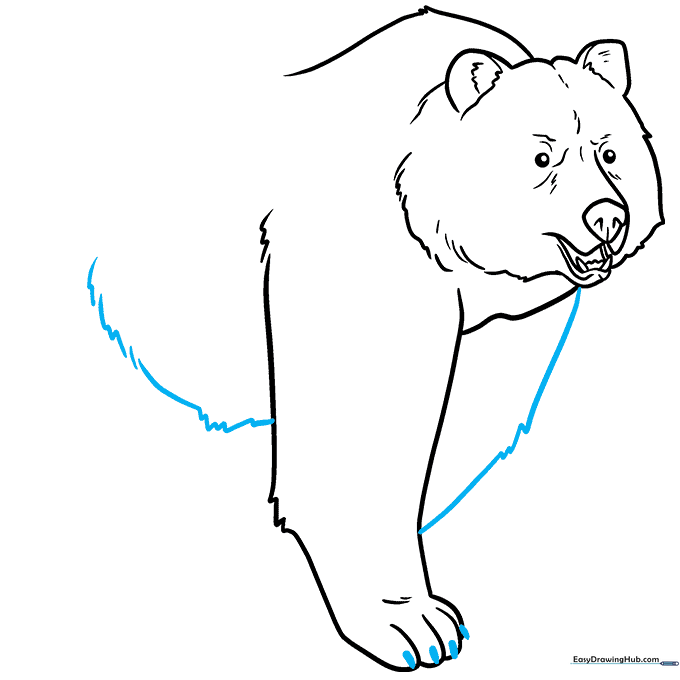
Shade small ovals at the tips of the toes for claws and sketch the belly line. Teacher's Tip: Keep the claw shapes consistent so the bear looks balanced.
Step 7: Drawing the Rear Leg
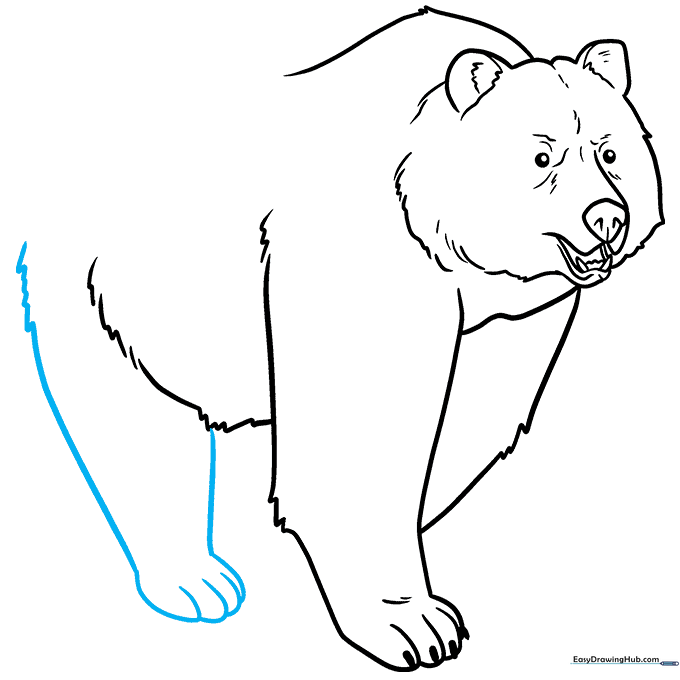
Draw the rear leg using curved lines, ensuring the fur texture matches the front leg. Teacher's Tip: The rear leg should look slightly thicker than the front leg to show the bear's power.
Step 8: Finalizing the Body
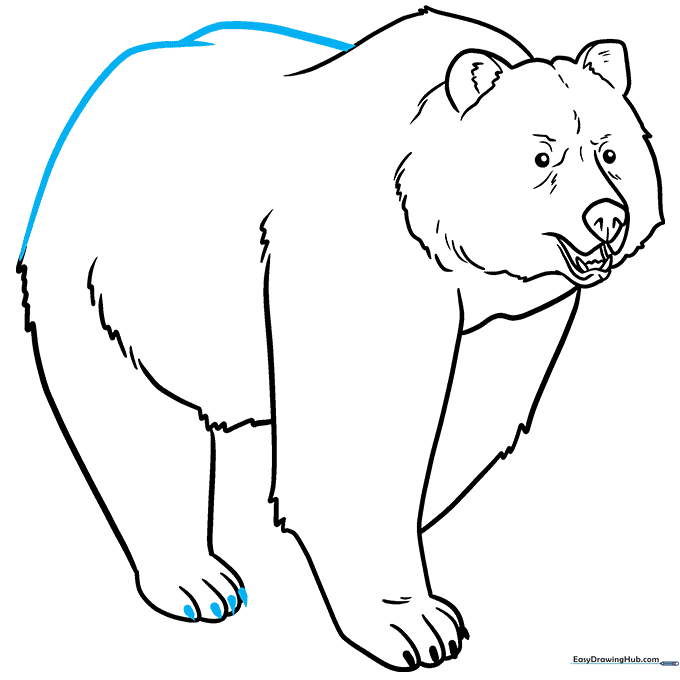
Connect the body lines and shade the remaining claws. Teacher's Tip: Check your proportions—ensure the body looks large enough to support the head.
Step 9: Completing the Outline
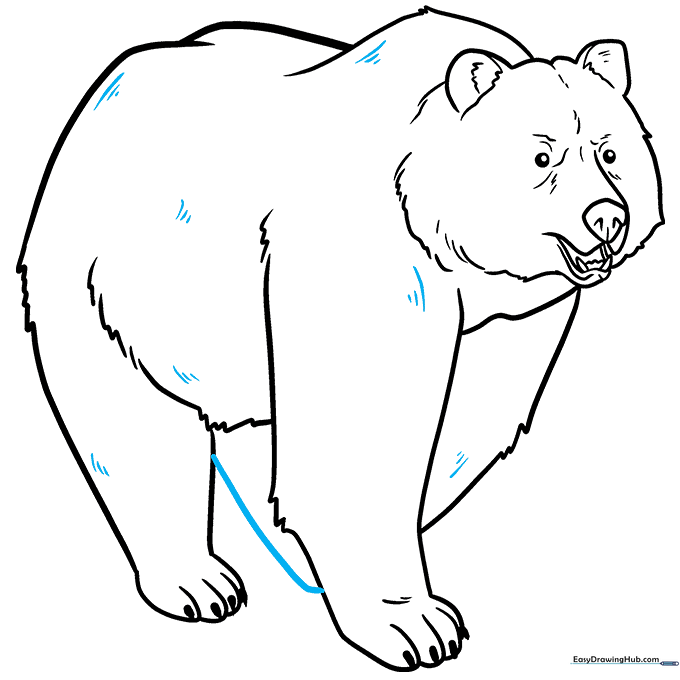
Draw the final leg and add extra fur texture lines across the body. Teacher's Tip: Use a darker pencil to go over your final lines, then erase any stray construction marks.
Step 10: Bring Your Bear to Life with Color
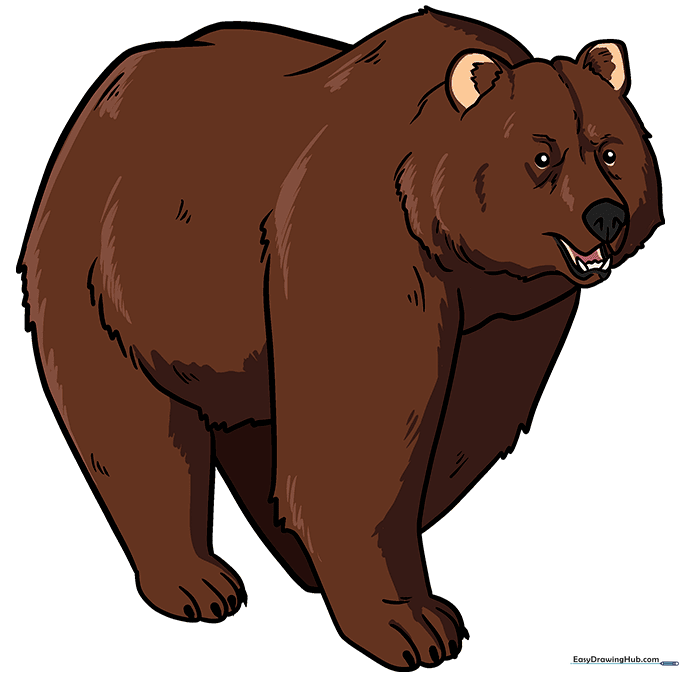
Time to color! Whether you choose a brown grizzly, a black bear, or a white polar bear, use light and dark shades to create depth in the fur. Teacher's Tip: Use short, light strokes with your colored pencil to mimic the direction of the fur.
More Tutorials


