How to Draw a Beanie: Easy 10-Step Guide for Kids
Ready to design your own winter gear? This tutorial is perfect for young artists ages 5+ to practice drawing soft textures and curved shapes. All you need is a pencil, an eraser, and your favorite markers to bring this cozy hat to life.
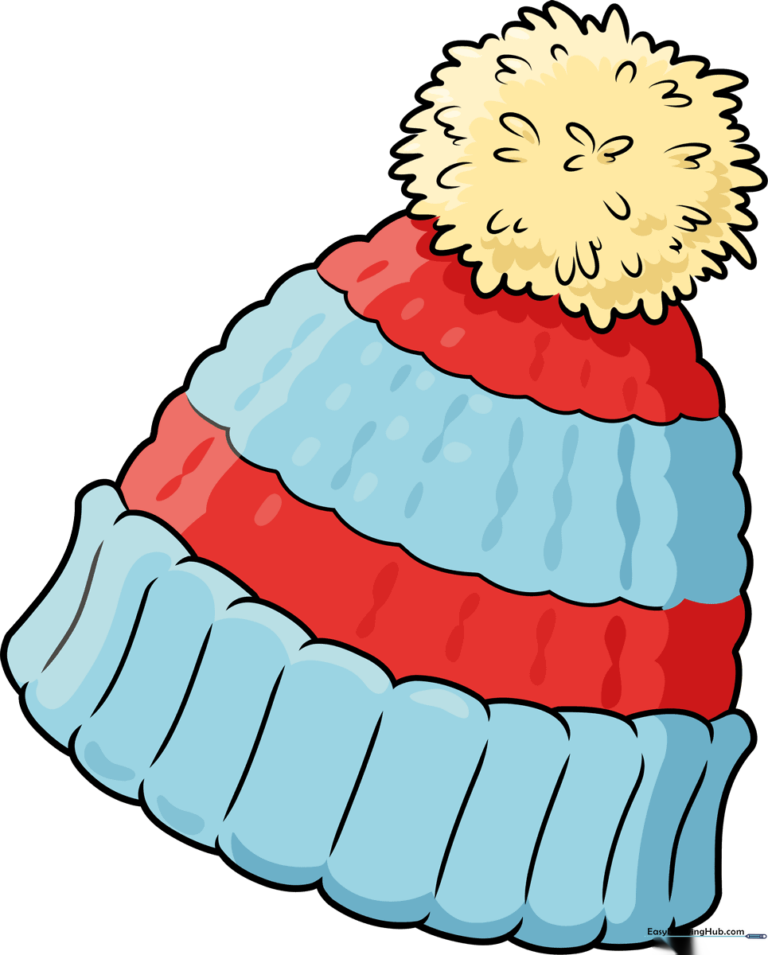
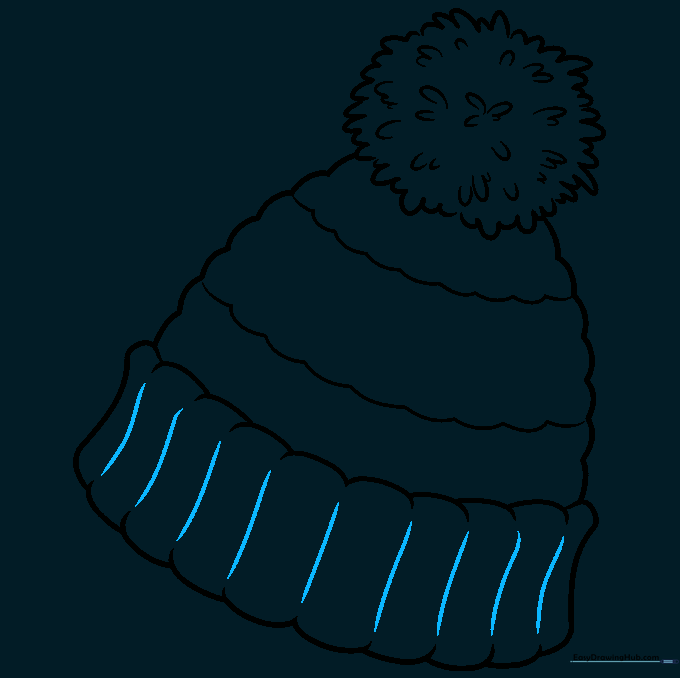
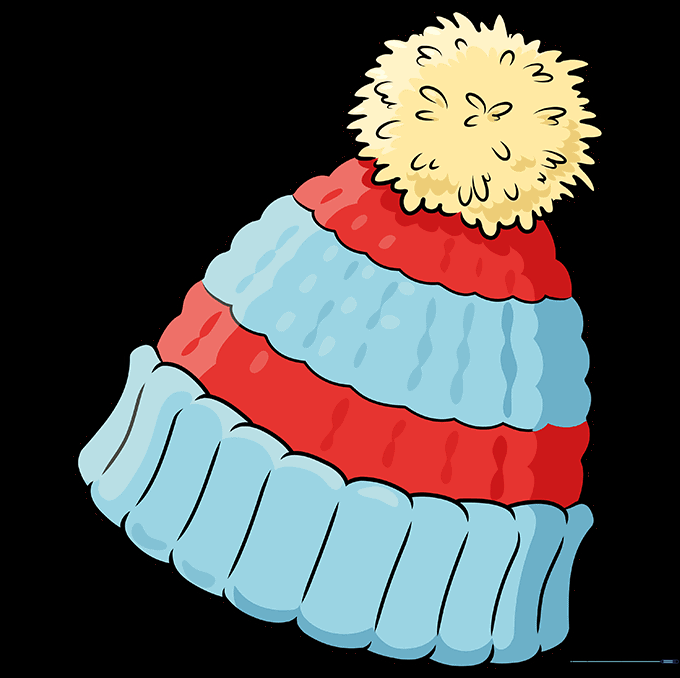
🎯 Final Result
Step-by-Step Instructions
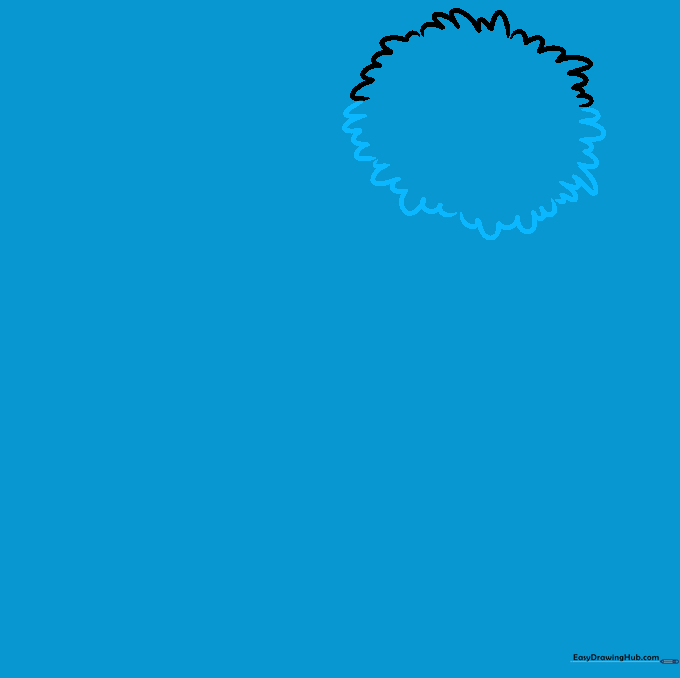
Step 1: Sketching the Pom-Pom Base

Start by drawing the fuzzy pom-pom at the top. Use a series of small, connected 'U' shapes to create a circular, fluffy outline. Teacher's Tip: Keep your pencil pressure light so you can easily adjust the shape if it looks a bit lopsided.
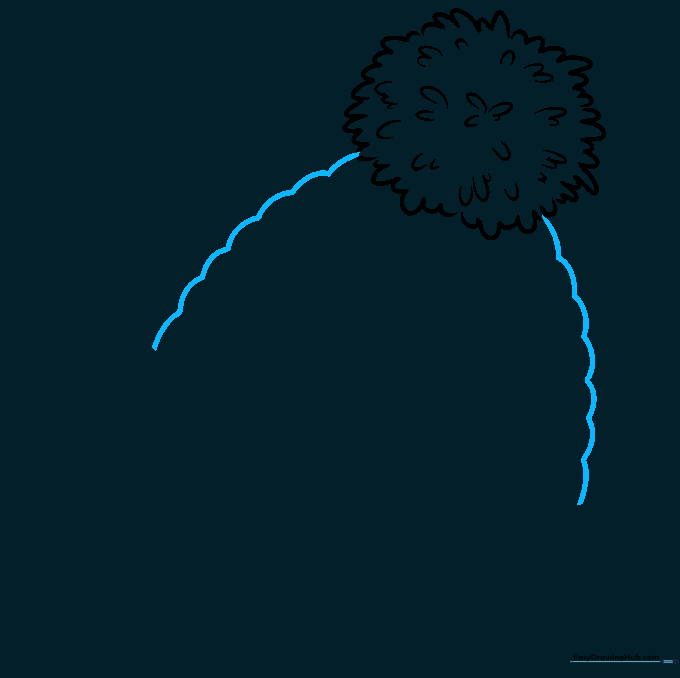
Step 2: Defining the Hat Shape
Continue using those 'U' shaped lines to build the main body of the beanie downward. Tip: Imagine the hat is sitting on an invisible head; keep the sides rounded and symmetrical.
Step 3: Adding Texture to the Pom-Pom
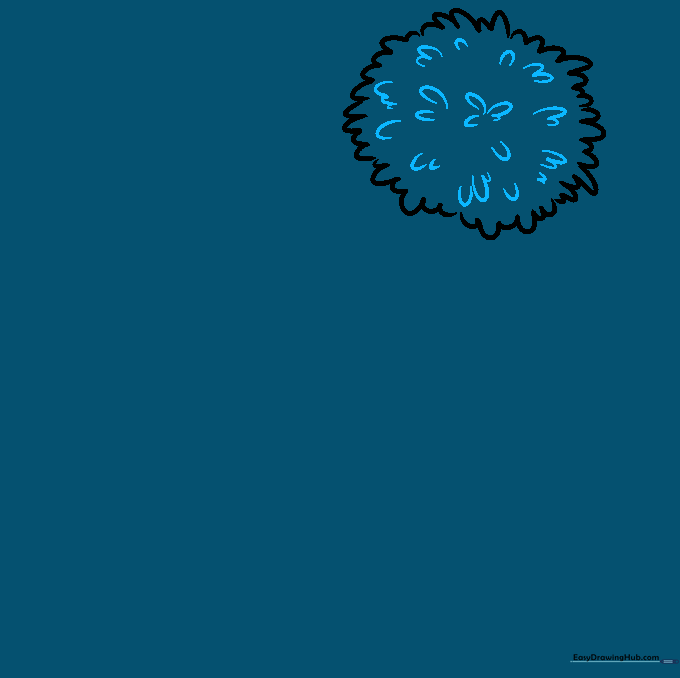
Add depth to your pom-pom by drawing smaller 'U' shapes inside the circle. Make sure the openings of the 'U's face the center to create a realistic, fuzzy look.
Step 4: Outlining the Sides
Draw wavy, scalloped lines descending from the pom-pom to form the sides of the hat. Tip: Don't worry about making them perfectly straight; fabric is soft and naturally wavy!
Step 5: Creating the First Stripe

Draw a horizontal scalloped line across the top section of the hat. This creates a stylish stripe. Tip: Keep your hand relaxed to get that nice, flowing wavy motion.
Step 6: Completing the Striped Band
Add a second scalloped line below the first to finish the striped band. This helps the hat look like it has a thick, knitted pattern.
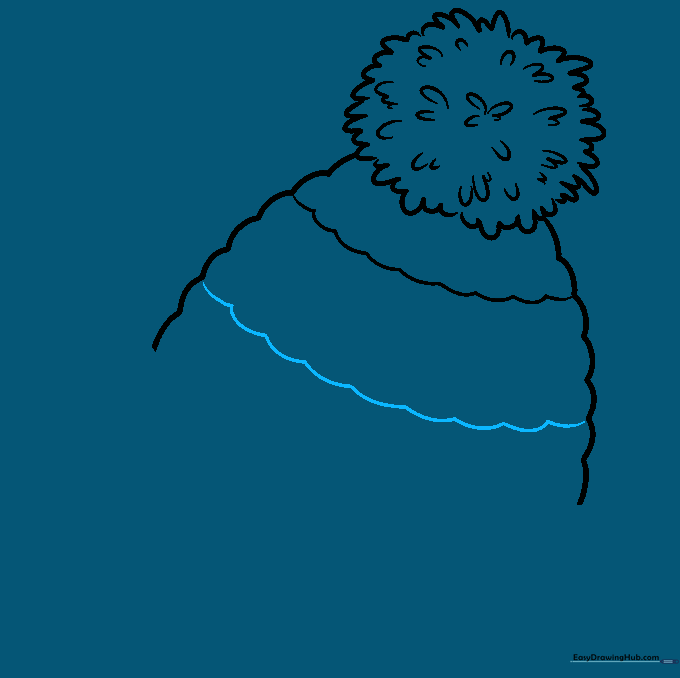
Step 7: Drawing the Hat Band
Connect the sides of the hat with overlapping curved lines at the bottom. Let these lines extend slightly past the sides to show the thickness of the folded cuff.
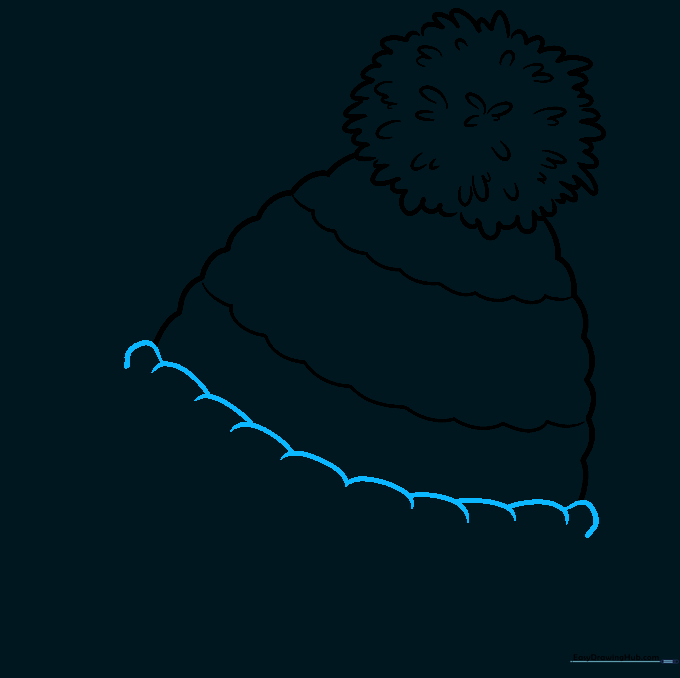
Step 8: Refining the Cuff
Draw the sides of the hatband with curved lines and connect them to finish the cuff. Tip: Ensure the lines look like they are wrapping around the head.
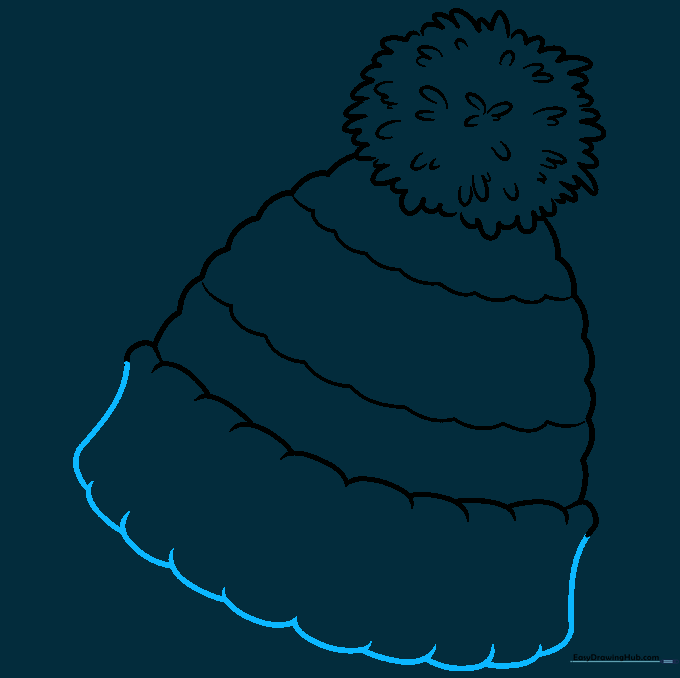
Step 9: Adding Knitted Texture
Add small, curved lines inside the band to suggest the texture of knitted yarn. This makes your drawing look professional and cozy!
Step 10: Adding Color
Time to color! Use bright colors for the stripes or match them to your favorite sports team. Remember to color in one direction to keep your artwork looking neat.
More Tutorials


