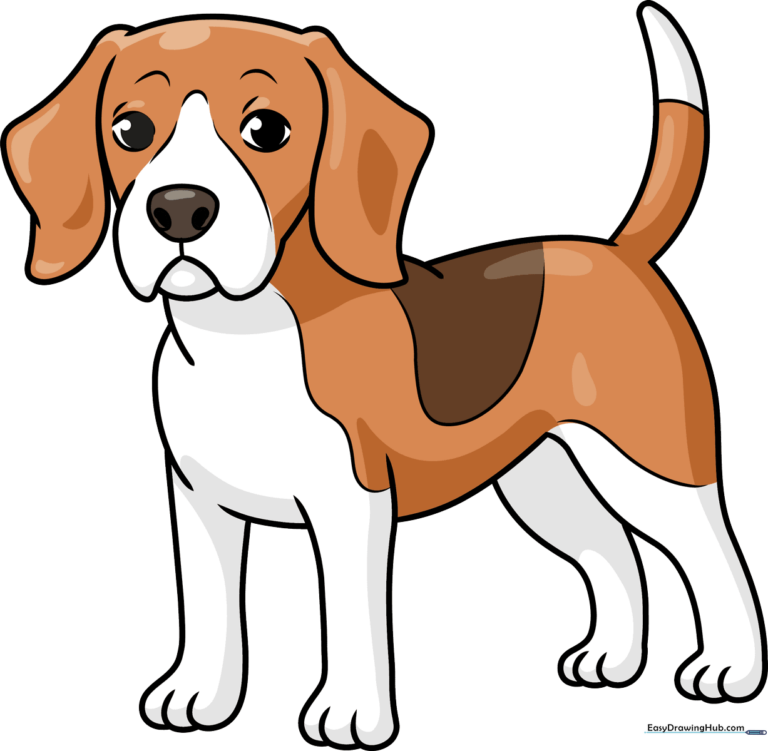
How to Draw a Beagle: Easy 10-Step Guide for Kids
Bring this friendly hound to life with our simple, step-by-step drawing guide. Designed for young artists ages 5 and up, this tutorial uses basic shapes to build confidence and artistic ability. Grab your pencil, eraser, and paper, and let’s get drawing!
🎯 Final Result
Step-by-Step Instructions
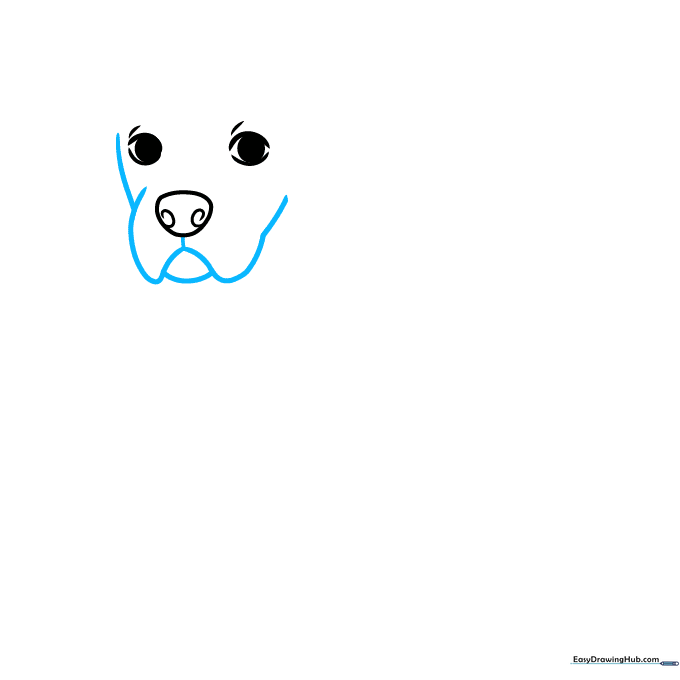
Step 1: Sketching the Beagle's Face

Start by drawing a small, rounded shape for the nose with two tiny spirals inside for the nostrils. Add two curved lines for the eyes, leaving a small gap at the corners. Tip: Draw the eyes about the same size to keep your Beagle looking balanced and friendly.
Step 2: Defining the Muzzle
Use soft, overlapping curved lines to outline the muzzle, jowls, and the lower jaw. Tip: Keep your lines rounded to give the Beagle that classic, soft-faced look.
Step 3: Drawing the Floppy Ears
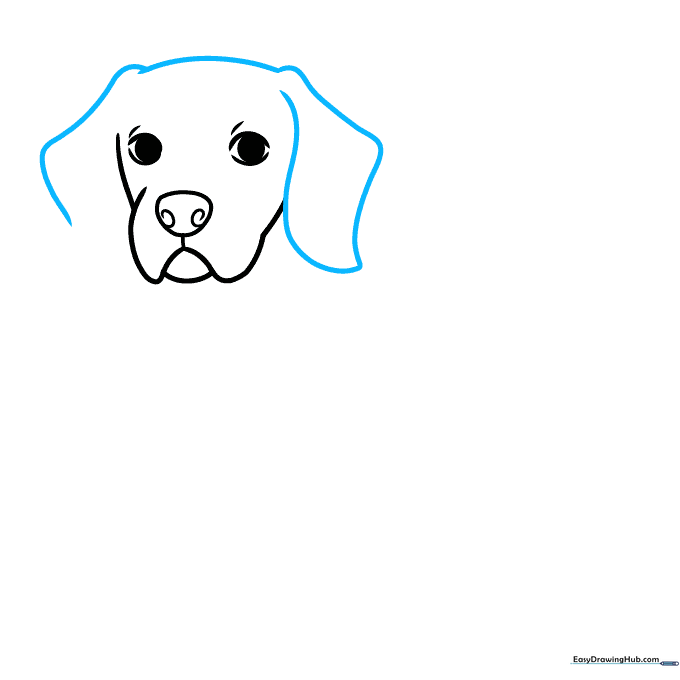
Draw long, curved lines on either side of the head to create the Beagle's signature floppy ears. Tip: Let the lines double back on themselves to show the fold in the ear, adding depth to your drawing.
Step 4: Adding Chest and Facial Markings
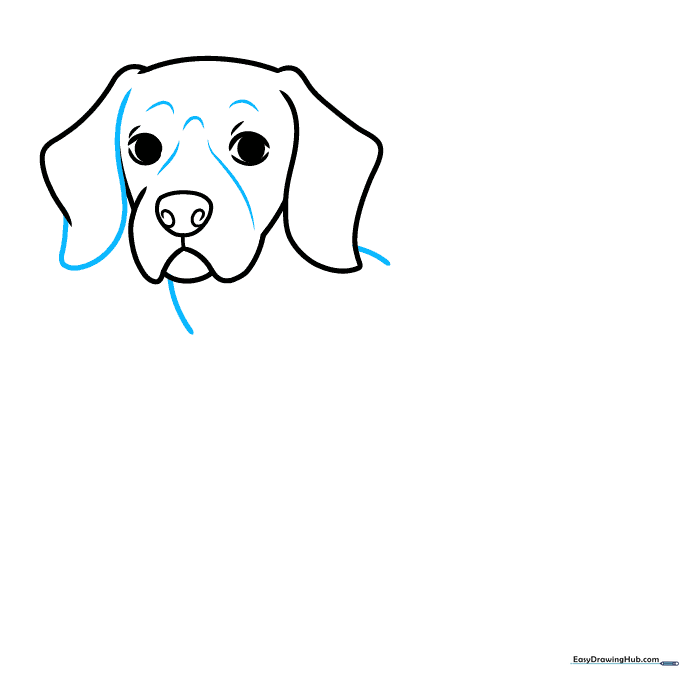
Complete the second ear, then use short, gentle curves to start the chest and shoulder. Add a few lines above the eyes to suggest the Beagle's unique facial mask. Tip: Keep these lines light; they act as a guide for where your color patches will go later.
Step 5: Sketching the Front Legs
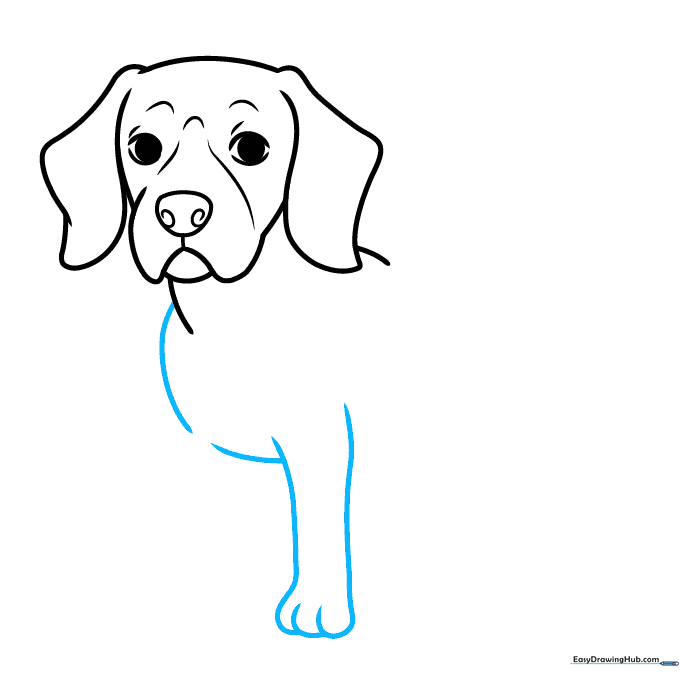
Use overlapping curved lines to form the chest, belly, and the front leg. Don't forget to add small curves at the bottom for the toes. Tip: Imagine the leg as a soft cylinder to help you get the shape right.
Step 6: Drawing the Back Leg
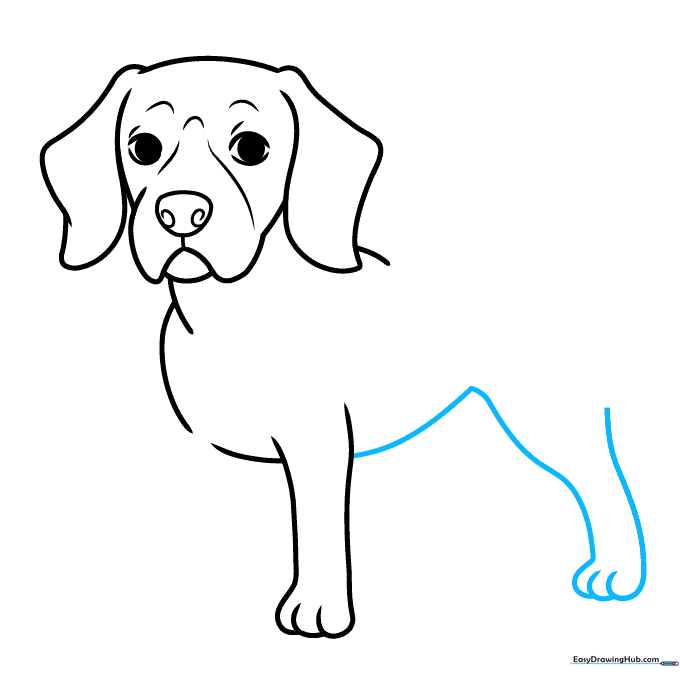
Draw a long, smooth curve for the belly leading into the back leg. Sketch the toes with small, overlapping circles. Tip: Extend the back line of the leg slightly to give your Beagle a sturdy, realistic stance.
Step 7: Adding the Second Foreleg
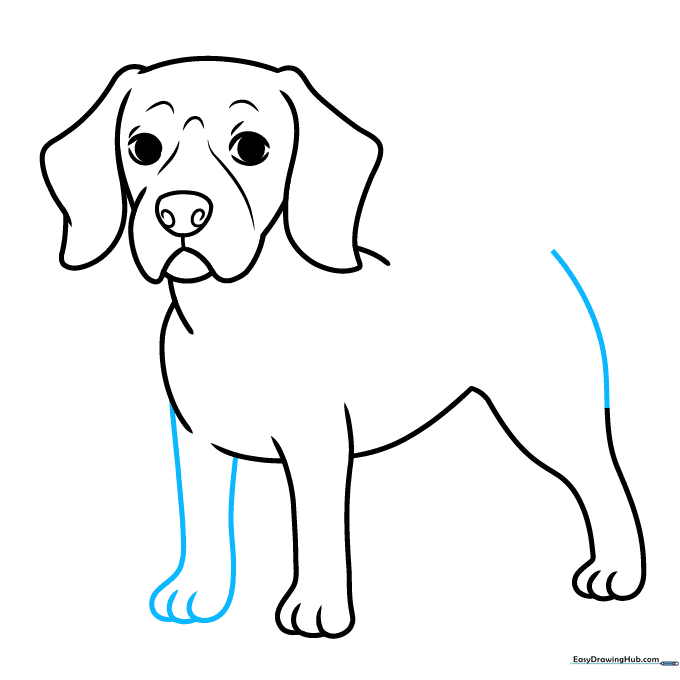
Draw the remaining front leg, mirroring the shape of the first one. Extend the line from the rear leg to define the hip. Tip: Overlapping your lines slightly helps create the illusion of depth.
Step 8: Completing the Body
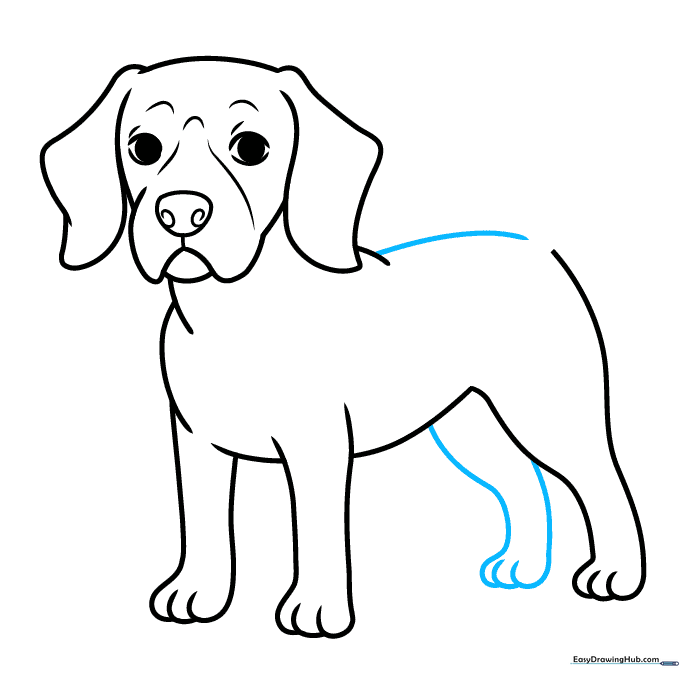
Draw a long, sweeping curved line from the shoulder to form the back. Sketch the final back leg using the same technique as before. Tip: Make sure the back is slightly arched to give your dog a natural, active posture.
Step 9: Adding the Tail and Spots
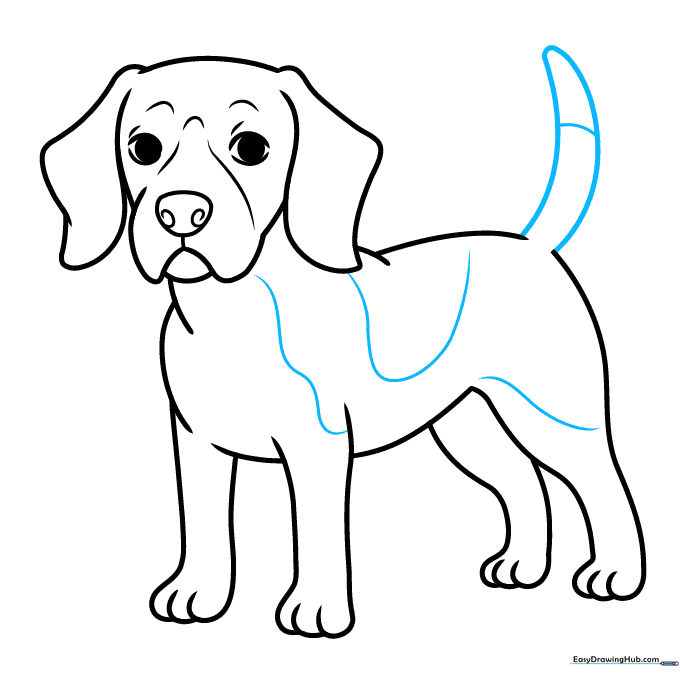
Finish your outline by adding a curved tail and drawing patches on the body. Tip: Beagles are known for their spots; don't be afraid to make them irregular shapes to look more like real fur patterns.
Step 10: Bringing Your Beagle to Life with Color
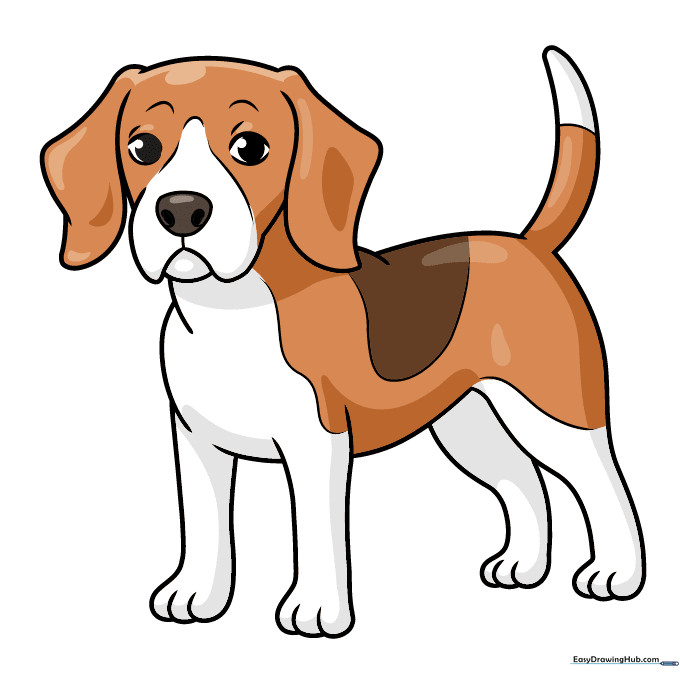
Time to color! Use white for the belly, legs, and face, and fill in the patches with warm shades of brown. Tip: Use light pressure with your colored pencils to blend the brown into the white for a softer, more realistic fur effect.
More Tutorials


