How to Draw a Beach: Easy Step-by-Step Guide for Kids
Bring the summer vibes to your sketchbook with this beginner-friendly beach landscape. Designed for artists ages 5 and up, this project uses basic shapes to build a complete scene, including an umbrella and a beach ball. Grab your pencil, eraser, and paper to start creating your own seaside paradise today.
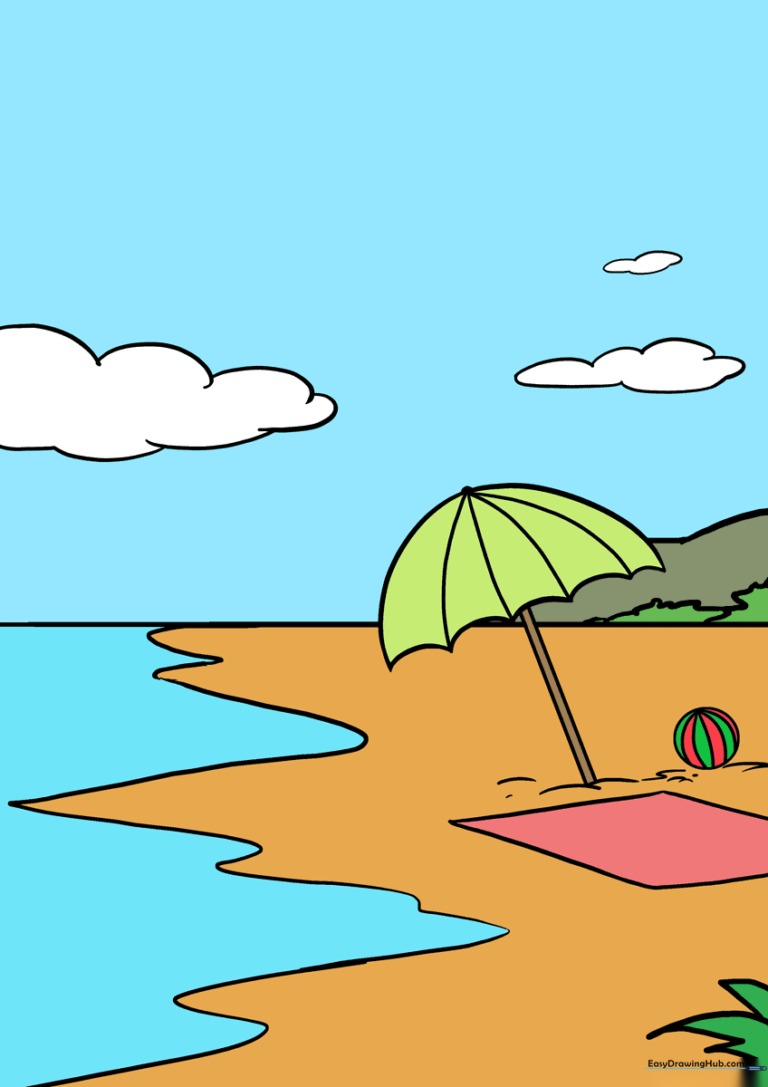
🎯 Final Result
Step-by-Step Instructions
Step 1: Setting the Horizon

Draw a straight, horizontal line across your paper. This is your horizon line, where the ocean meets the sky. Teacher's Tip: Use a ruler if you want it perfectly straight, or go freehand for a more natural, organic feel.
Step 2: Defining the Tide Line

Draw a long, gentle, wavy line starting from the horizon and curving downward. This represents the tide line where the water washes onto the sand. Tip: Keep your pencil pressure light so you can adjust the curve if it looks too stiff.
Step 3: Adding Coastal Greenery

Draw a small plant on the beach using a series of short, connected, jagged lines. This adds texture to your landscape. Tip: Don't worry about making it perfect; nature is full of irregular shapes!
Step 4: Sketching Distant Mountains

Extend a lumpy, curved line from the horizon to create a mountain silhouette. Below it, add a few rounded, jagged shapes to represent tropical trees. Tip: Keep these background elements smaller than your foreground items to create a sense of depth.
Step 5: Drawing the Beach Towel

Use four straight lines to draw a diamond shape on the sand. This is your beach towel. Tip: If you want to make it look like it's lying flat, ensure the bottom two lines are slightly wider than the top two.
Step 6: Starting the Umbrella

Add some curved lines around the towel to show the texture of the sand. Then, draw two parallel diagonal lines sticking out of the sand to form the umbrella pole. Tip: Use a ruler for the pole to keep it nice and straight.
Step 7: Creating the Umbrella Canopy

Draw a large, curved arc at the top of the pole. Connect the bottom of the arc to the pole using a series of upside-down 'U' shapes. Tip: Add a small dot at the very top of the pole to finish the umbrella tip.
Step 8: Cleaning Up Your Lines

Carefully erase any overlapping guide lines inside the umbrella canopy. Tip: Use a soft eraser and brush away the crumbs with your hand or a clean cloth to keep your paper smudge-free.
Step 9: Final Details

Add a beach ball by drawing a circle with curved stripes. Detail the umbrella by drawing lines from the center to the edges. Finally, draw fluffy clouds in the sky using connected, rounded lines. Tip: Vary the size of your clouds to make the sky look more realistic.
Step 10: Adding Color
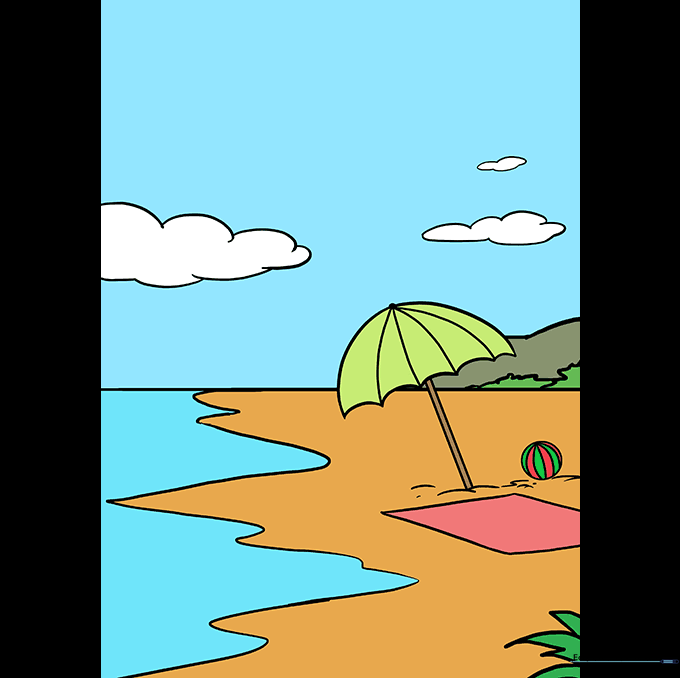
Bring your beach to life with bright colors! Use blues for the ocean, yellows for the sand, and vibrant colors for your umbrella and beach ball. Tip: Try using light blue for the water near the shore and darker blue for the deep ocean to show depth.
More Tutorials


