How to Draw a Battery: Easy 10-Step Guide for Kids
Ready to power up your art skills? This tutorial is perfect for young artists ages 5+ who want to draw a classic cylindrical battery. You only need a pencil, an eraser, and some markers to bring this science-themed drawing to life.
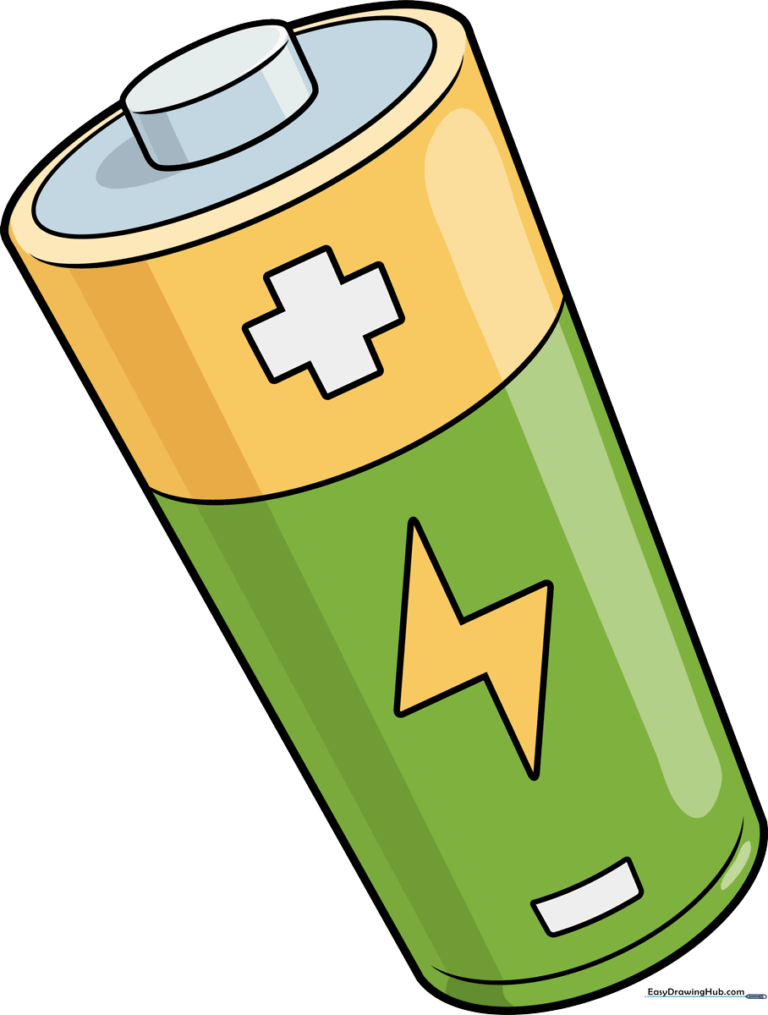
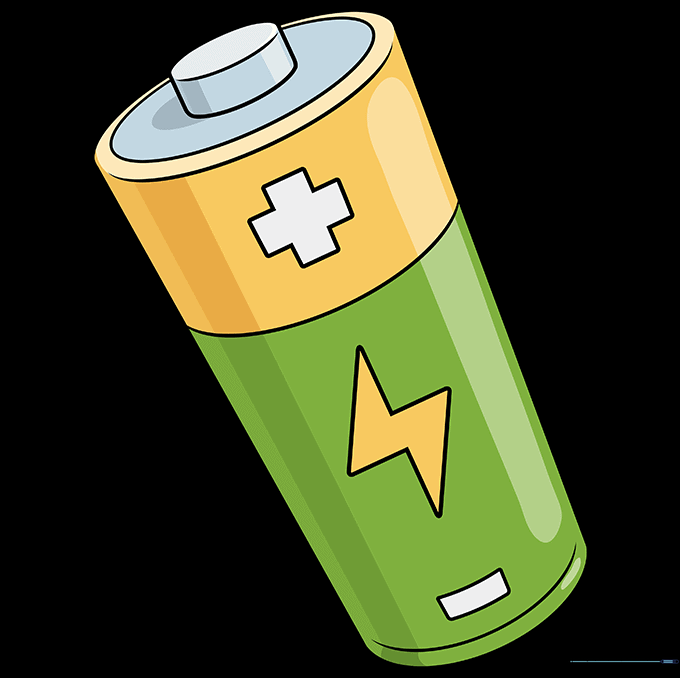
🎯 Final Result
Step-by-Step Instructions
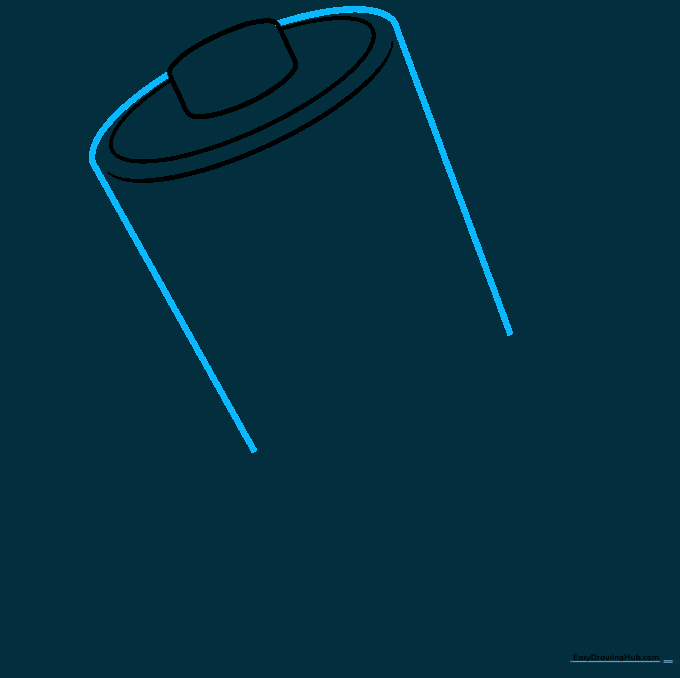
Sketching the Top Cap

Start by drawing a slanted oval to form the top of the battery. Add a curved line just below it to create the thickness of the cap. Teacher's Tip: Keep this oval small—it’s the 'button' part of the battery!
Defining the Terminal

Draw two short vertical lines connecting the top oval to the body. Erase any overlapping lines inside the shape to keep your drawing clean. Tip: Use short, confident strokes for these connectors.
Outlining the Battery Body
Draw a curved line behind the terminal, then extend two long, parallel lines downward. These form the sides of your battery. Tip: Try to keep these lines straight to make the battery look sturdy.
Closing the Base
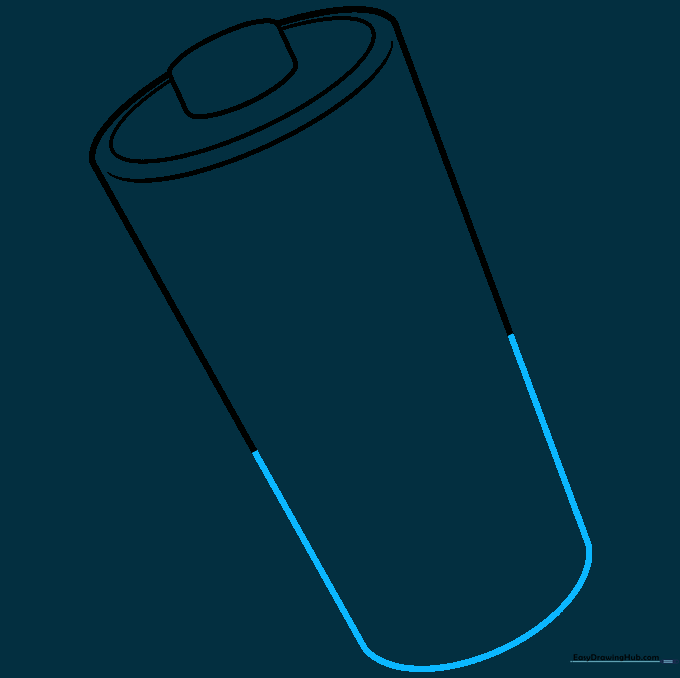
Connect the two long side lines at the bottom with a smooth, curved line. This gives the battery its rounded, cylindrical bottom. Tip: Make the curve match the angle of the top oval for perspective.
Adding the Positive Sign
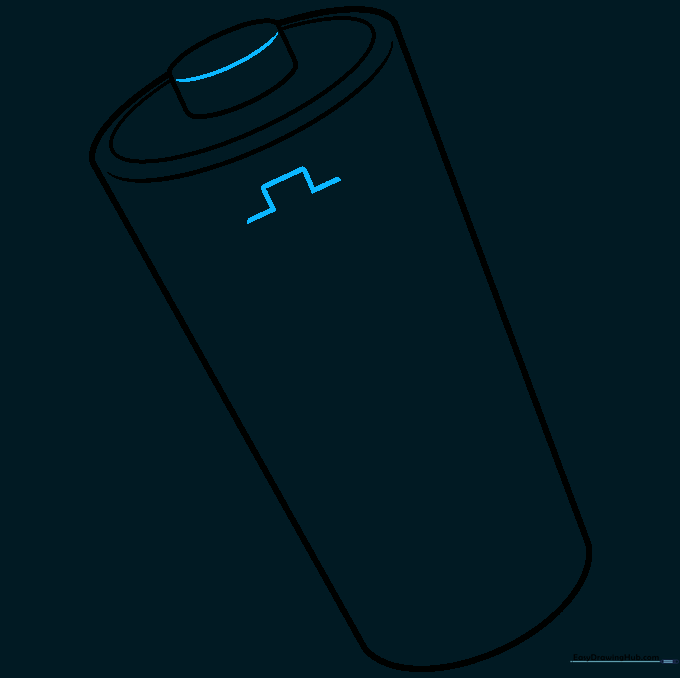
Draw a small curved line across the top terminal. Then, sketch a small open rectangle on the side of the battery body to start your 'plus' sign. Tip: A plus sign shows it's a real battery!
Refining the Plus Sign
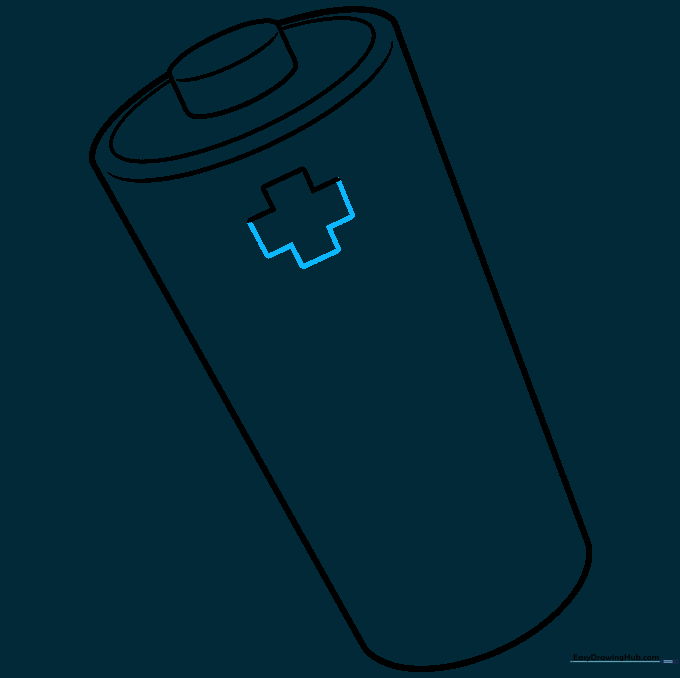
Use short, straight lines to finish the cross shape of the plus sign. Ensure the lines are even so it looks professional. Tip: If you make a mistake, use your eraser gently to avoid tearing the paper.
Drawing the Lightning Logo
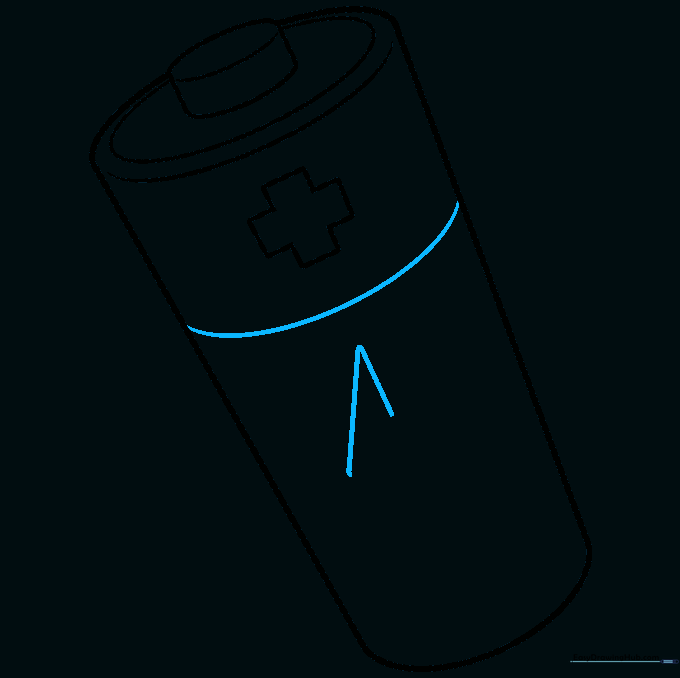
Draw a curved line across the middle of the battery. Below it, sketch two lines that meet to form a triangle shape—this is the start of your lightning bolt logo. Tip: Lightning bolts are just a series of connected angles!
Completing the Lightning Bolt
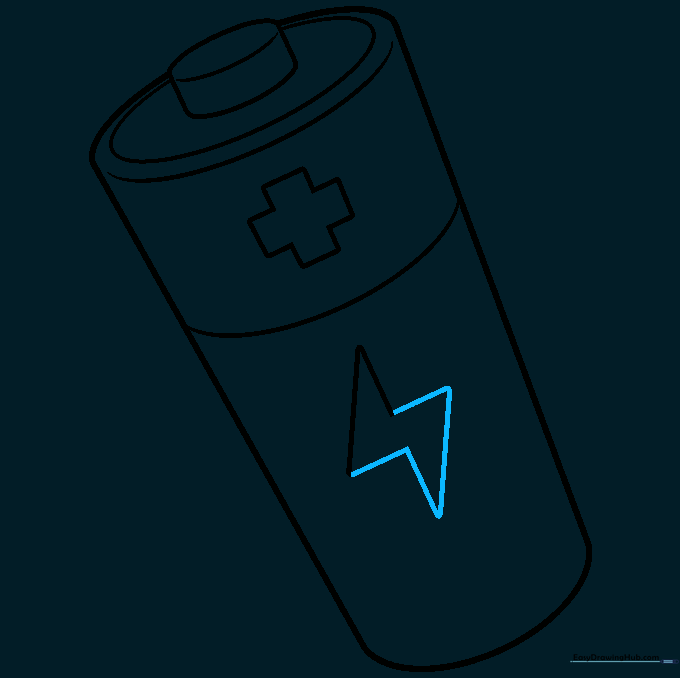
Add more straight lines to finish the zig-zag shape of the lightning bolt. This adds a cool, energetic detail to your drawing. Tip: Don't worry if it's not perfect; lightning bolts are naturally jagged!
Adding the Minus Sign
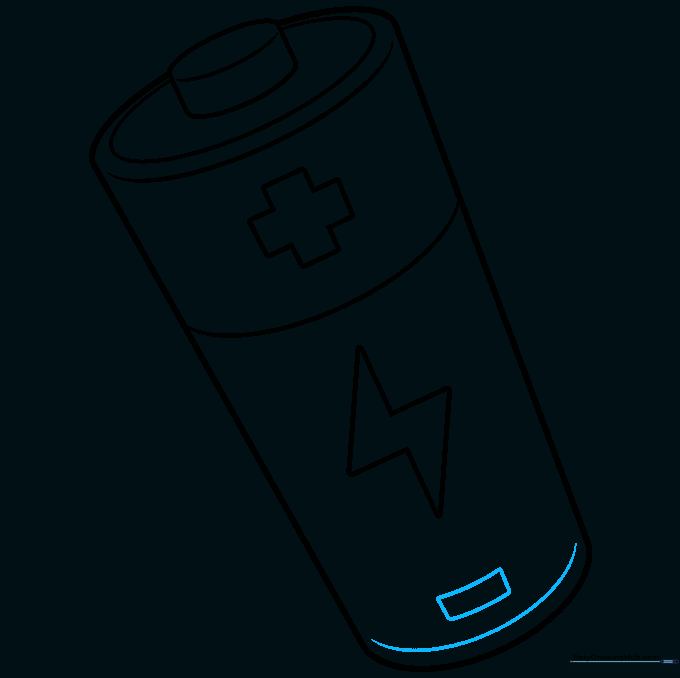
Near the bottom, draw a small rectangle for the minus sign. Add one more curved line parallel to the bottom edge to finish the base. Tip: This helps people know which end is which!
Coloring Your Battery
Time to color! Use black, red, or copper for a realistic look, or get creative with your favorite bright colors. Tip: Use a darker shade on one side to make it look 3D and shiny.
More Tutorials


