How to Draw a Basketball Player: Easy 10-Step Guide
Ready to hit the court? This tutorial is perfect for young athletes and artists ages 7+ who want to capture the energy of the game. You'll only need a pencil, an eraser, and some paper to bring your player to life. Follow along to master human proportions and sports-themed action poses.
🎯 Final Result
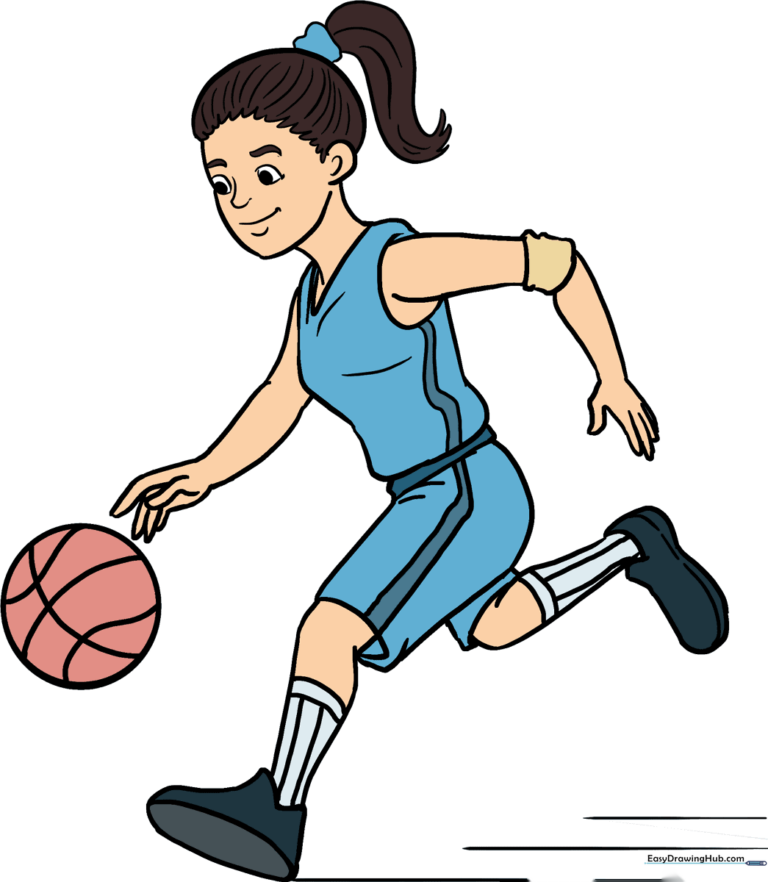
Step-by-Step Instructions
Step 1: Sketching the Head Shape

Start by sketching a light, curved line for the top of the head. Add a small 'C' shape for the ear, then bring a long, smooth curve down to form the jawline. Teacher's Tip: Keep your pencil pressure light here so you can easily refine the chin shape later.
Step 2: Defining the Neck and Torso
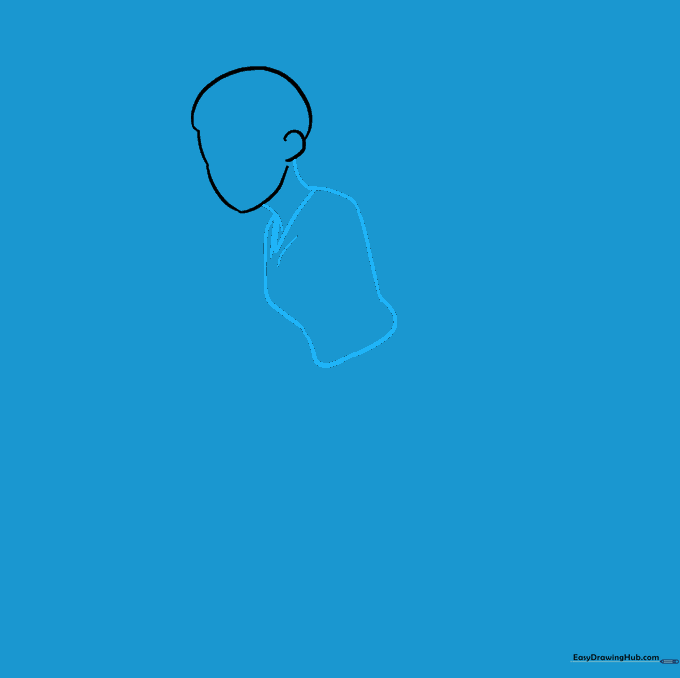
Draw two short, parallel lines for the neck, connecting them with a 'V' shape to suggest the collar of the jersey. Extend long, curved lines downward to create the torso. Teacher's Tip: Add a few tiny, jagged lines near the neck to represent fabric folds—it adds a realistic touch!
Step 3: Drawing the Waistband and Shorts
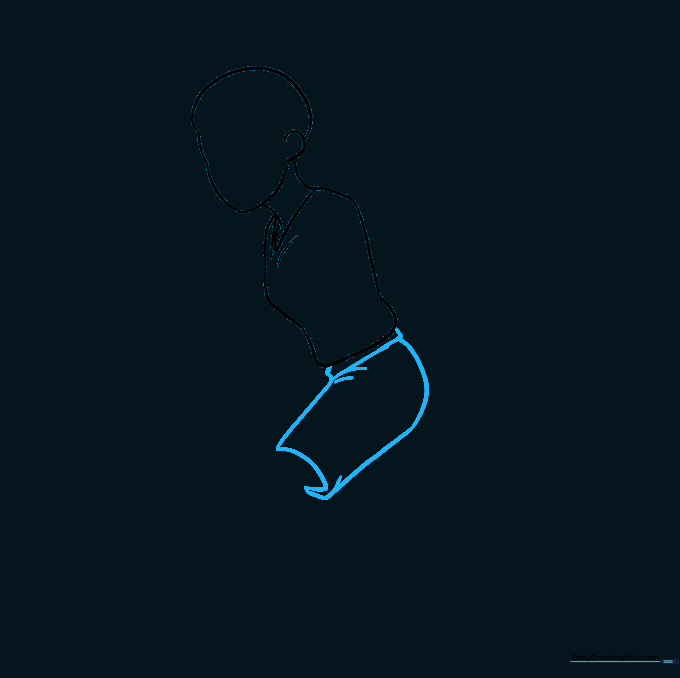
Sketch a rounded rectangular shape at the base of the torso for the waistband. From there, draw the loose-fitting shorts using long, sweeping curves. Teacher's Tip: Basketball shorts are baggy, so don't be afraid to make these lines wider than the torso.
Step 4: Adding the Leg and Shoe
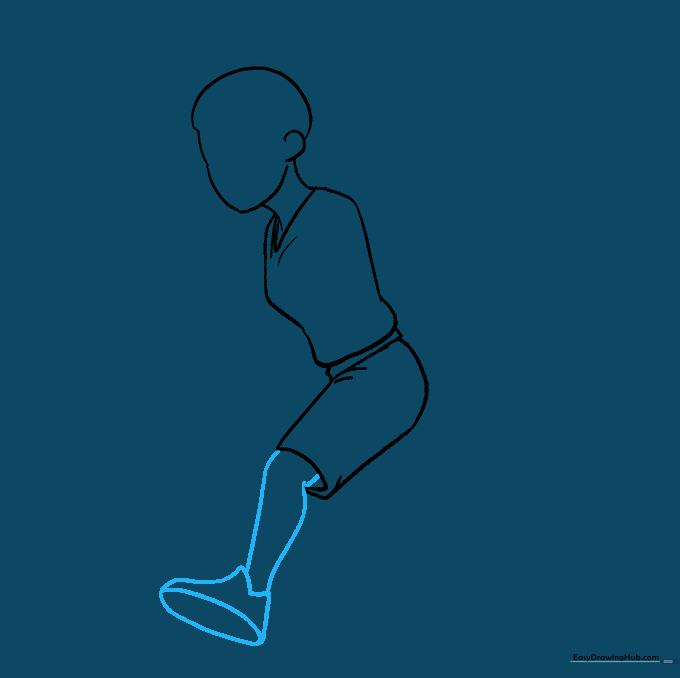
Extend two curved lines from the shorts to create the leg. Use a 'V' shape for the top of the shoe, then draw a narrow oval at the bottom for the sole. Teacher's Tip: Connect the oval to the 'V' with smooth curves to give the shoe a 3D look.
Step 5: Completing the Lower Body
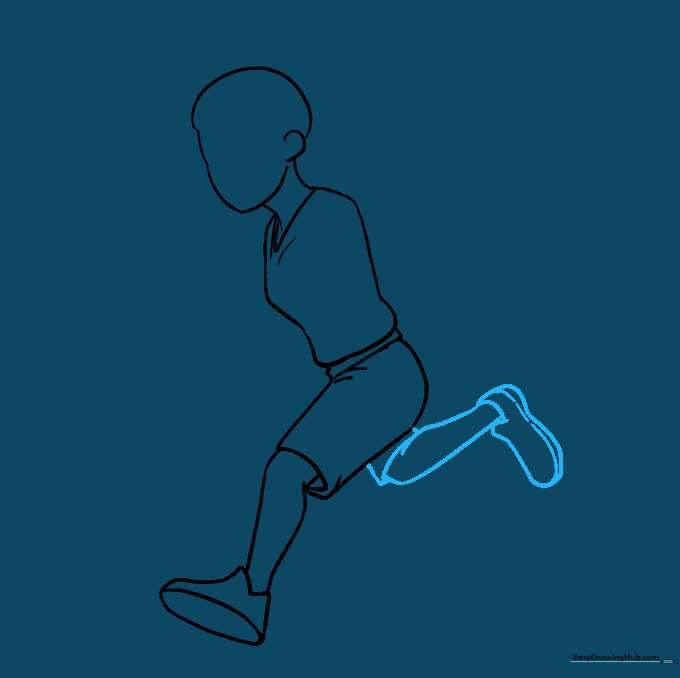
Draw the visible part of the second leg and shoe behind the first. Use a broken line for the sole to show depth. Teacher's Tip: Keep the second leg slightly smaller to create the illusion of perspective.
Step 6: Sketching the First Arm
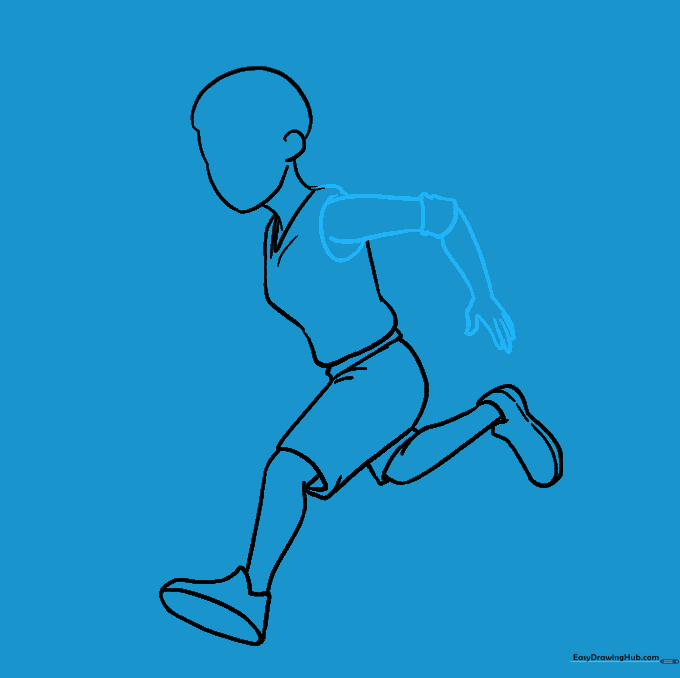
Draw a partial circle for the sleeve, then outline the arm with curved lines. Add a rectangular armband near the elbow. For the hand, use narrow 'U' shapes for the fingers. Teacher's Tip: If the fingers look too thick, try drawing them as simple sticks first, then thicken them up.
Step 7: Adding the Second Arm
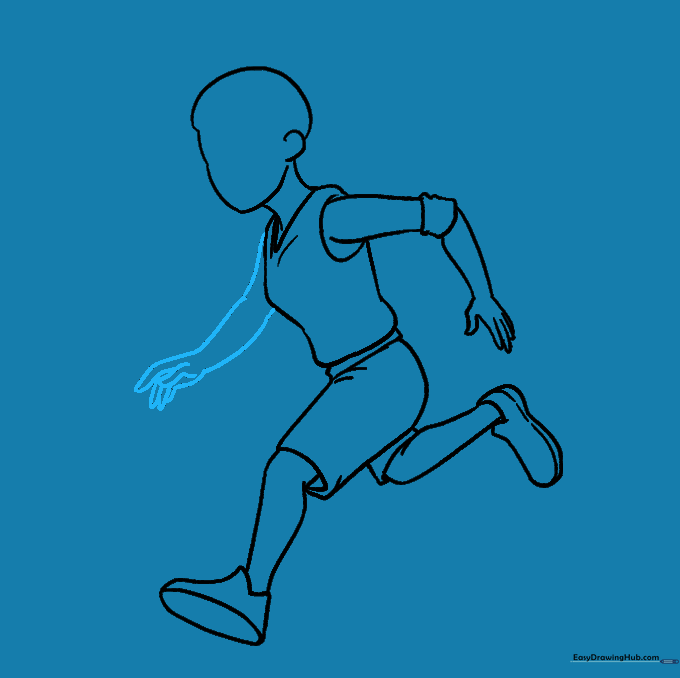
Repeat the process for the second arm, ensuring the curves match the posture of your player. Finish the hand with the same 'U' shaped finger technique. Teacher's Tip: Check that the arms are roughly the same length so the player looks balanced.
Step 8: Facial Features and Hair
Use a wavy line for the hairline and add a ponytail. Draw the eyebrows, nose, and lips with soft curves. Shade small circles inside teardrop shapes for the eyes. Teacher's Tip: Eyes are the window to the soul—take your time making them symmetrical!
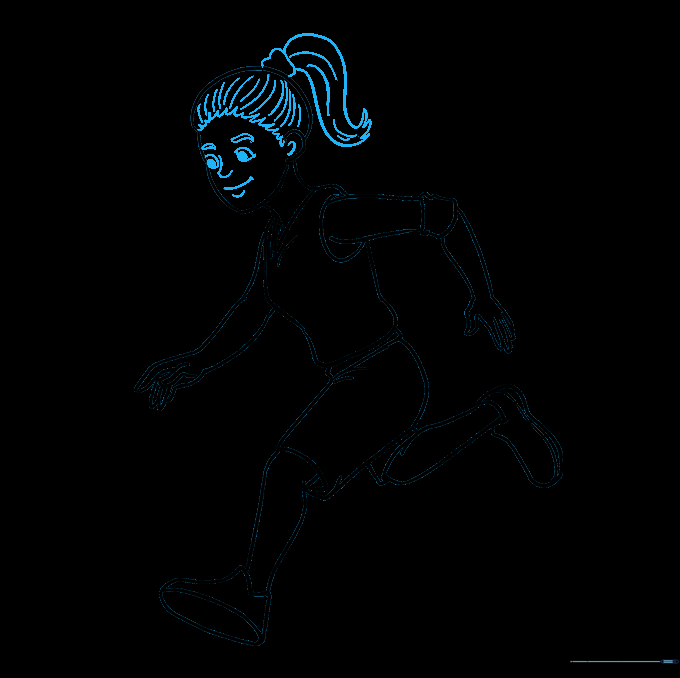
Step 9: Final Details and Basketball
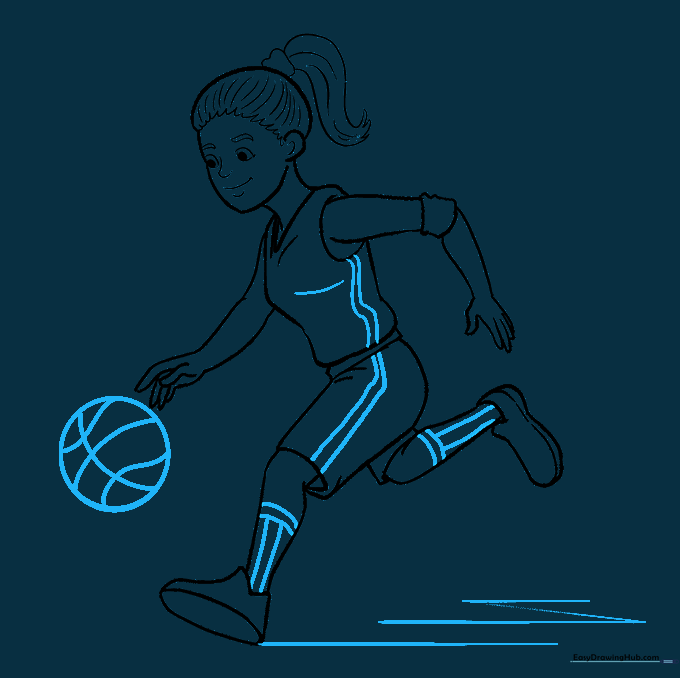
Add stripes to the jersey and shorts, and draw horizontal lines for the socks. Sketch a circle for the ball and add curved lines to show its texture. Teacher's Tip: Use a ruler or a circular object to get a perfect basketball shape if you're struggling with freehand.
Step 10: Bring It to Life with Color
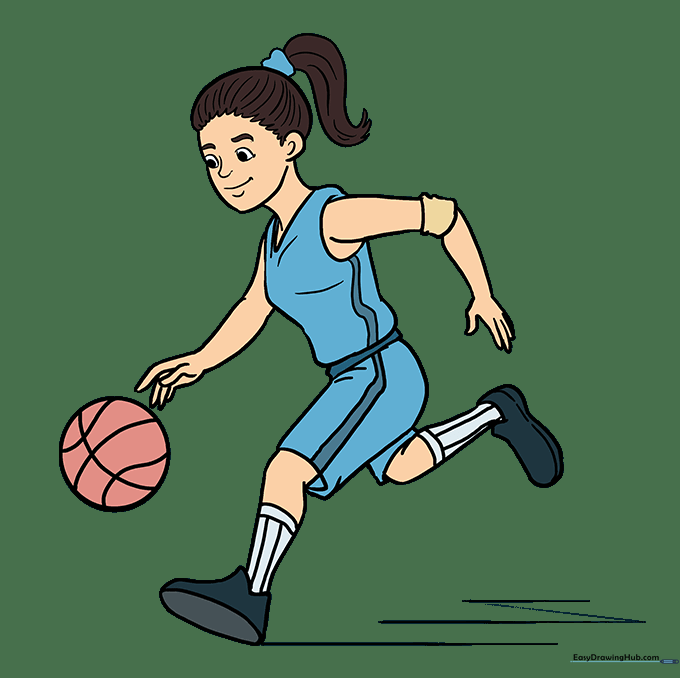
Time to customize! Use your favorite team's colors to fill in the jersey, shorts, and shoes. Teacher's Tip: Use light shading on one side of the ball to make it look rounder and more realistic.
More Tutorials