How to Draw a Basketball Hoop: Easy 9-Step Guide
Ready to hit the court? This tutorial is perfect for young artists and sports fans ages 6+ to practice perspective and geometric shapes. All you need is a pencil, an eraser, and a piece of paper to bring this basketball goal to life.
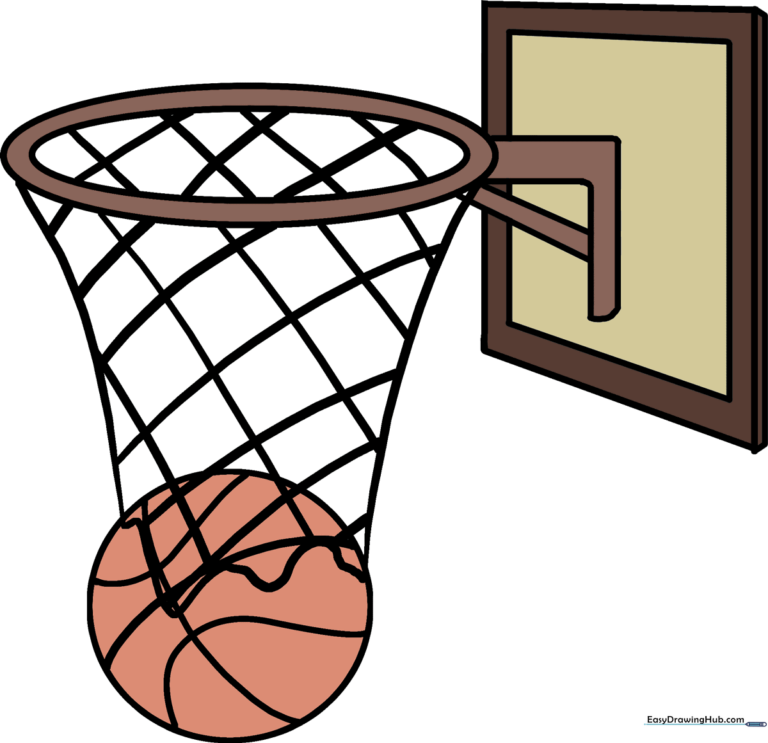
🎯 Final Result
Step-by-Step Instructions
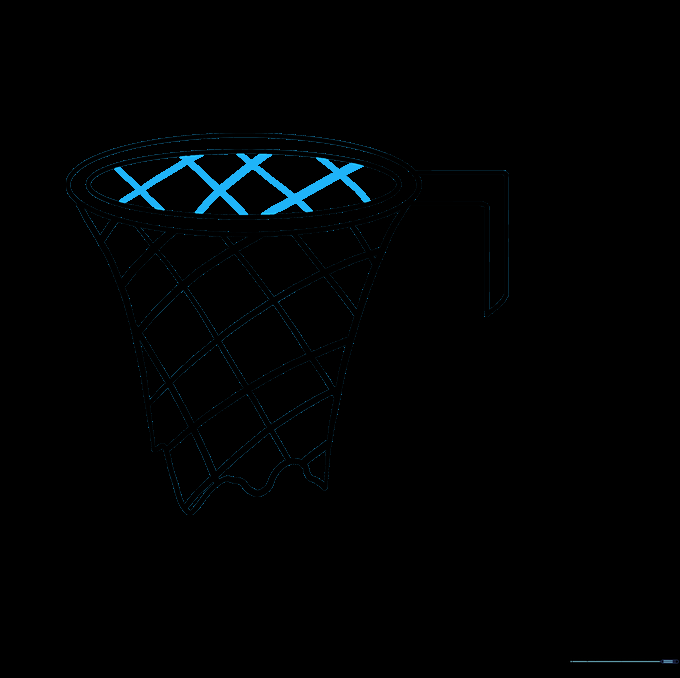
Step 1: Sketching the Rim

Draw a flattened oval, then add a smaller oval inside it to create the rim. Teacher's Tip: Keep your pencil pressure light so you can easily clean up the lines later if needed.
Step 2: Connecting to the Backboard
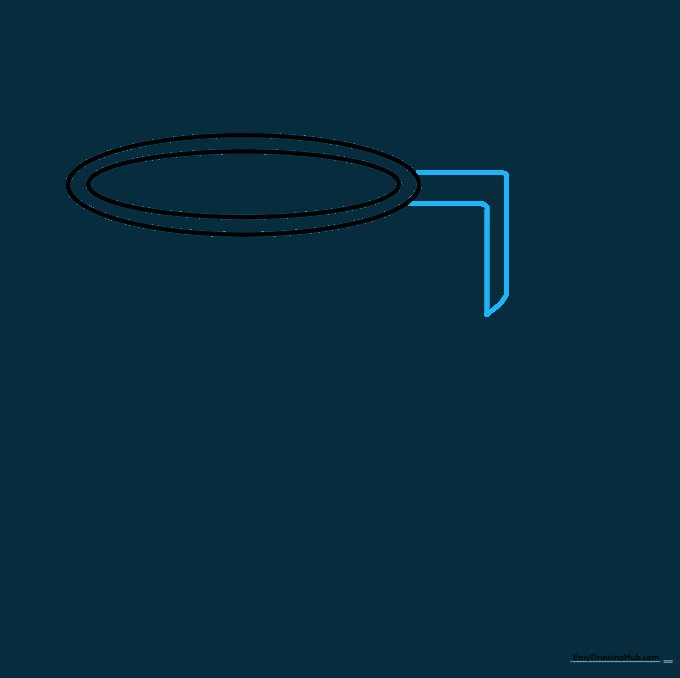
Extend two horizontal lines from the back of the rim, then connect them with a vertical line to form the mounting bracket. Tip: Use a ruler if you want your lines to look extra sharp and professional.
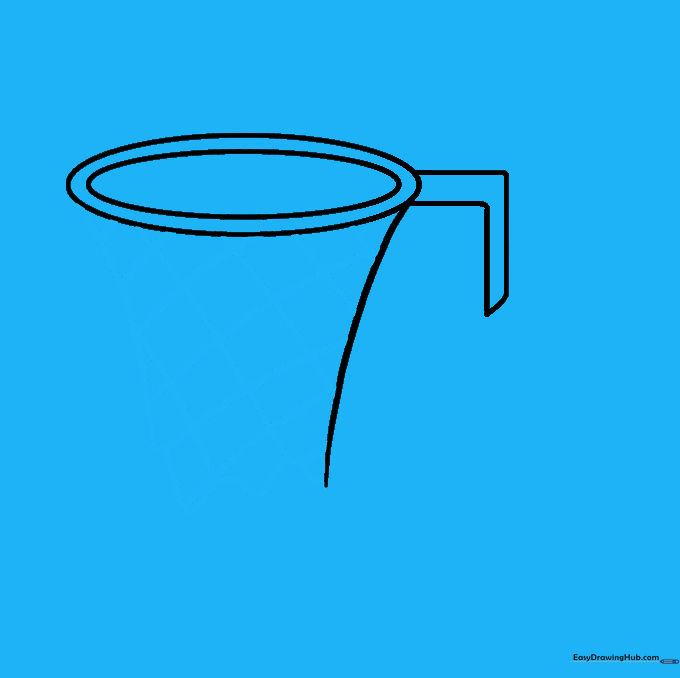
Step 3: Starting the Net
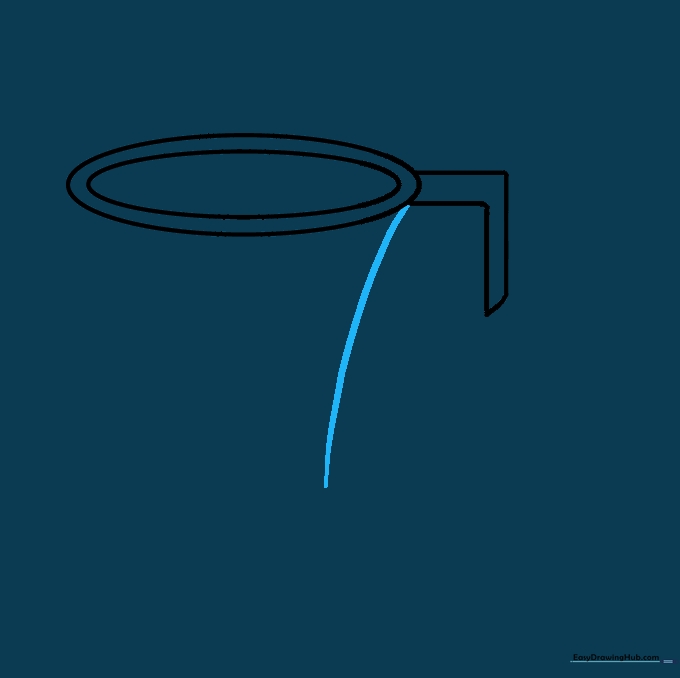
Draw a curved line downward from one side of the rim to begin the net's shape. Tip: Imagine the net is a soft fabric hanging down; keep your lines loose and slightly rounded.
Step 4: Creating the Net Pattern
Complete the net outline with a wavy bottom line. Add diagonal cross-hatching lines to create the mesh effect. Tip: Take your time with the cross-hatching; it’s great practice for steady hand control.
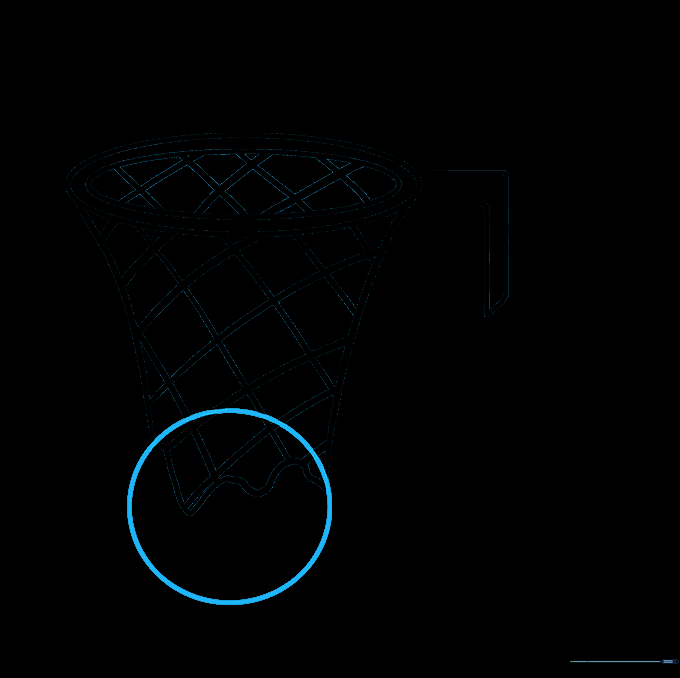
Step 5: Adding Depth to the Net
Draw diagonal lines inside the rim to show the back side of the net. This adds a sense of 3D depth to your drawing. Tip: Keep these lines slightly thinner than the outer lines for better perspective.
Step 6: Drawing the Basketball
Sketch a circle overlapping the bottom of the net. Tip: Use a circular object like a bottle cap as a stencil if you find it hard to draw a perfect circle freehand.
Step 7: Adding Basketball Seams
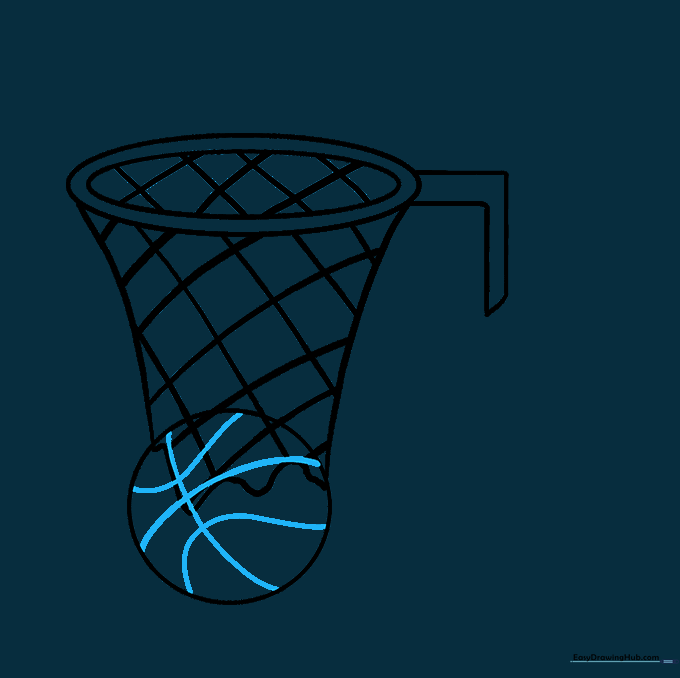
Draw a curved line across the ball, then add three perpendicular curved lines to create the classic basketball seam pattern. Tip: Make sure the lines curve with the shape of the ball to make it look round.
Step 8: Sketching the Backboard
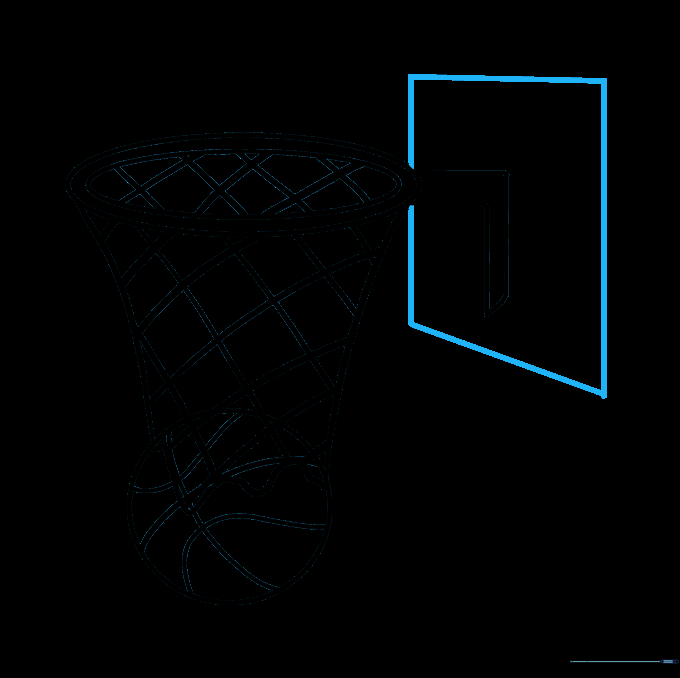
Draw a large rectangle behind the rim to form the backboard. Tip: Ensure the rim is centered on the rectangle so the hoop looks balanced.
Step 9: Final Details
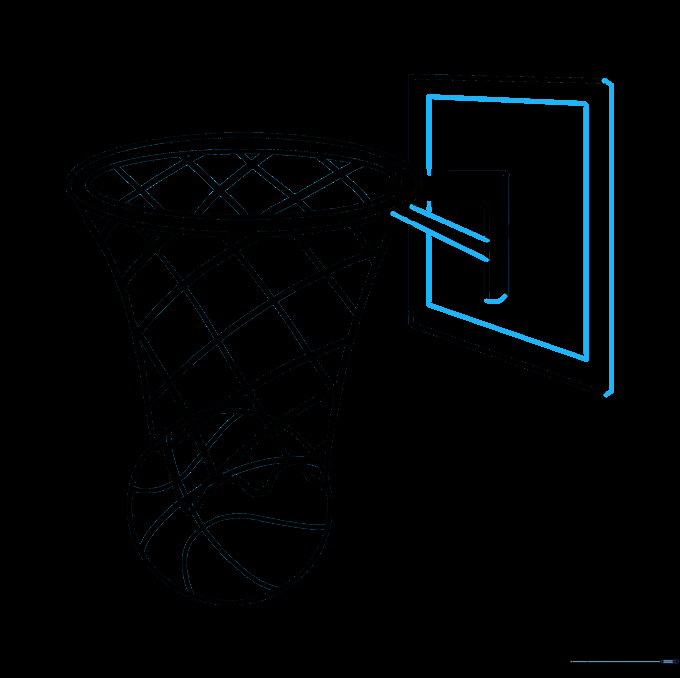
Draw a smaller rectangle inside the backboard and add support lines connecting the rim to the board. Tip: Use a darker pencil or pen to outline your final drawing for a clean, finished look.
Step 10: Color Your Masterpiece
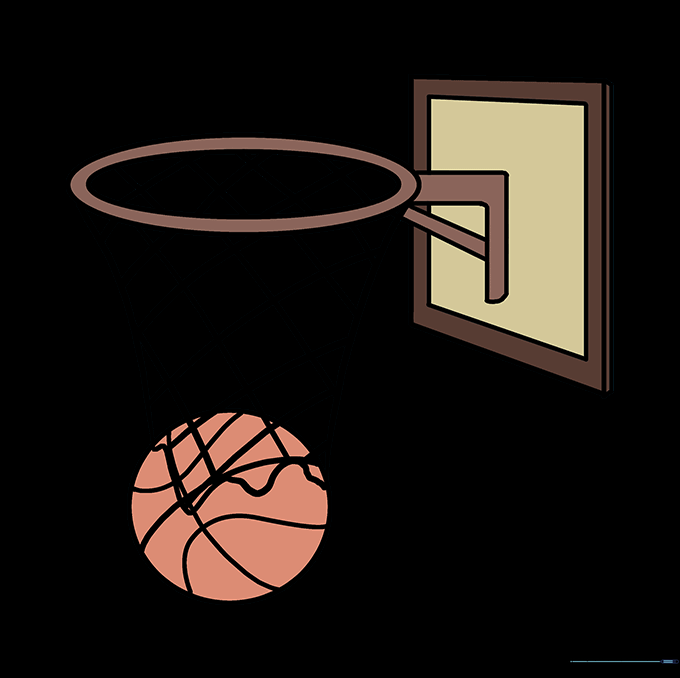
Time to add color! Use orange for the ball and white or light grey for the net. Great job! Now you're ready to draw a basketball player to go with your hoop.
More Tutorials


