How to Draw a Baseball Cap: Easy 10-Step Guide
Ready to design your own headwear? This tutorial is perfect for young artists ages 5+ looking to master simple shapes. All you need is a pencil, an eraser, and a piece of paper to get started on this fun, screen-free drawing activity.
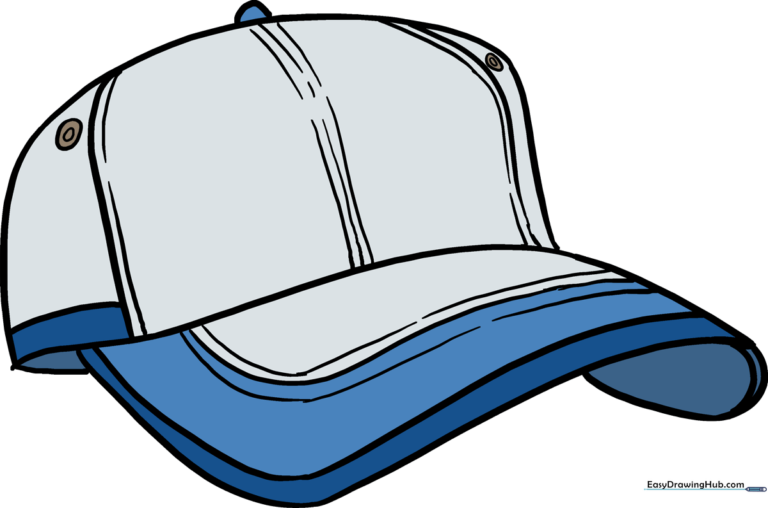
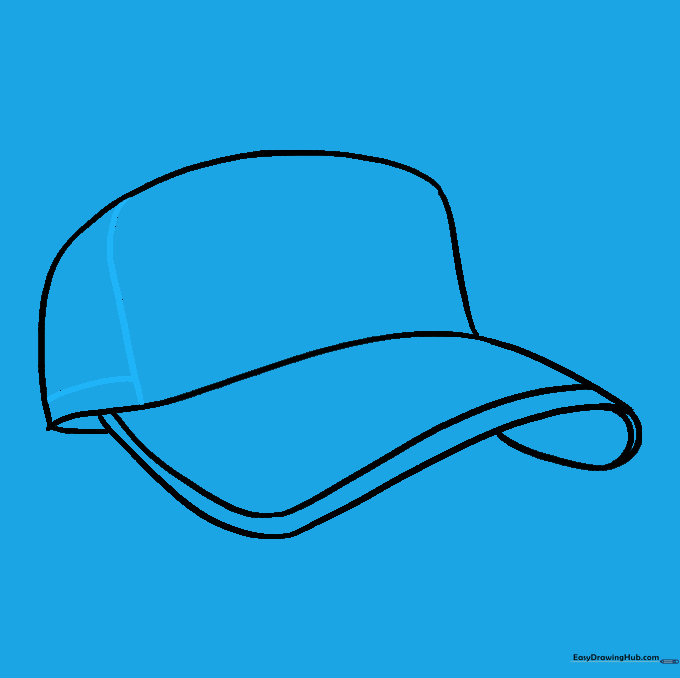
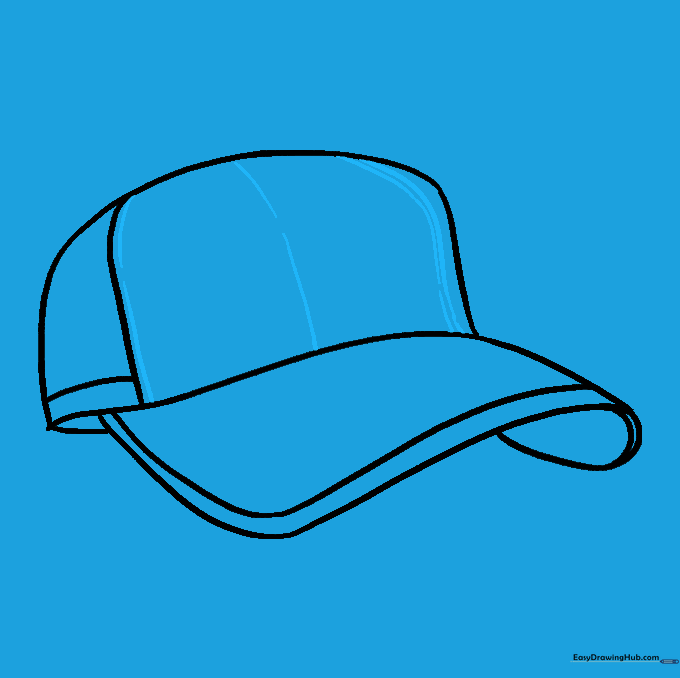
🎯 Final Result
Step-by-Step Instructions
Step 1: Sketching the Front Brim

Start by drawing a gentle, downward-curving line. This creates the front edge of the bill. Teacher's Tip: Keep your pencil pressure light so you can easily adjust the shape if it looks a bit lopsided.
Step 2: Forming the Crown
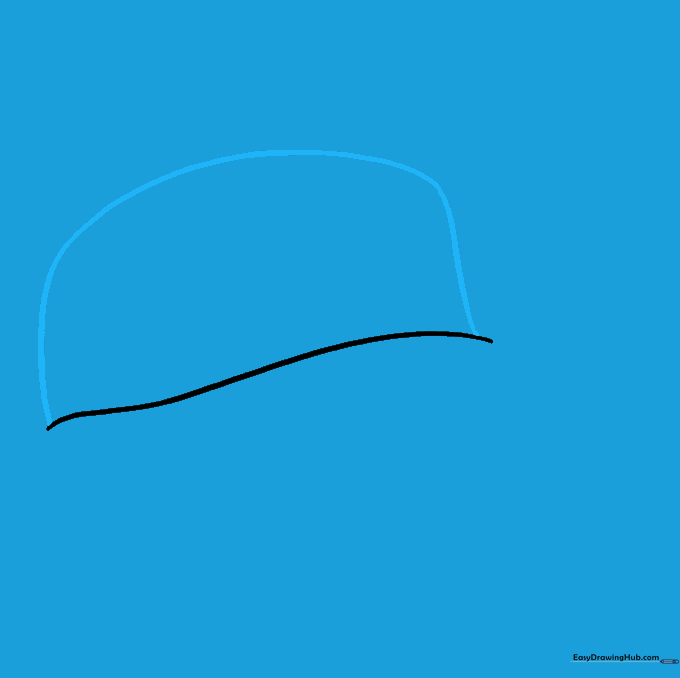
Draw a long, arching line above your first mark to create the crown of the hat. Connect the ends to form an irregular dome shape. Tip: Imagine you are drawing the top of a rounded mountain.
Step 3: Defining the Bill
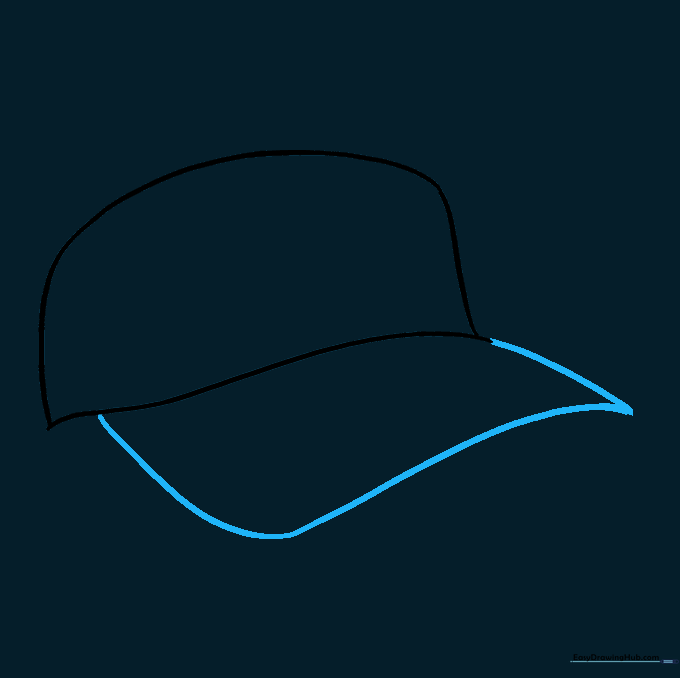
Extend a curved line from one side of the crown to the other to enclose the bill. This should look like a wide, flattened oval attached to the front. Tip: Make sure the bill looks proportional to the size of the crown.
Step 4: Adding Depth to the Bill
Draw a small teardrop shape beneath the bill to show its thickness. Connect the back of the crown to the bill with a short, curved line. Tip: This small detail is what makes your drawing look like a real, solid object rather than a flat shape.
Step 5: Stitching Details
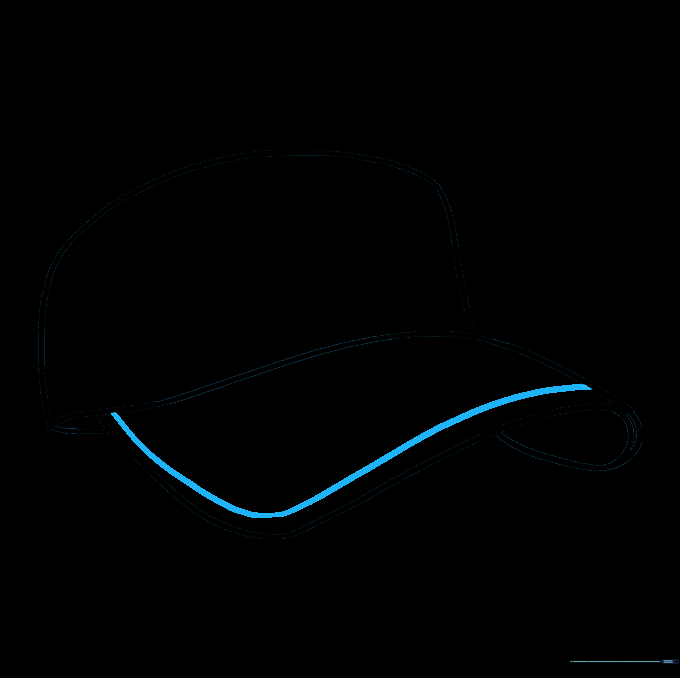
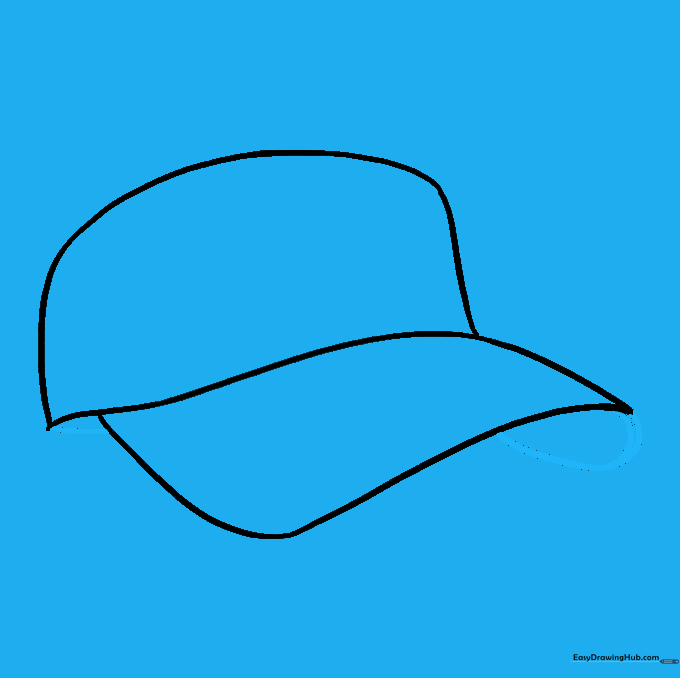
Draw a curved line parallel to the edge of the bill to represent the stitching. Tip: Keep your line smooth and steady; if it's shaky, try resting your wrist on the table for better control.
Step 6: Sketching Crown Panels
Draw curved lines from the top of the cap down to the bill to divide the crown into panels. Tip: Think of these like the slices of an orange, meeting at the top center.
Step 7: Adding Panel Seams
Mirror the lines on the opposite side and add broken lines to indicate the seams between panels. Tip: Use short, dashed strokes to make the seams look like real thread.
Step 8: Adding the Button and Eyelets
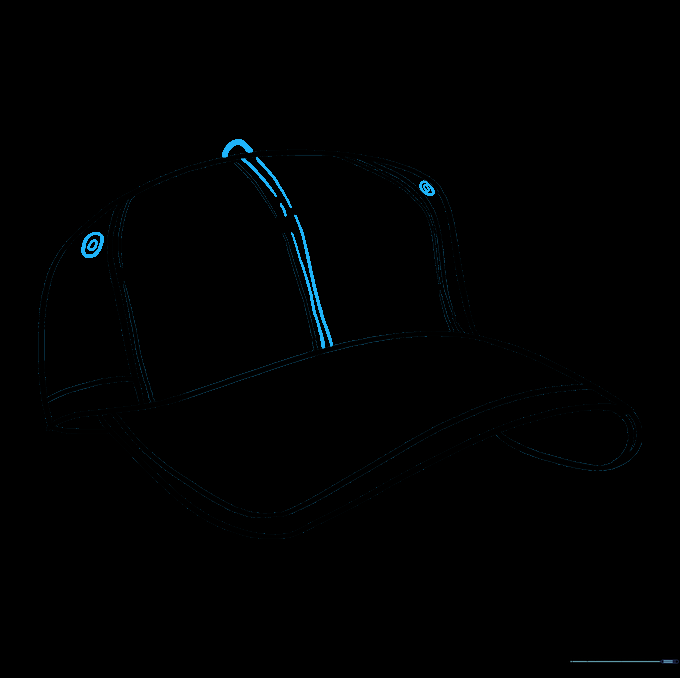
Draw a small circle at the very top for the button, and two smaller circles on the front panel for the ventilation eyelets. Tip: Use a light touch for the eyelets so they don't look too heavy.
Step 9: Final Bill Details
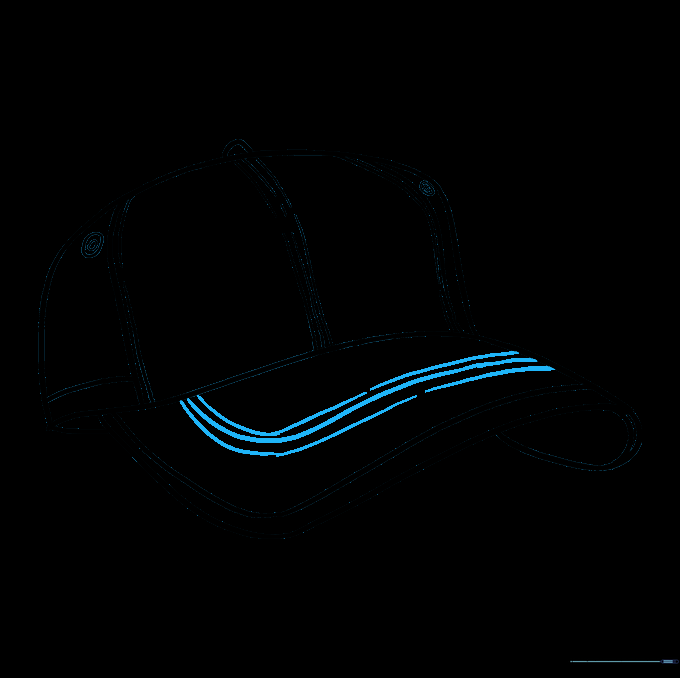
Add three parallel, L-shaped lines to the bill to finish the stitching detail. Tip: These lines should follow the curve of the bill to maintain the 3D perspective.
Step 10: Bring Your Cap to Life with Color
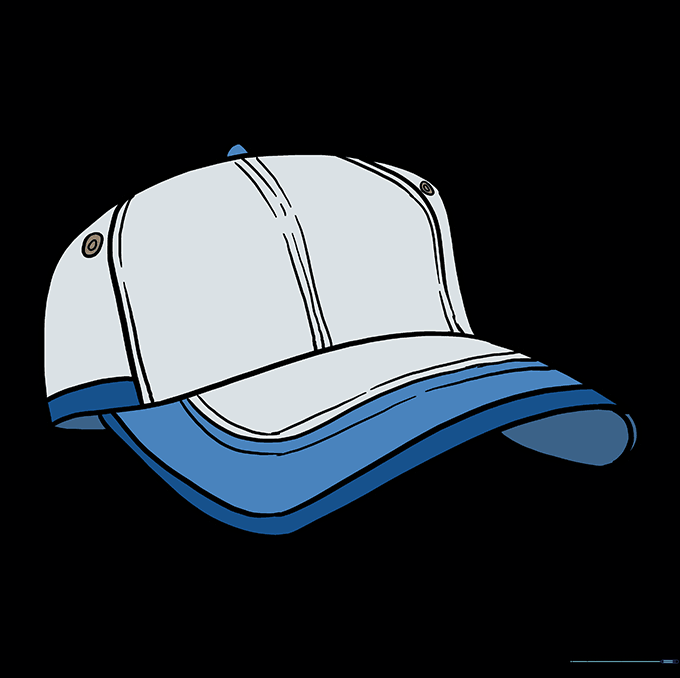
Time to color! Use your favorite team's colors or get creative with patterns. Tip: Use a darker shade of your main color to add a little shading under the bill for a professional look.
More Tutorials


