How to Draw a Baseball Bat: Easy 10-Step Guide
Ready to step up to the plate? This tutorial is perfect for young sports fans ages 6+ looking to master basic shapes and shading. Grab a pencil, an eraser, and a sheet of paper to start building your own athletic equipment drawing today.
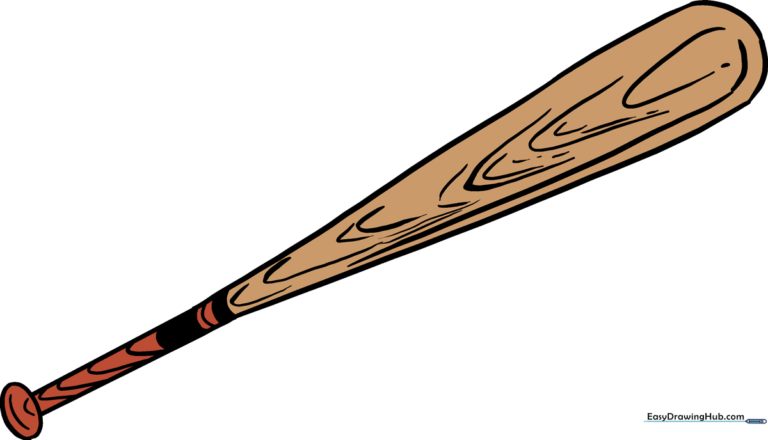
🎯 Final Result
Step-by-Step Instructions
Step 1: Sketching the Knob

Draw a small oval at the bottom of your page. Add a curved line inside to show depth. Teacher's Tip: Keep your pencil pressure light so you can easily clean up your lines later!
Step 2: Forming the Handle

Extend two straight, parallel lines upward from the knob. This creates the grip area. Teacher's Tip: Use a ruler if you struggle with straight lines, but try freehand first to build your muscle memory.
Step 3: Creating the Taper
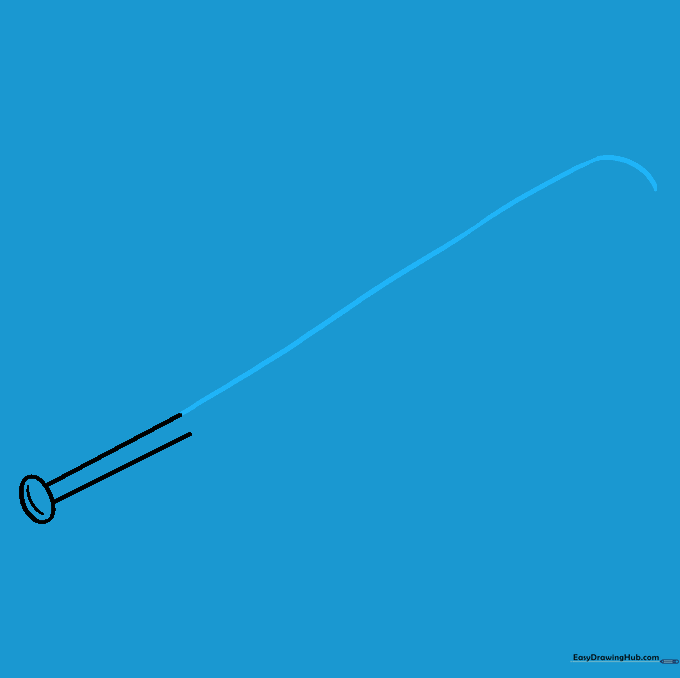
Draw a line curving outward from the handle to create the taper, then curve it sharply at the top. Teacher's Tip: Think of this as the 'neck' of the bat where it starts to get wider.
Step 4: Outlining the Barrel
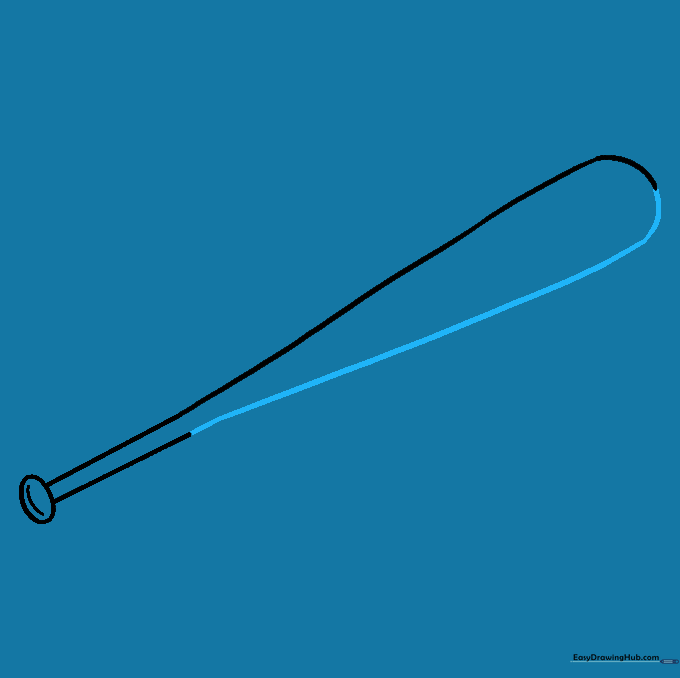
Continue the long, curved line to fully enclose the barrel. Teacher's Tip: Aim for a smooth, continuous motion to keep the bat looking sleek and professional.
Step 5: Adding Dimension

Draw a long, curved line parallel to the side of the barrel. This creates a rounded, 3D effect. Teacher's Tip: Imagine where the light hits the bat; this line helps define the curve.
Step 6: Defining the Grip

Add two short, curved lines where the taper meets the handle and shade between them. Teacher's Tip: Use the side of your pencil lead for smoother, softer shading.
Step 7: Adding Wood Texture
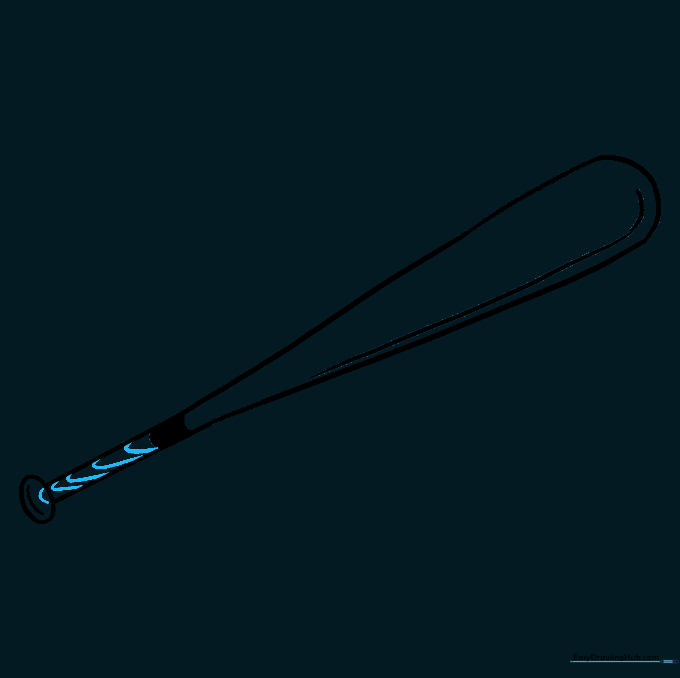
Use small, curved lines across the grip and knob to suggest wood grain. Teacher's Tip: Don't make them too uniform; wood grain is naturally irregular!
Step 8: Detailing the Barrel

Add 'U' shaped lines and small dots to the barrel for a realistic wood texture. Teacher's Tip: Vary the size of your 'U' shapes to make the texture look more organic.
Step 9: Final Touches

Add a few more parallel lines to the taper and shade between them for extra detail. Teacher's Tip: Step back from your drawing to check the overall balance.
Step 10: Coloring Your Bat
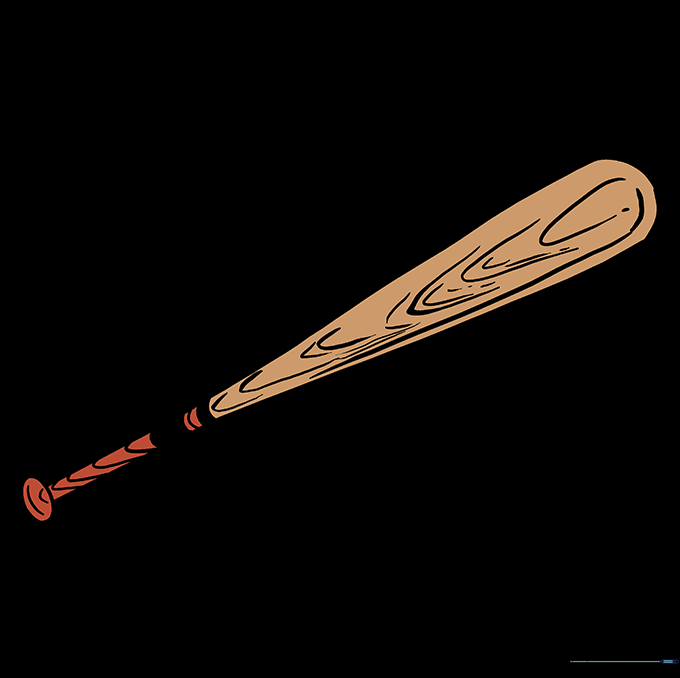
Time to color! Use warm browns for a classic wooden look, or get creative with bright colors for an aluminum bat. Teacher's Tip: Use colored pencils to layer light and dark browns for a realistic wood finish.
More Tutorials


