How to Draw a Barracuda: Easy 9-Step Guide for Kids
Ready to dive into the deep sea? This tutorial is perfect for young artists ages 6+ who want to draw a sleek, toothy barracuda. Grab your pencil, eraser, and paper, and let’s build this predator using simple shapes and confident lines.
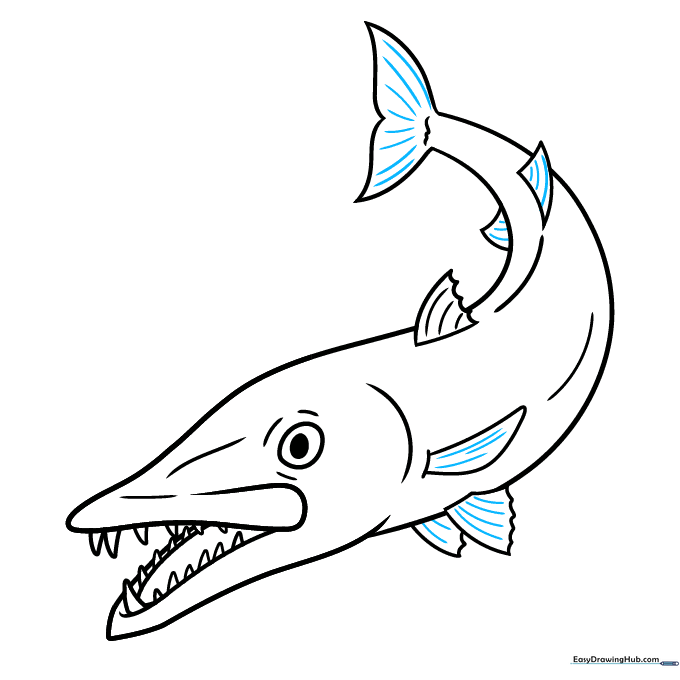
🎯 Final Result

Step-by-Step Instructions
Step 1: Sketching the Snout
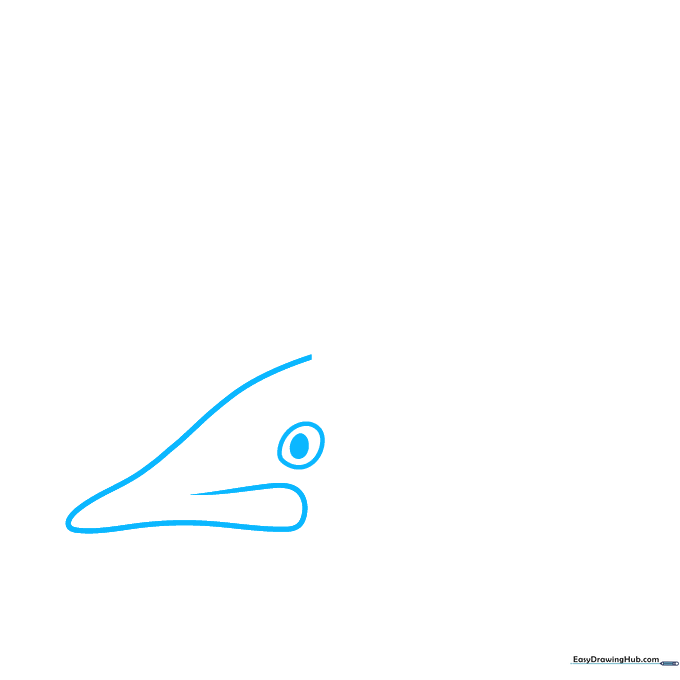
Start by drawing a long, curved line that angles into a 'V' shape to form the snout. Double it back on itself to create the mouth's edge. Teacher's Tip: Keep your pencil pressure light here so you can easily adjust the shape if it looks too pointy!
Step 2: Defining the Jaw
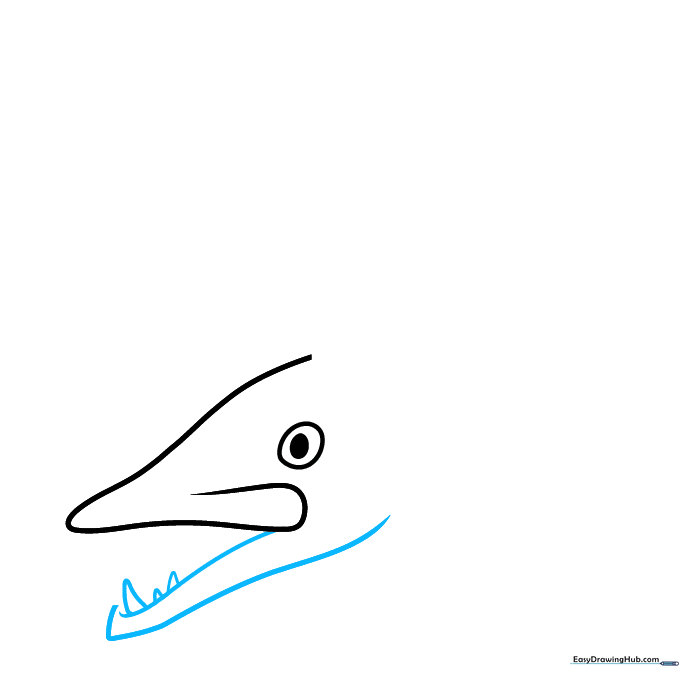
Draw the lower jaw using two long, sweeping curved lines. Add 'V' shaped notches along the top to represent those famous sharp teeth. Tip: Vary the size of the teeth to make the barracuda look more natural and less like a cartoon robot.
Step 3: Adding More Teeth
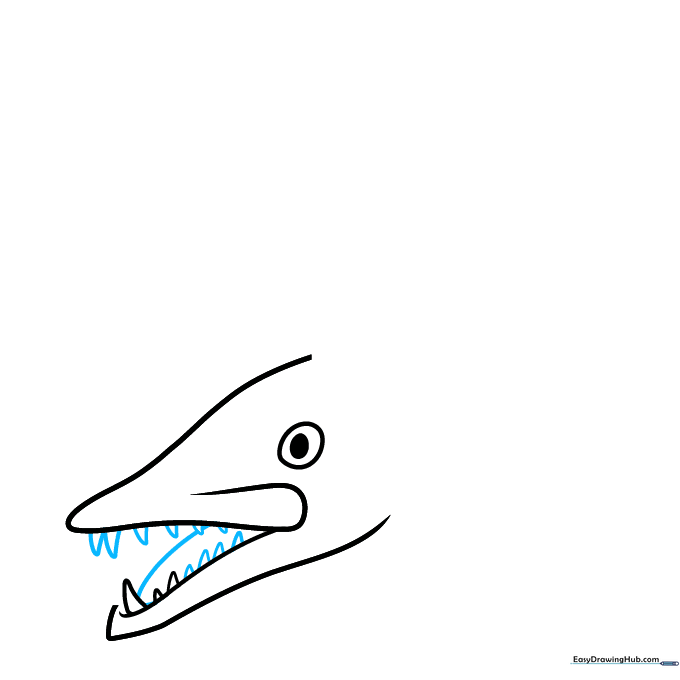
Continue adding sharp, triangular teeth along both the upper and lower jaws. Use a curved line to close the back of the jaw. Tip: Don't worry if they aren't perfectly symmetrical; nature is rarely perfectly straight!
Step 4: Shaping the Body
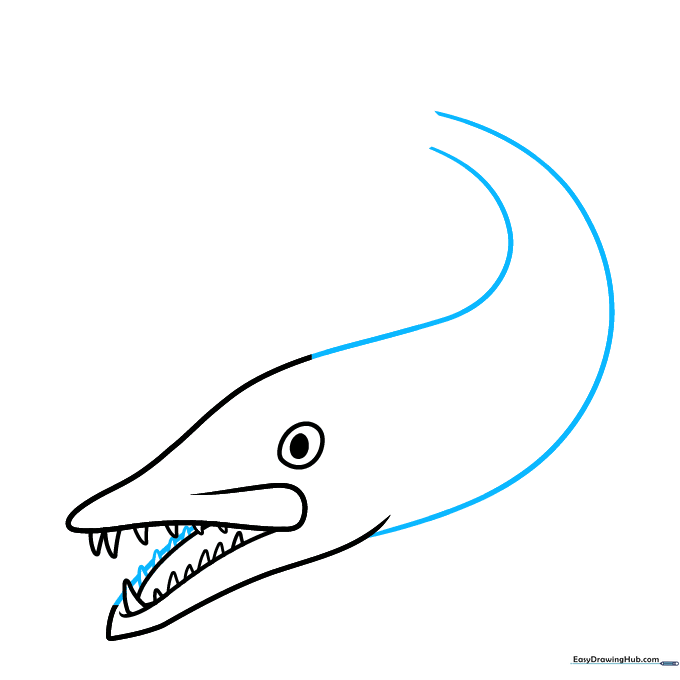
Connect the jaw to the rest of the body by extending long, graceful curved lines from the top and bottom of the head. Tip: Keep these lines smooth to give the fish that sleek, fast-swimming look.
Step 5: The Tail Fin
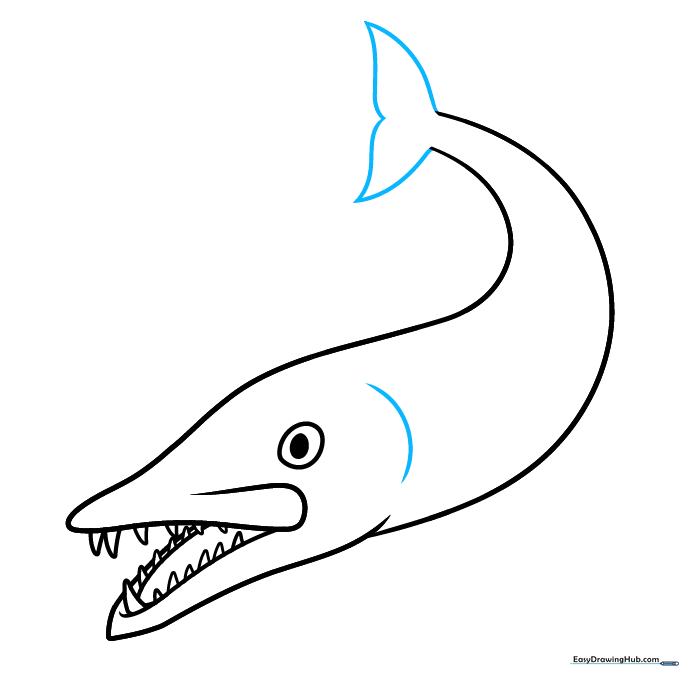
Draw the tail fin by extending two curved lines that meet in a wide 'M' shape. Add a curved line near the head to show the gill cover. Tip: The 'M' shape helps create a realistic, powerful-looking tail.
Step 6: Adding Fins
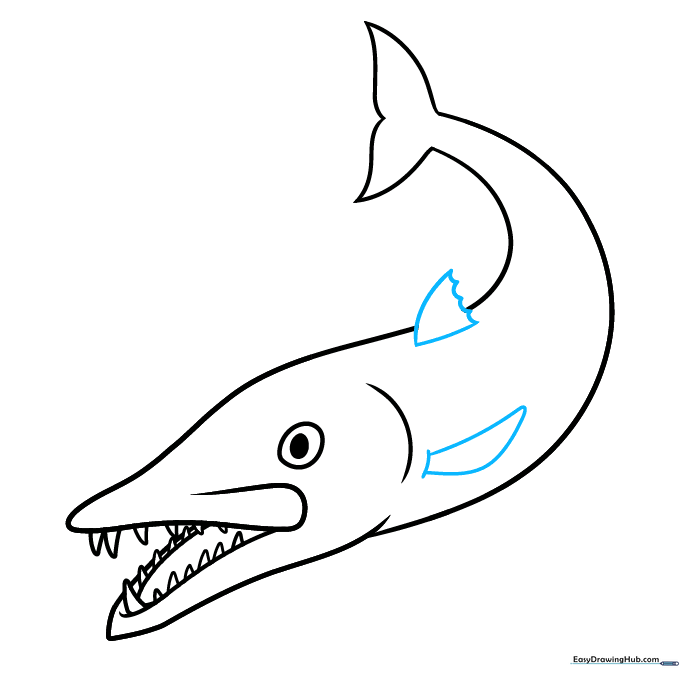
Sketch the dorsal fin using a scalloped line for texture. For the pectoral fin, draw a short curve near the gills and loop it back. Tip: If you make a mistake, use your eraser to gently lift the graphite before moving on.
Step 7: Final Fins
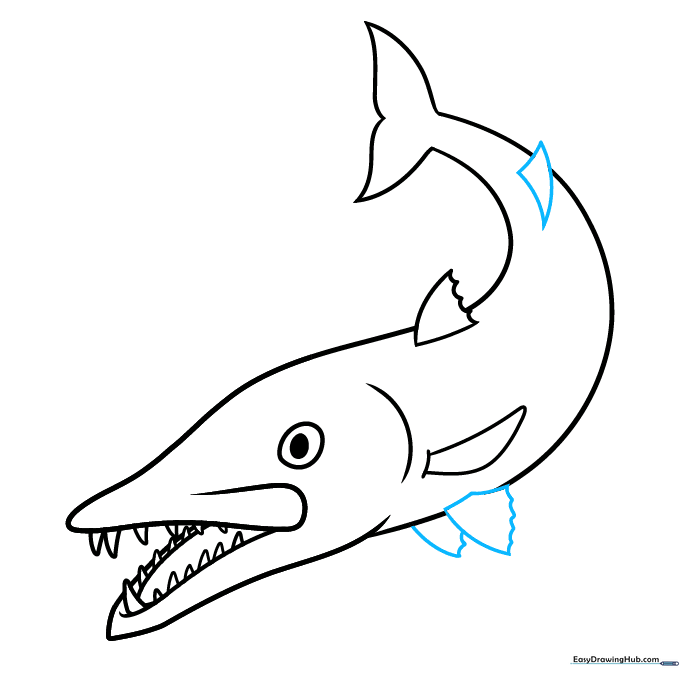
Add the smaller fins near the tail and belly. Use scalloped edges to give them a realistic, fish-like appearance. Tip: Keep these smaller fins proportional to the body so the fish looks balanced.
Step 8: Adding Texture
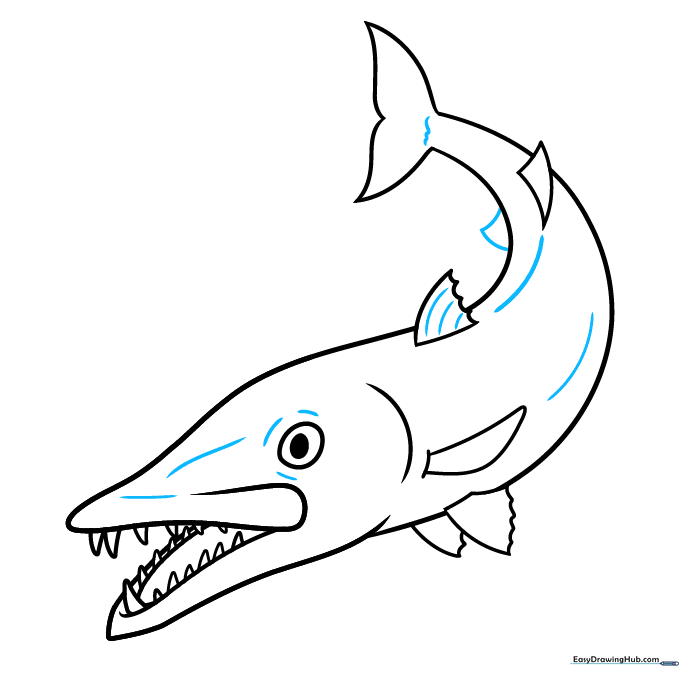
Use curved lines to add contouring around the face, eye, and body. This adds depth to your drawing. Tip: Think about where the light hits the fish—keep your lines light to suggest form rather than heavy outlines.
Step 9: Final Details
Finish by adding parallel curved lines to texture the fins. This makes them look like real fish fins! Tip: Take your time with these lines; steady, rhythmic strokes look best.
Step 10: Bring It to Life with Color

Time to color! Barracudas are usually silver, grey, or brownish. Try using a darker shade on the top and a lighter, cream color for the belly. Add some splotches along the sides for a realistic touch.
More Tutorials


