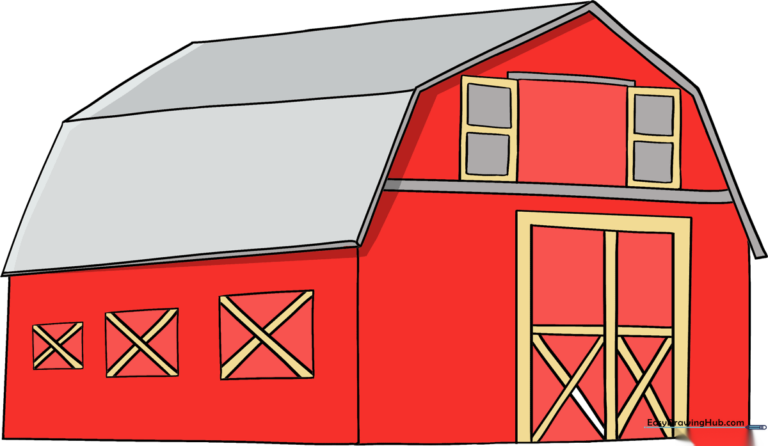
How to Draw a Barn: Easy 10-Step Guide for Kids
Bring the farm to life with this fun, step-by-step barn drawing tutorial. Designed for ages 5 and up, this project uses basic geometric shapes to build confidence in young artists. Grab your pencil, eraser, and paper, and let’s start sketching your very own rustic barn!
🎯 Final Result
Step-by-Step Instructions
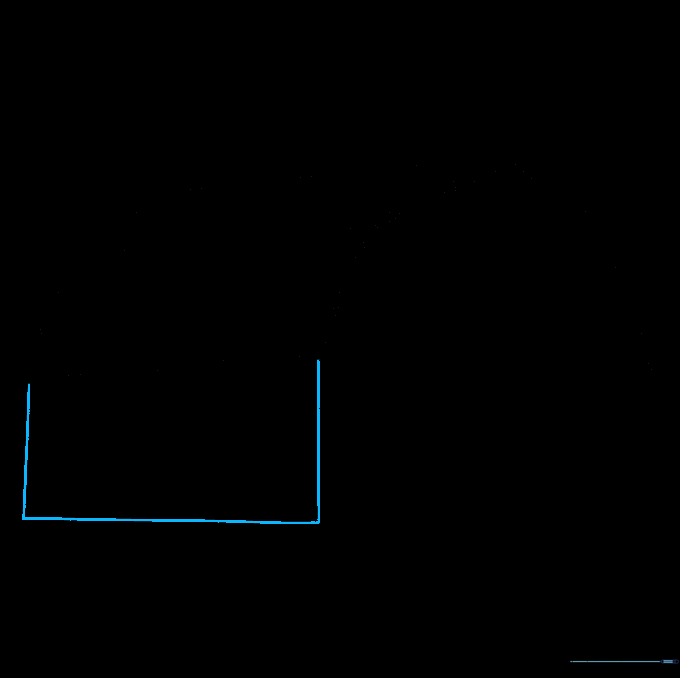
Step 1: Sketching the Roof Base
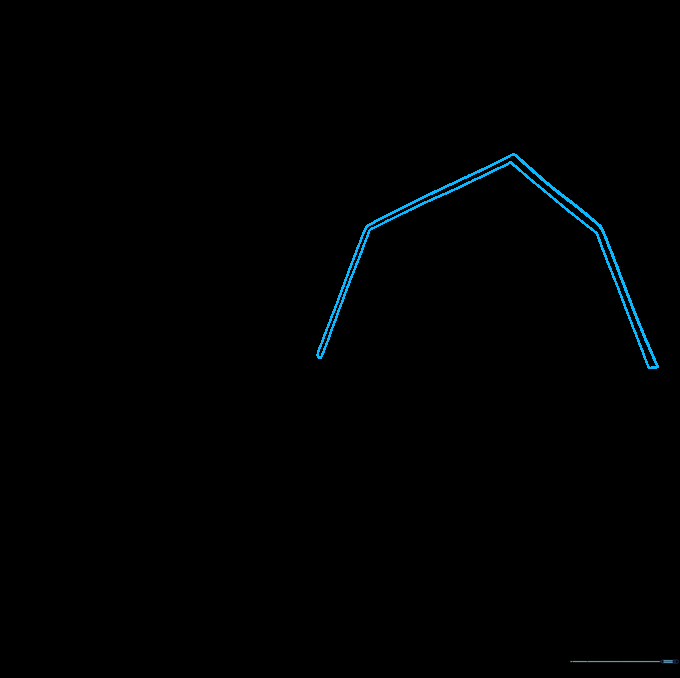
Draw four straight lines to form a wide, bottomless pentagon shape. Then, draw a second set of parallel lines to create the thickness of the roof. Teacher's Tip: Use a ruler if you want perfectly straight edges, or embrace a hand-drawn look for a cozy, rustic feel.
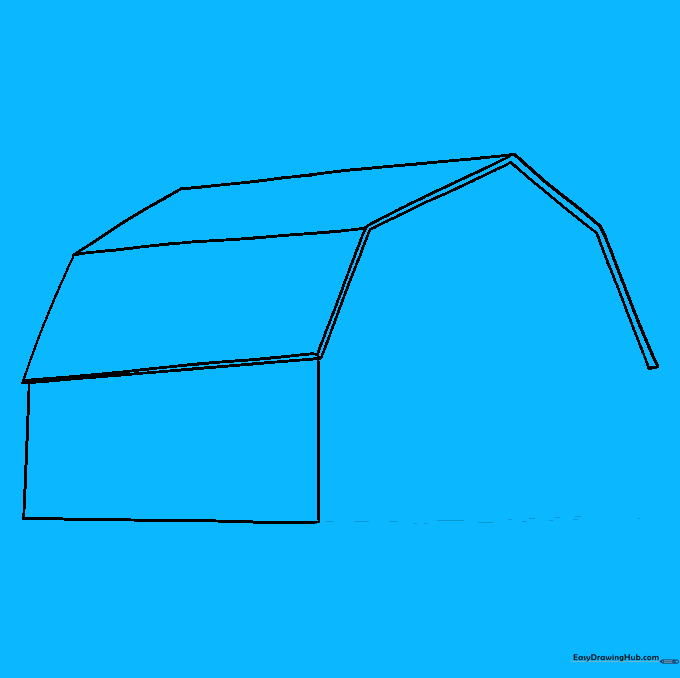
Step 2: Adding Roof Depth
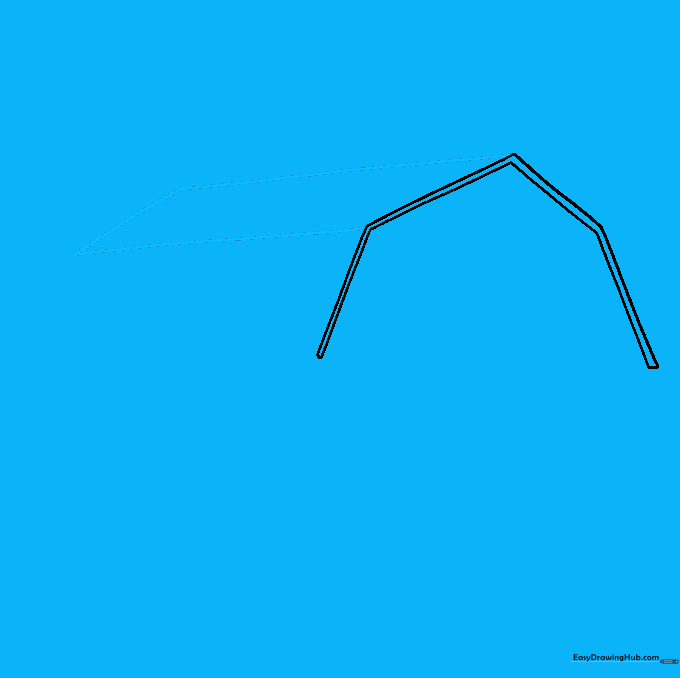
Enclose a parallelogram along one of the upper roof edges using three straight lines. This creates the side plane of the roof. Tip: Make sure your lines are parallel to the ones you drew in step one to keep the perspective consistent.
Step 3: Defining the Roof Edge
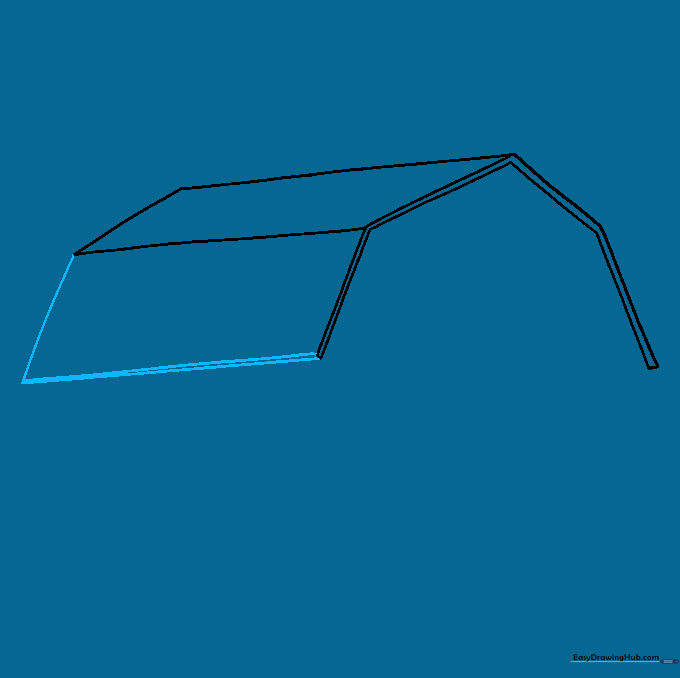
Use two lines to enclose a rectangle between the side roof and the main roof edge. Add a small parallel line to the bottom edge of the roof to give it a finished, 3D look. Tip: Think of this as the 'overhang' that keeps the rain off the barn walls.
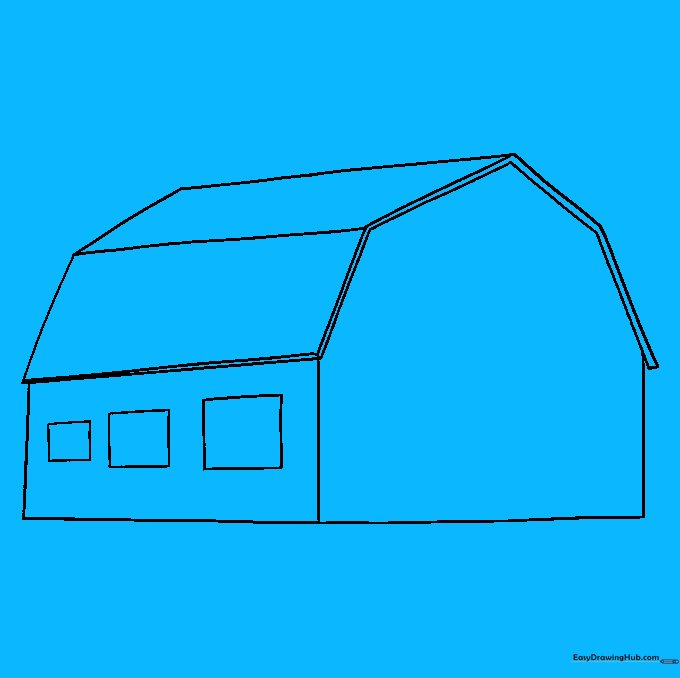
Step 4: Drawing the Main Wall
Use three straight lines to enclose a large rectangle under the side of the roof. This forms the broad side wall of your barn. Tip: Keep this rectangle nice and tall so your barn looks sturdy!
Step 5: Closing the Front Wall
Connect the side wall to the opposite edge of the roof using two straight lines to enclose the front face of the barn. Tip: Ensure these lines meet the corners of your roof perfectly to keep the structure looking solid.
Step 6: Adding Windows

Draw three rectangles of varying sizes on the broad side of the barn. These are your windows. Tip: Varying the size of the windows adds a sense of realism and character to your drawing.
Step 7: Designing the Loft
Draw two horizontal lines between the roof eaves to mark the loft floor. Add a central rectangle for the loft door and smaller rectangles on either side for shutters. Tip: Use light, dashed lines first to ensure your loft is centered before committing to the final shape.
Step 8: Constructing the Main Door
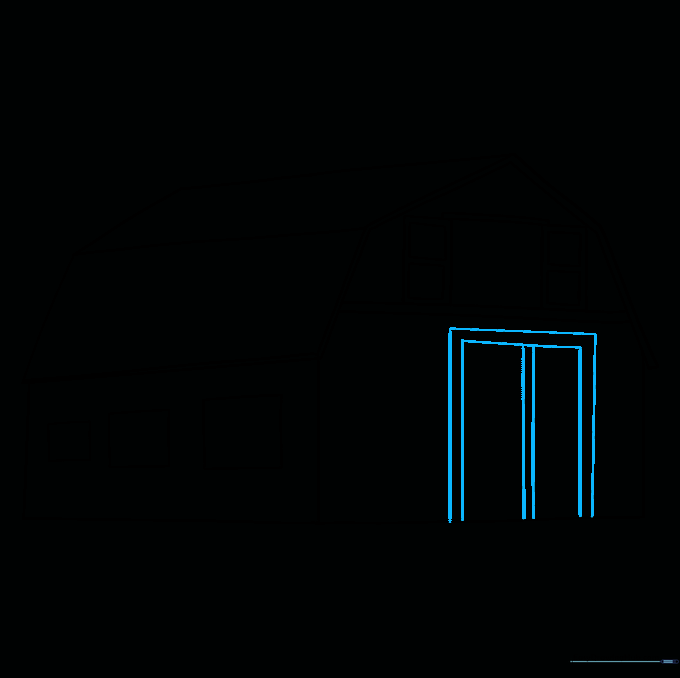
Draw a large vertical rectangle on the front of the barn. Add parallel lines around it to create a thick frame, then divide the door in half with a vertical line. Tip: A large door makes the barn look inviting and functional.
Step 9: Adding Final Details

Add horizontal planks to your doors and draw 'X' shapes across the windows and lower doors for that classic barn look. Tip: The 'X' shape is a hallmark of farm architecture—it adds great visual texture!
Step 10: Bringing Your Barn to Life with Color
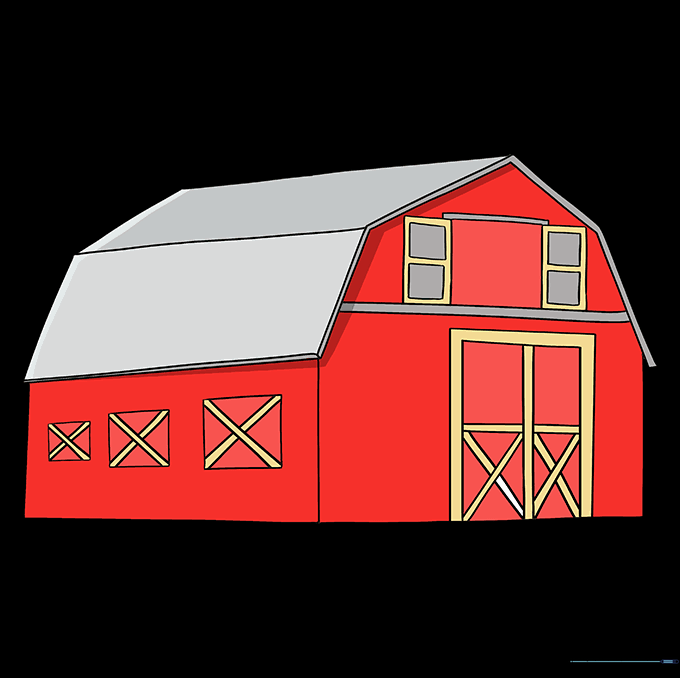
Time to color! Traditional barns are often a deep, rustic red, but feel free to get creative with browns, grays, or even green. Tip: Use a darker shade of your chosen color to add shadows under the roof overhang for a professional finish.
More Tutorials


