How to Draw a Banner: Easy 9-Step Guide for Kids
This simple banner drawing tutorial is perfect for artists ages 5 and up. All you need is a pencil, an eraser, and a piece of paper to create a professional-looking ribbon for your posters or cards. Follow these steps to master the art of 3D-style lettering frames.
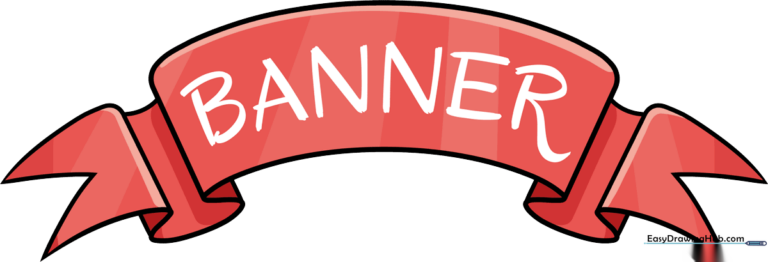
🎯 Final Result
Step-by-Step Instructions
Step 1: Sketch the Top Curve

Draw a long, gentle curve that dips slightly at the ends. Tip: Think of this as the top edge of your ribbon; keep the arc smooth so it looks like fabric blowing in the wind.
Step 2: Define the Bottom Edge
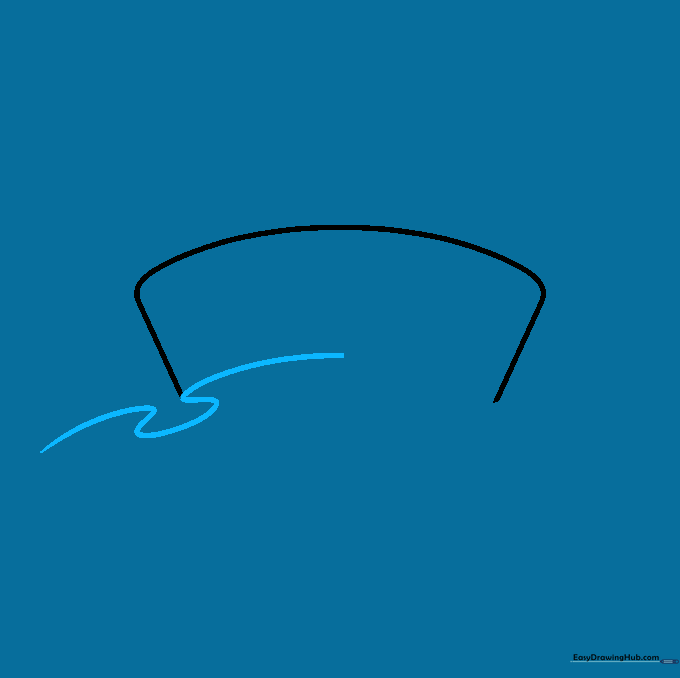
Add a wavy line below your first curve. Tip: Make sure the ends of this line extend slightly past the top curve to create the illusion of the ribbon folding over itself.
Step 3: Close the Ribbon Shape
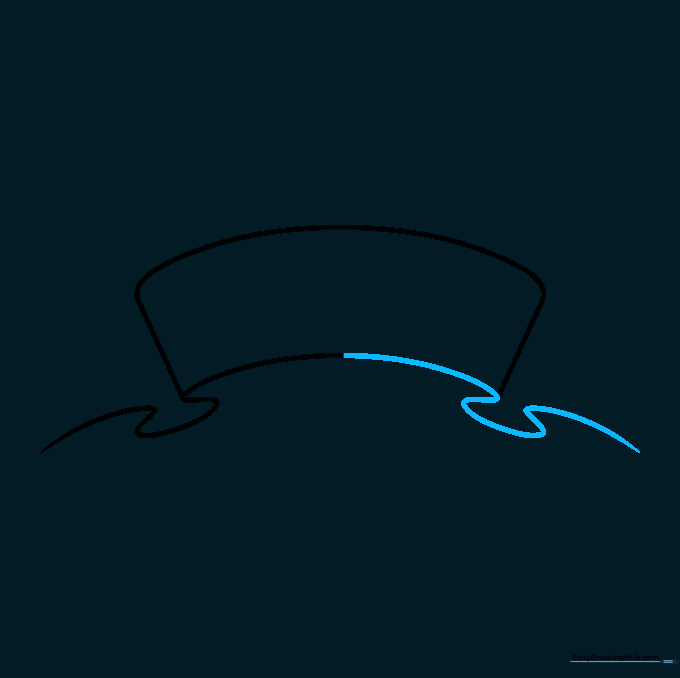
Connect the ends of your lines to create the ribbon's tail. Tip: Keep your pencil strokes light here; these lines define the structure of the banner's ends.
Step 4: Add the First Fold
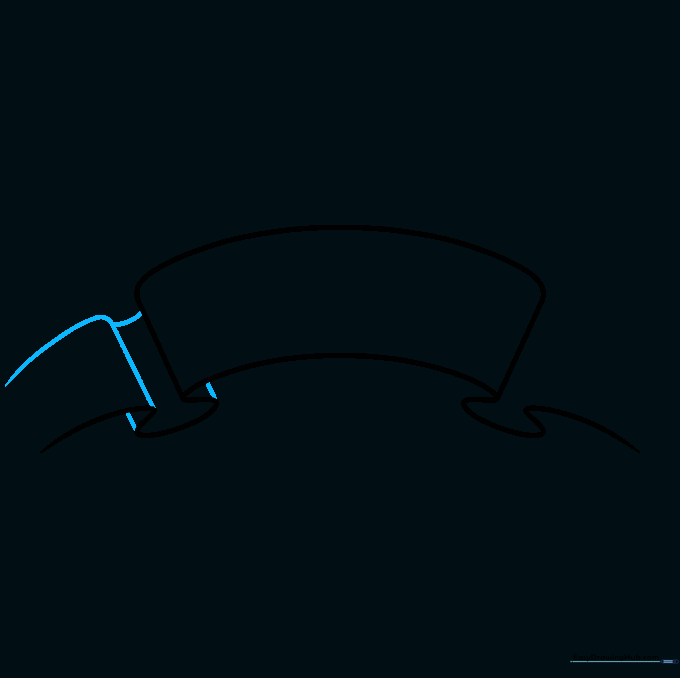
Draw a vertical line connecting the top and bottom sections on one side. Tip: This creates a 'fold' effect, making your drawing look 3D rather than flat.
Step 5: Add the Second Fold

Repeat the process on the other side. Tip: Try to keep the fold depth consistent with the first side so the banner looks balanced.
Step 6: Cut the Ribbon Ends
Draw a small 'V' shape into the ends of the ribbon tails. Tip: This creates that classic 'fishtail' look found on professional banners.
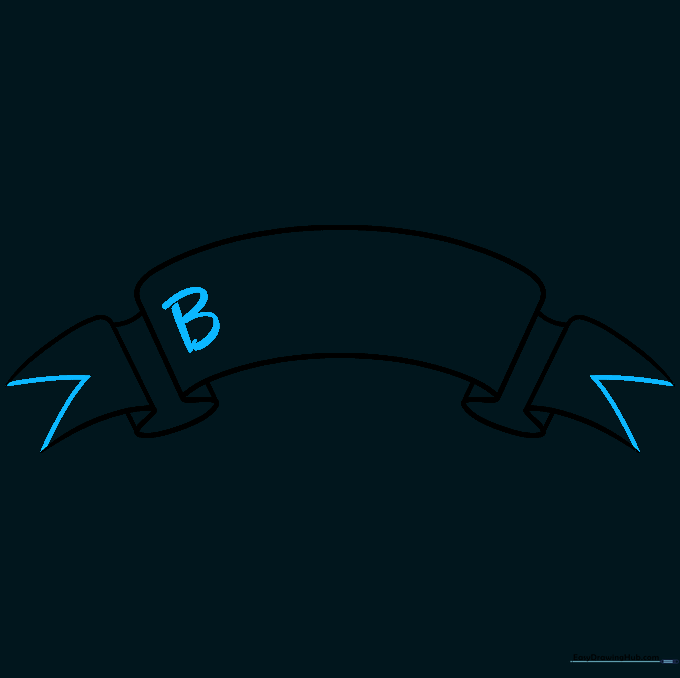
Step 7: Start Your Lettering
Begin writing your message in the center of the banner. Tip: Use a pencil to lightly map out your letters first so you can center them perfectly before using a pen.
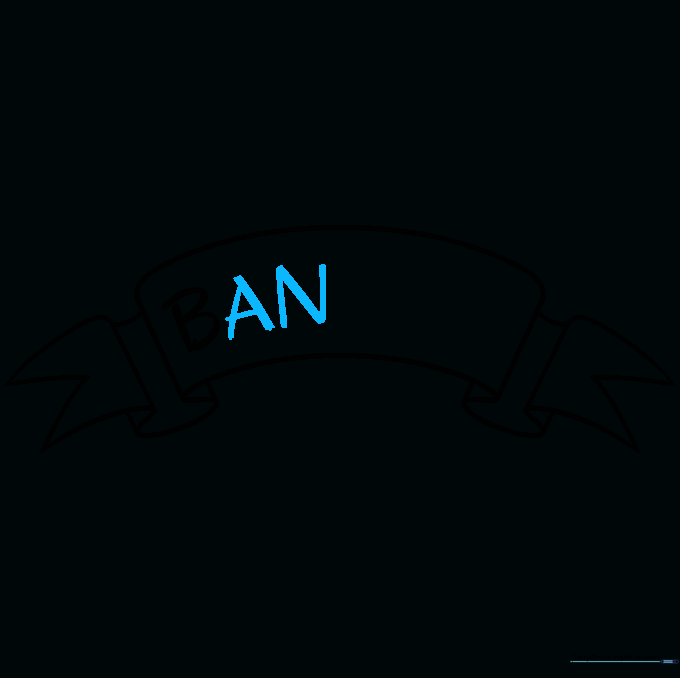
Step 8: Continue the Message
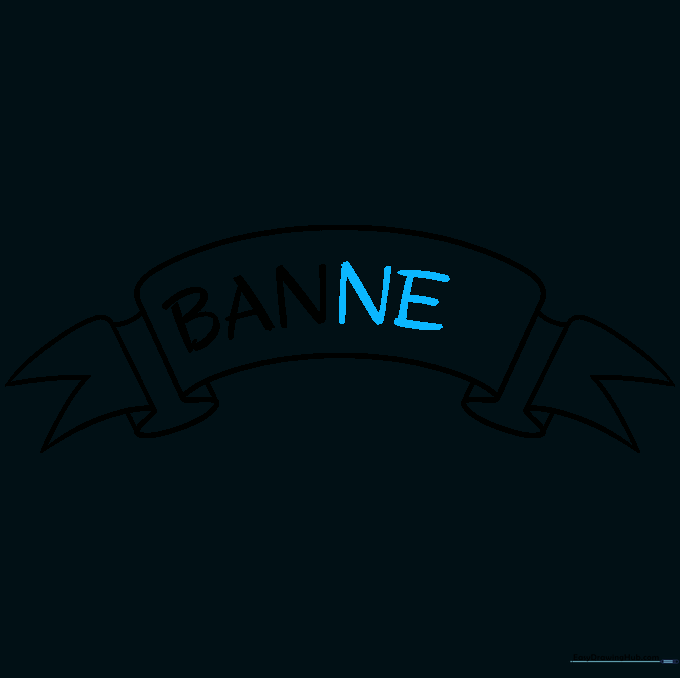
Keep filling in your letters across the banner. Tip: If you make a mistake, don't worry! Just erase it gently and try again—that's why we use pencils.
Step 9: Finalize the Text
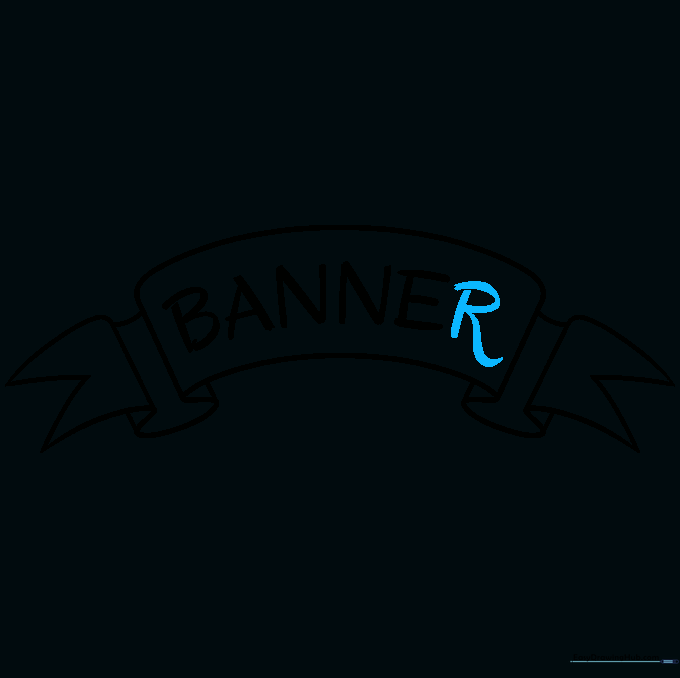
Finish your word and outline your pencil work with a black pen. Tip: Once the ink is dry, erase any remaining pencil marks for a clean, professional look.
Step 10: Add Color

Bring your banner to life with your favorite colors. Tip: Use a darker shade of your main color on the folded parts to create a natural shadow effect.
More Tutorials


