How to Draw a Bank Vault: Easy 10-Step Guide for Kids
Ready to protect your treasures? This tutorial is perfect for young artists ages 6+ looking to practice 3D shapes and perspective. You will need a pencil, an eraser, and a black marker to bring this heavy-duty vault to life. Let’s build a masterpiece!
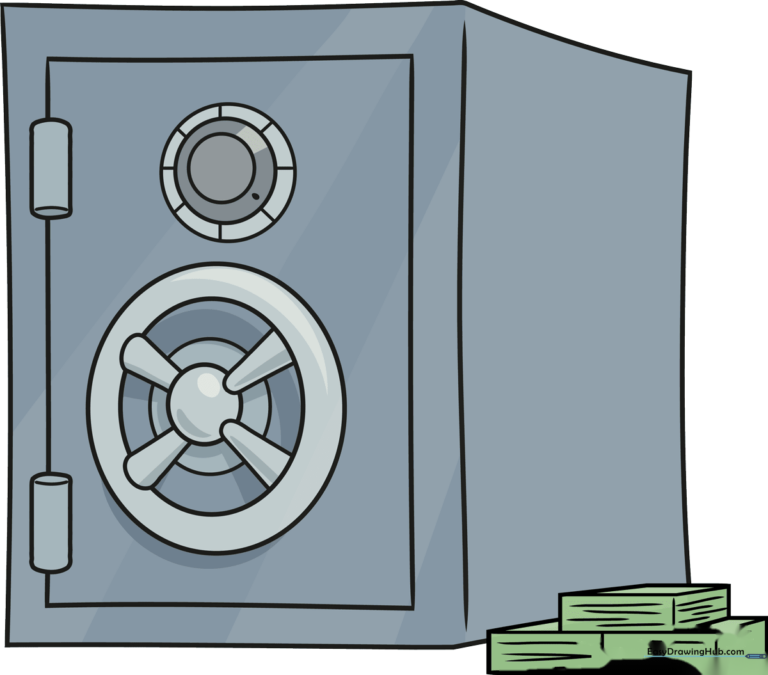
🎯 Final Result
Step-by-Step Instructions
Step 1: Sketching the Vault Body
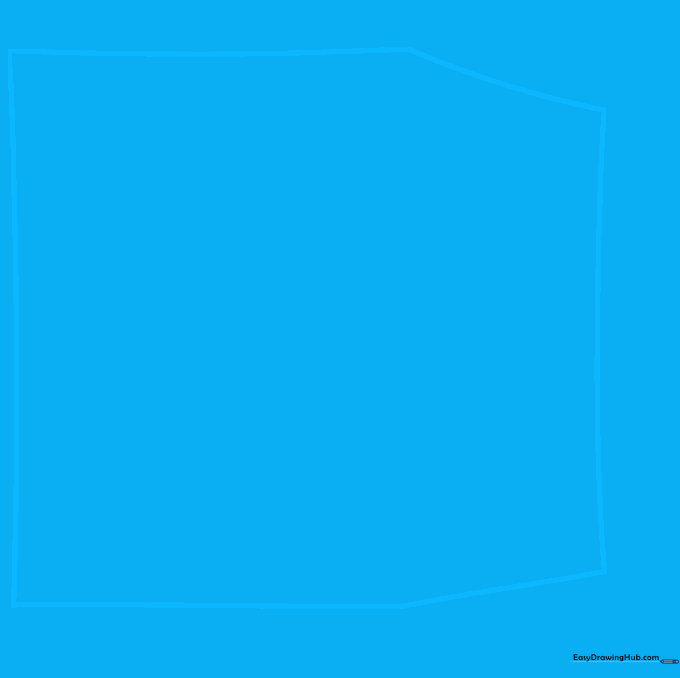
Begin by outlining the main shape of the vault. Use six straight or slightly curved lines to create a large, irregular hexagon. Teacher's Tip: Keep your pencil pressure light here; this is just the foundation for your 3D structure.
Step 2: Defining the Door and Hinges
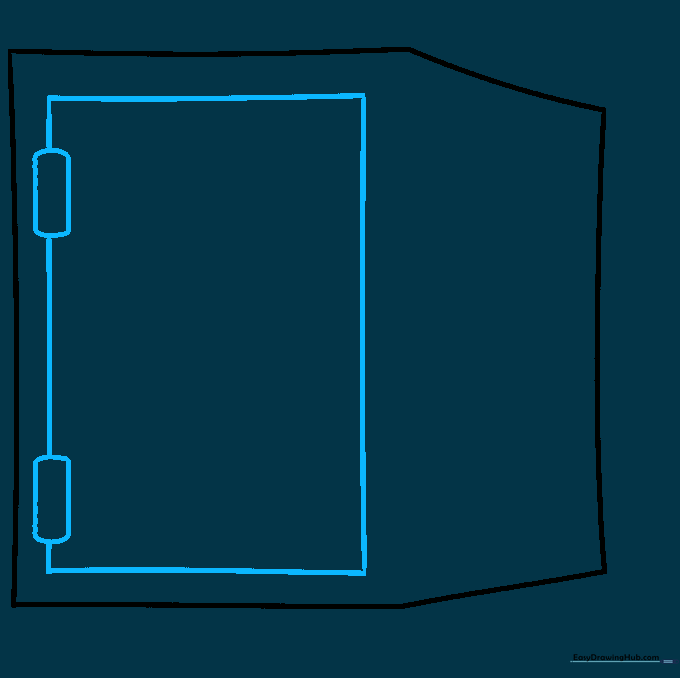
Draw a large rectangle inside the hexagon to form the vault door. Add two smaller rectangles with rounded corners overlapping the vertical edge. Teacher's Tip: These are your hinges—make sure they align perfectly with the door edge.
Step 3: Adding Hinges and the Lock
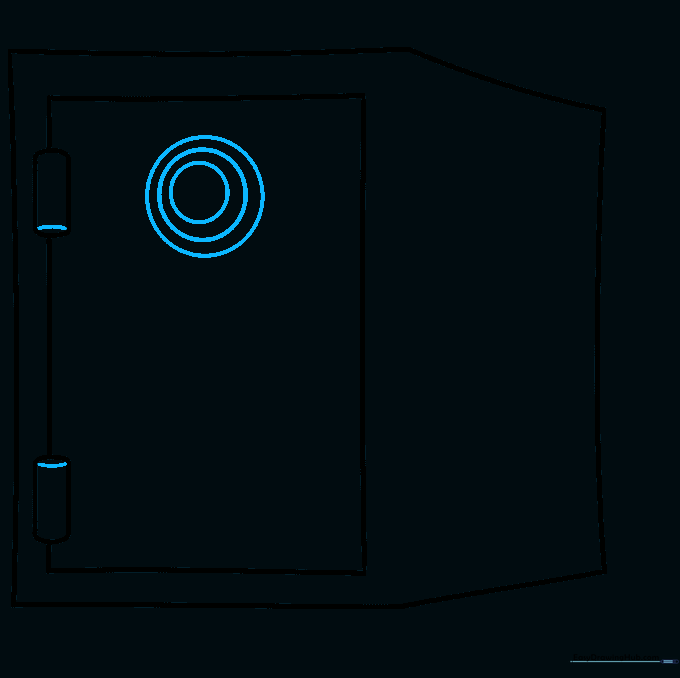
Add a curved line across the top and bottom of your hinges to give them a 3D cylindrical look. Near the top of the door, draw three nested circles for the lock. Teacher's Tip: Use a coin or a small circular object as a stencil if you struggle to get perfect circles.
Step 4: Sketching the Handle
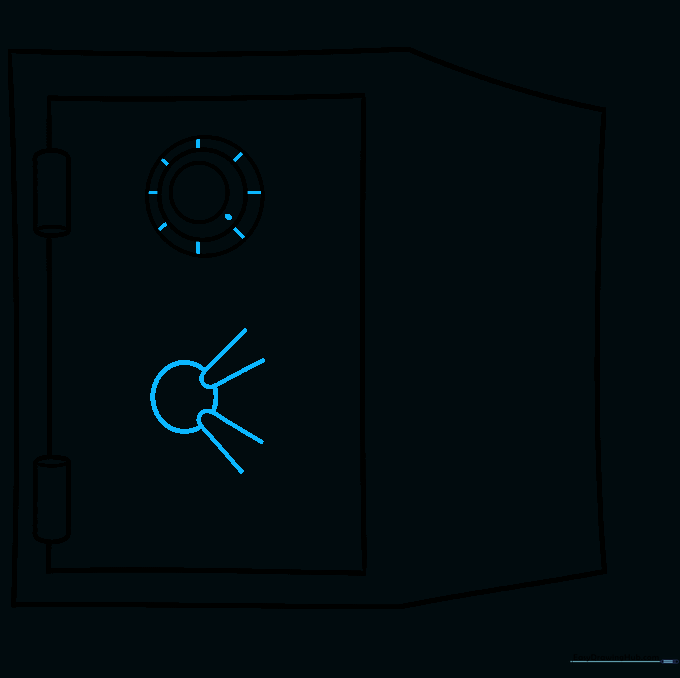
Draw the vault's opening handle. Sketch two 'U' shaped lines at diagonal angles, then place a circle behind them. Teacher's Tip: The 'U' shapes should look like the spokes of a wheel.
Step 5: Adding Handle Spokes
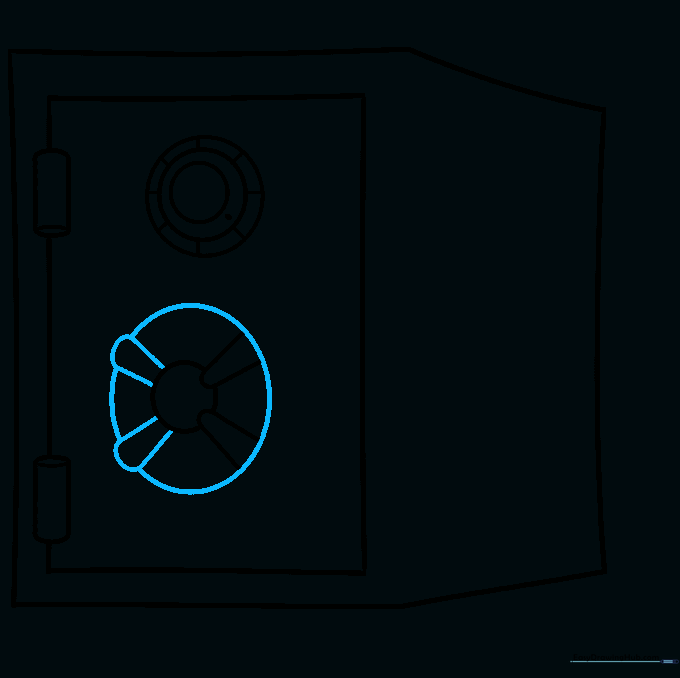
Use curved lines to draw the spokes of the knob on the opposite side. Enclose them within a large circle. Teacher's Tip: Ensure the spokes are evenly spaced to make the handle look balanced.
Step 6: Refining the Knob
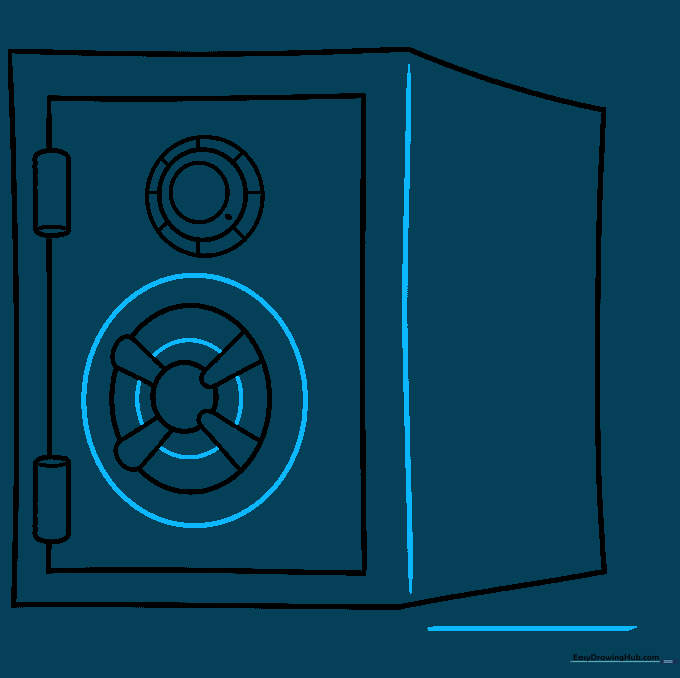
Draw a larger circle around the knob and a smaller one inside, partially hidden by the spokes. Teacher's Tip: This layering effect adds depth to your drawing.
Step 7: Creating the Interior
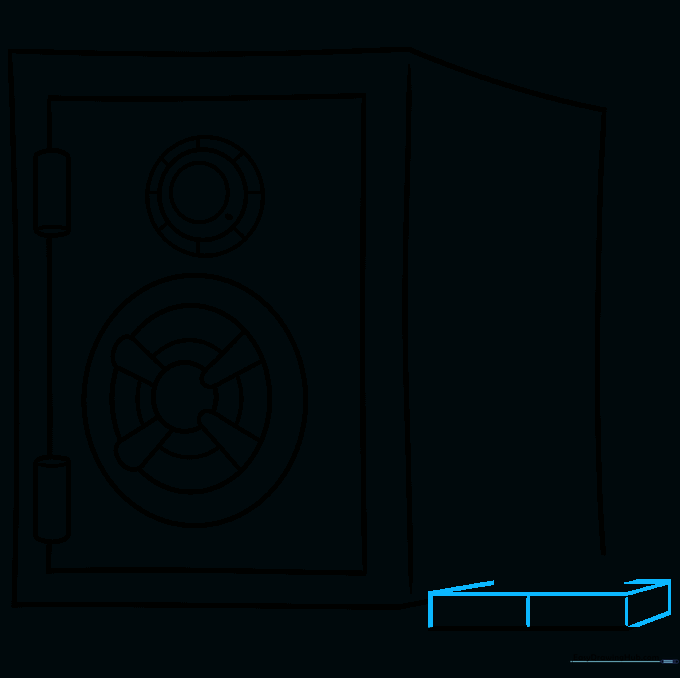
Erase a portion of the bottom outline to create an opening. Sketch a 3D rectangular shape inside. Divide the front into rectangles to represent stacks of money or gold bars. Teacher's Tip: Use a ruler if you find it hard to keep your lines straight.
Step 8: Adding More Treasure

Add another gold bar on top of the stack. Draw it as a 3D cube using straight lines for the front and side, connected by an 'L' shaped line. Teacher's Tip: Think of this as drawing a simple box.
Step 9: Adding Texture
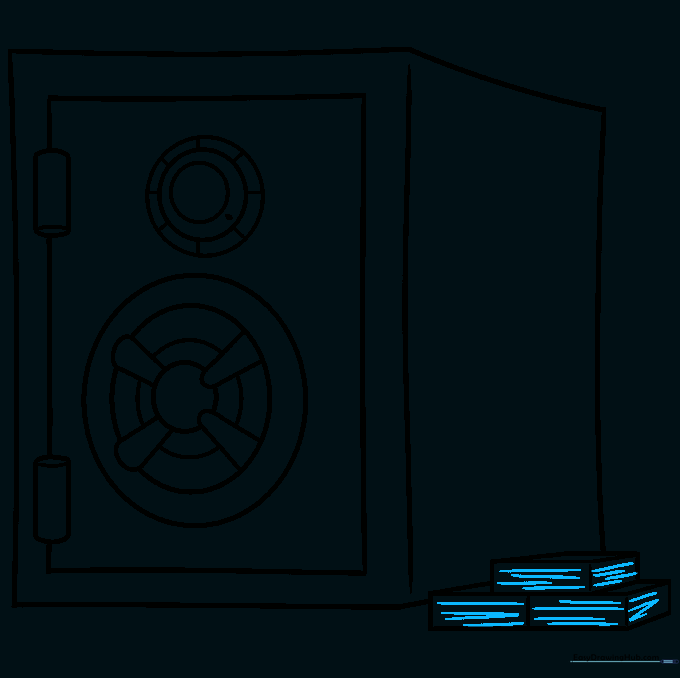
Add texture to the sides of your gold bars using short, straight lines. Teacher's Tip: This small detail makes the bars look shiny and metallic.
Step 10: Final Coloring
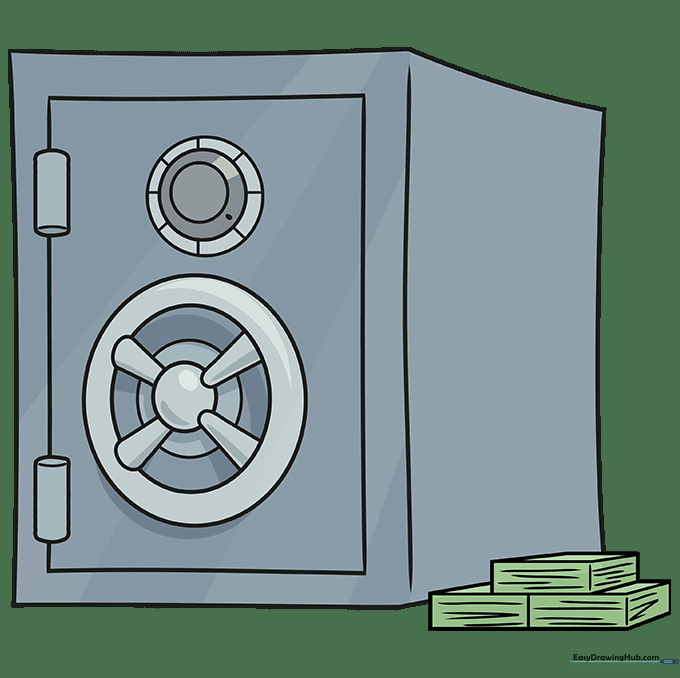
Color your vault in shades of grey to mimic heavy steel. Use bright green for cash or yellow for gold bars. Teacher's Tip: Use a darker grey for the shadows on the inside of the vault to create a sense of depth.
More Tutorials


