How to Draw a Balloon Dog: Easy 10-Step Guide
This balloon dog tutorial is perfect for young artists ages 5 and up looking to master basic shapes. All you need is a pencil, an eraser, and a piece of paper to bring this playful character to life. Follow along to practice your line control and create a fun, colorful masterpiece.
🎯 Final Result

Step-by-Step Instructions
Step 1: Sketching the Snout
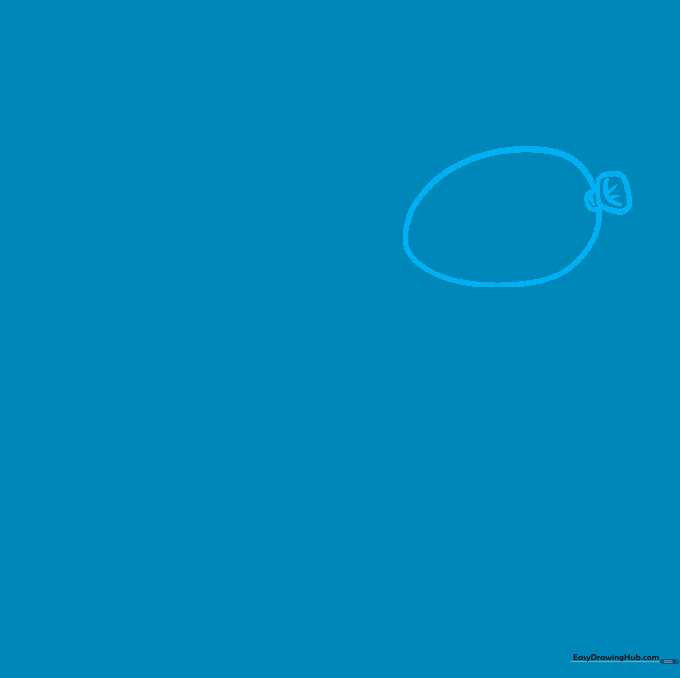
Draw a small, horizontal egg shape for the snout. At the front, add two small, irregular circles for the nose and the tied end of the balloon. Teacher's Tip: Keep your pencil pressure light here so you can refine the curves later.
Step 2: Drawing the First Ear
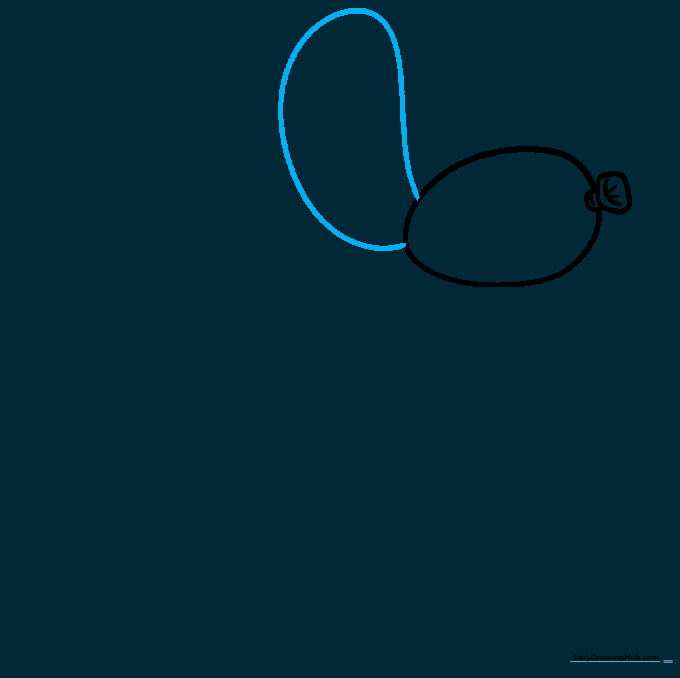
Extend a long, smooth curved line upward and back down to form the first ear. Think of it like a long, floppy petal. Tip: Try to draw this in one continuous motion for a smoother look.
Step 3: Adding the Second Ear
Mirror the first ear by drawing a second curved line behind it. This creates the illusion of depth. Tip: Make sure the two ears look similar in size to keep the dog balanced.
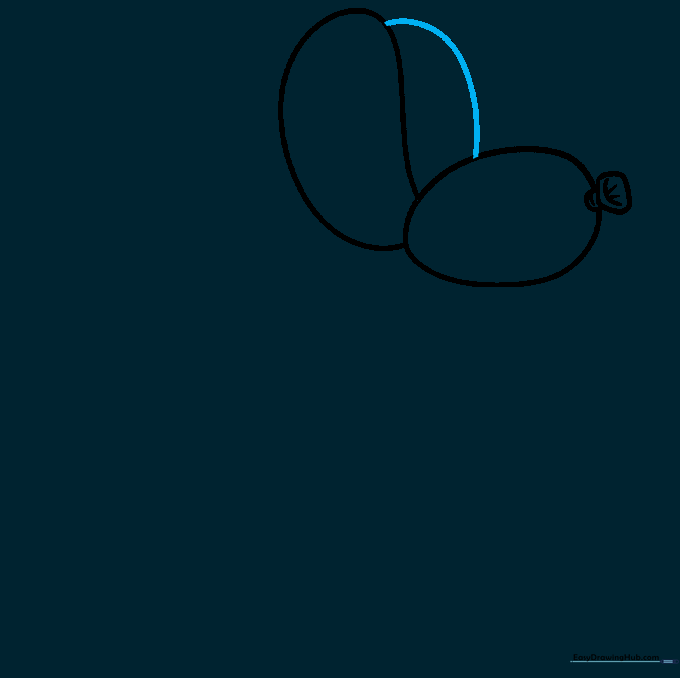
Step 4: Shaping the Neck
Draw a curved line connecting the head to the body to form the neck. It should look like a rounded segment of a balloon. Tip: Keep the curve soft to mimic the look of inflated rubber.
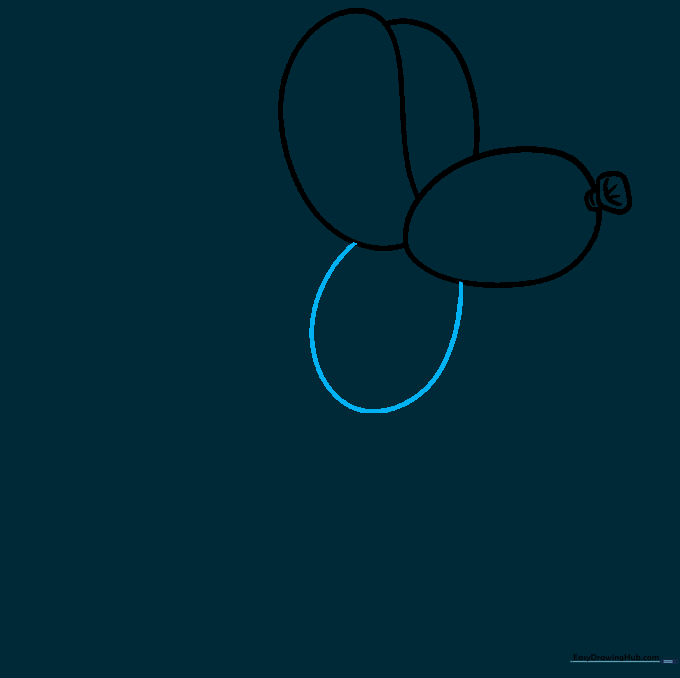
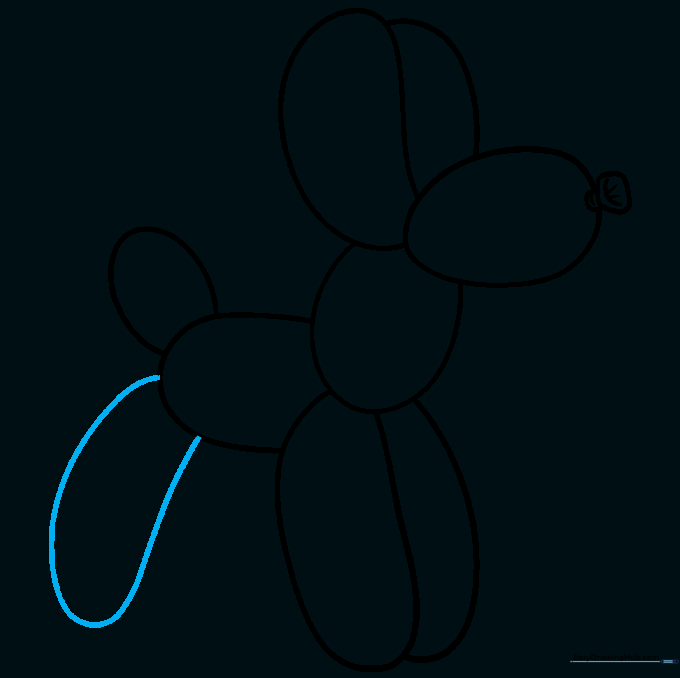
Step 5: Sketching the Front Leg
Draw a long, rounded shape extending downward for the first front leg. Tip: Imagine you are drawing a sausage shape; keep the ends rounded, not flat.
Step 6: Adding the Second Front Leg

Add the second front leg slightly behind the first one. This creates the perspective of a 3D object. Tip: Keep this leg slightly shorter to show it is further away.
Step 7: The Body and Tail

Draw the main body section and a small, rounded tail. Keep the tail small so it looks like a twisted balloon end. Tip: Use smooth, sweeping motions for the body curve.
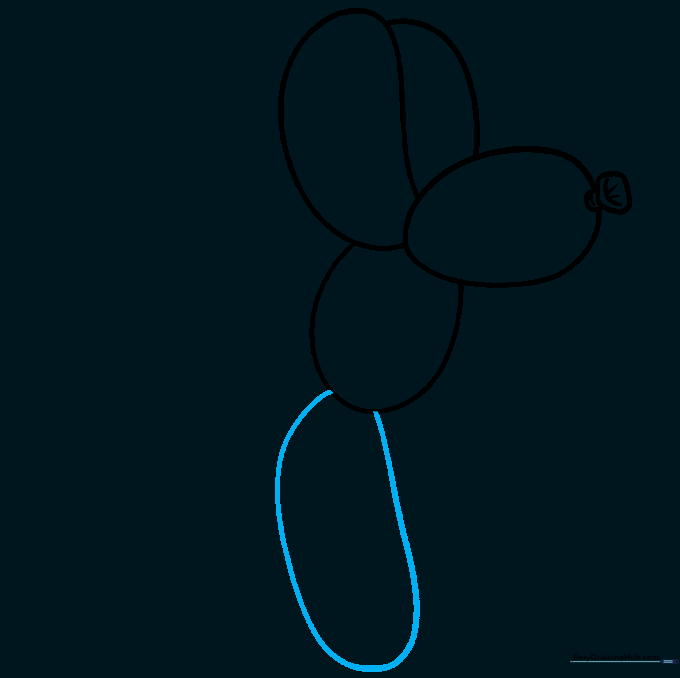
Step 8: First Rear Leg
Draw the first rear leg using a long, curved line that loops back on itself. Tip: Ensure the leg is thick enough to support the dog's body.
Step 9: Finishing the Legs and Tail
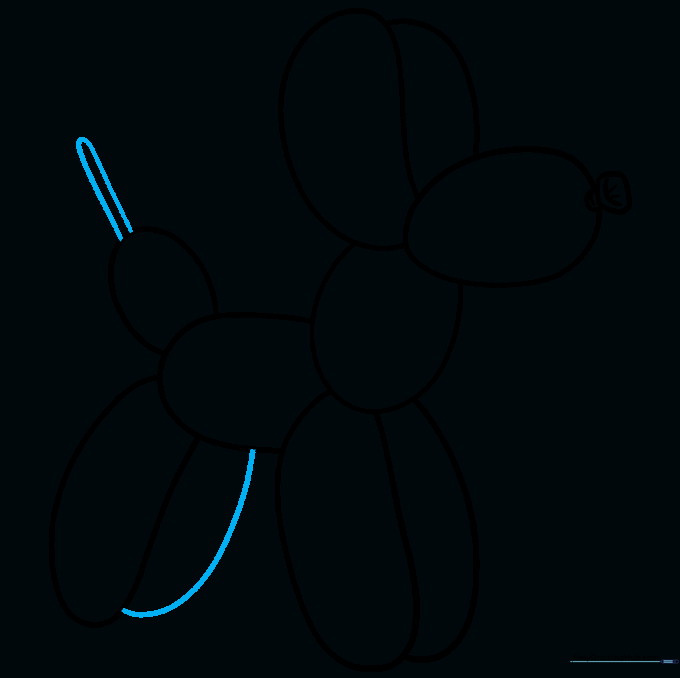
Complete the final rear leg and refine the tail tip. For the tail, draw two parallel lines that meet at a soft point. Tip: Take your time to erase any overlapping lines inside the legs.
Step 10: Adding Color and Highlights
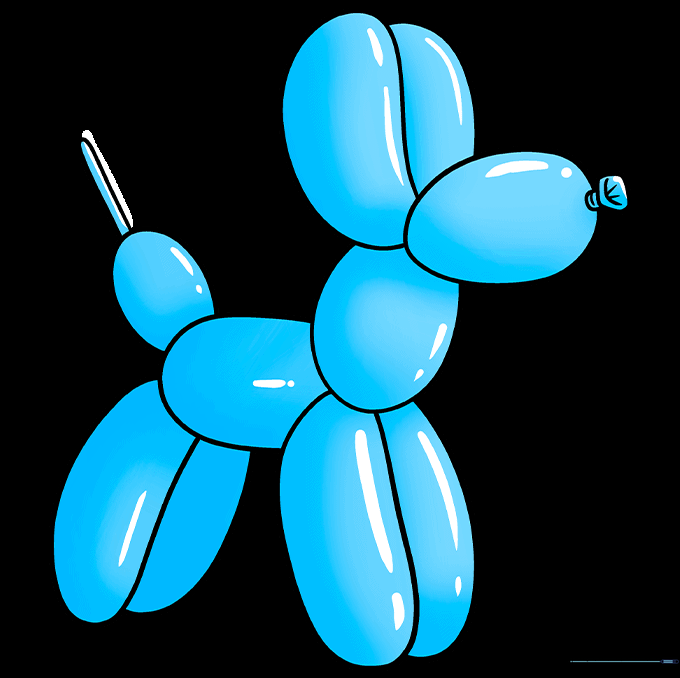
Color your balloon dog! We used blue, but you can choose any color. Leave thin white streaks on the curves to represent light reflecting off the balloon surface. Tip: This highlight is what makes it look like a real balloon!
More Tutorials


