How to Draw a Ballerina: Easy 10-Step Guide for Kids
Ready to bring a dancer to life on paper? This tutorial is perfect for young artists ages 6+ looking to master character proportions. Grab a pencil, an eraser, and a piece of paper to start building your ballerina from the head down.
🎯 Final Result
Step-by-Step Instructions
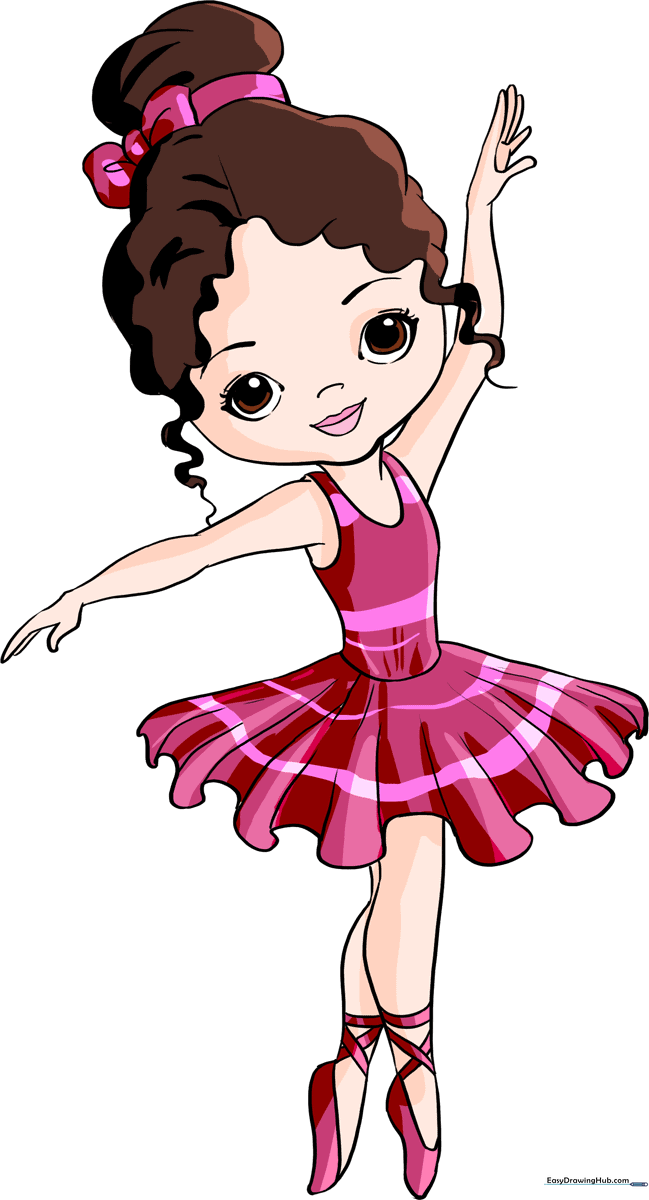
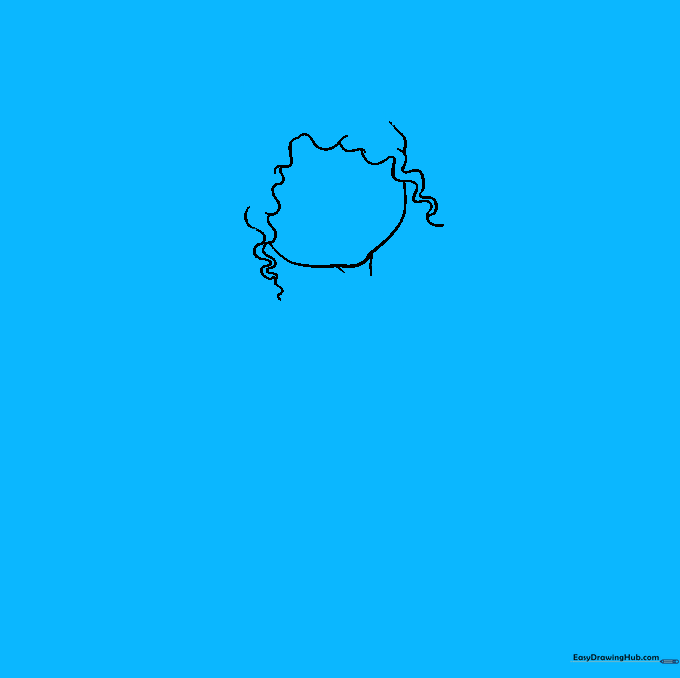
Step 1: Sketching the Face Shape
Outline the ballerina's face using a smooth, curved line that dips to form a gentle chin. Teacher's Tip: Keep your pencil pressure light so you can easily adjust the shape if it looks a bit lopsided.
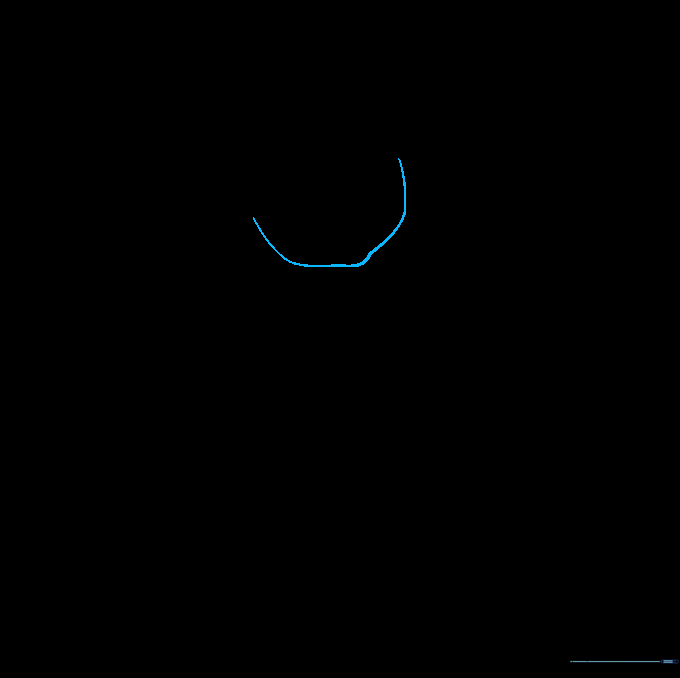
Step 2: Adding the Hairline
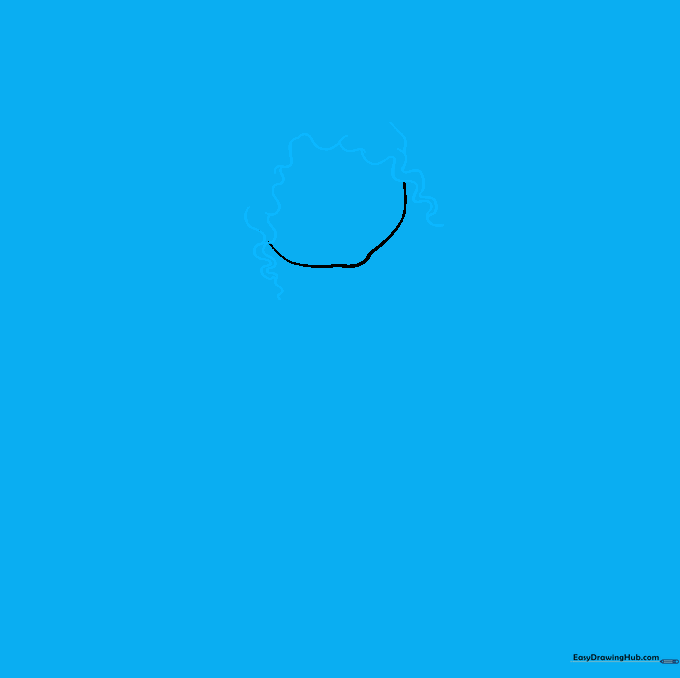
Draw wavy lines framing the face to create the hair. Let them meet at the forehead and sides to form soft, curly tendrils. Teacher's Tip: Use short, flicking motions with your pencil to make the hair look more natural and textured.
Step 3: Defining the Neck
Add two short, vertical lines beneath the chin to form the neck. Teacher's Tip: Don't make the neck too wide; keeping it slender helps the ballerina look elegant and graceful.
Step 4: The Bun and Bodice
Draw a neat bun on top of the head with a decorative ribbon, then sketch the 'U' shaped neckline of the leotard. Teacher's Tip: When drawing the bow, focus on the center knot first, then add the loops on either side for symmetry.
Step 5: Sketching the First Arm
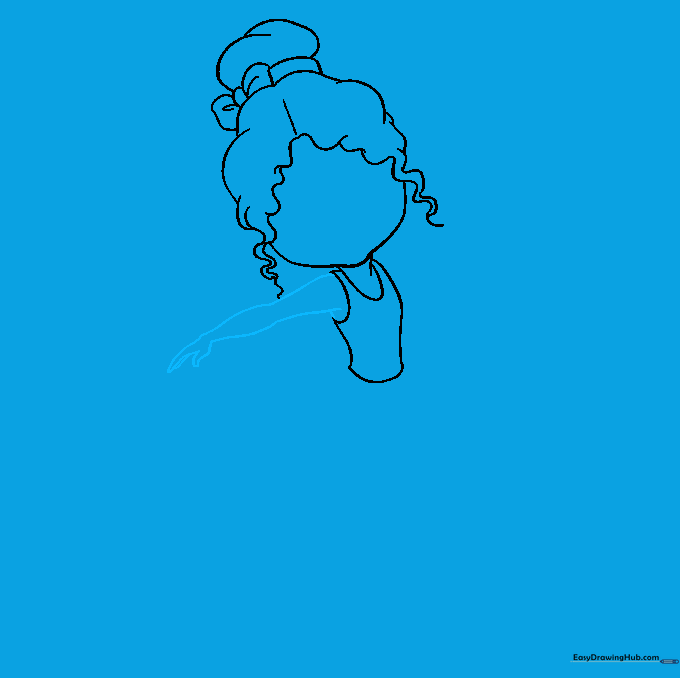
Use long, flowing curved lines to create the arm and simple 'U' shapes for the fingers. Teacher's Tip: Imagine the arm is a graceful curve, like a swan's neck, to give it that classic ballet posture.
Step 6: Adding the Second Arm
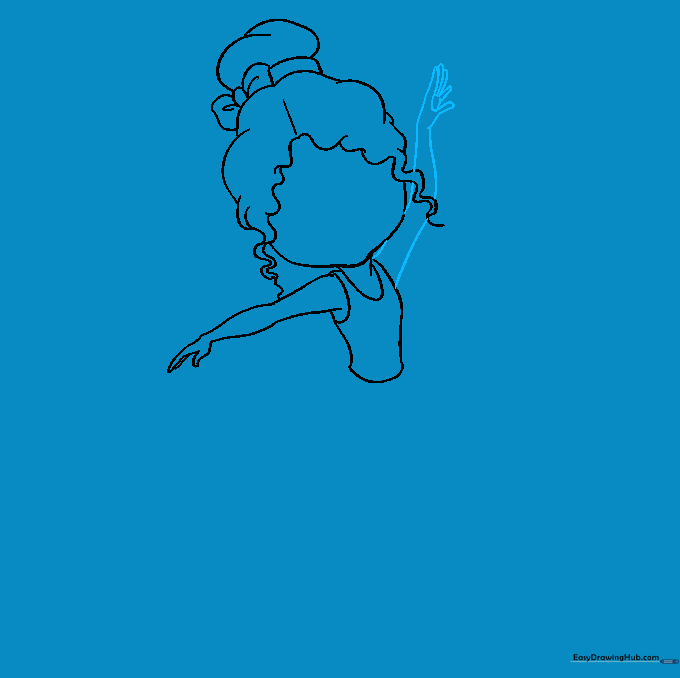
Draw the second arm extending behind the head. Teacher's Tip: Since this arm is partially hidden, focus on the visible curves to maintain the illusion of depth.
Step 7: Drawing the Tutu

Extend long, wavy lines from the waist to create the fluffy tutu. Add small ripples to show fabric movement. Teacher's Tip: Make the waves uneven to give the skirt a light, airy, and realistic look.
Step 8: Legs and Ballet Slippers
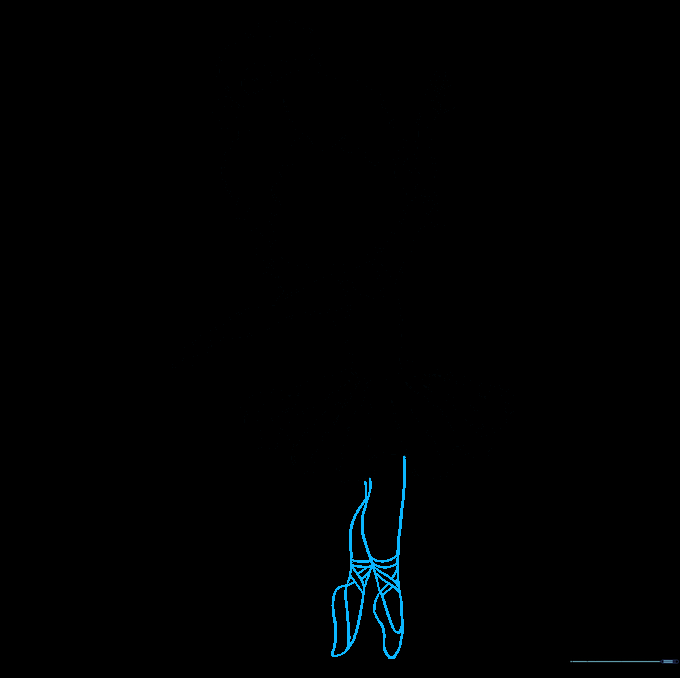
Sketch the legs and add 'X' details on the feet for the ribbons of the slippers. Teacher's Tip: Keep the legs slender to match the ballerina's elegant upper body.
Step 9: Facial Features
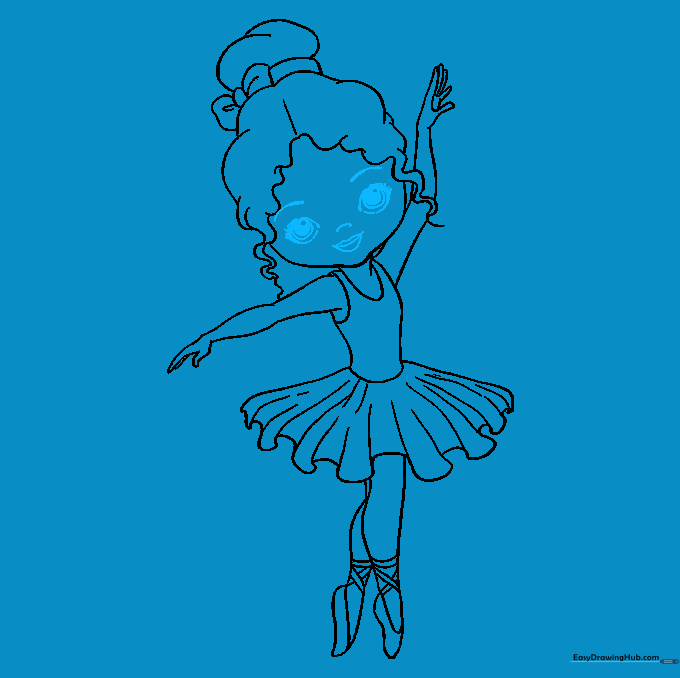
Add the brows, nose, and eyes. For the eyes, draw a teardrop shape with smaller circles inside for the pupil. Teacher's Tip: Shade the pupil darkly to give your ballerina a bright, expressive gaze.
Step 10: Final Touches and Color
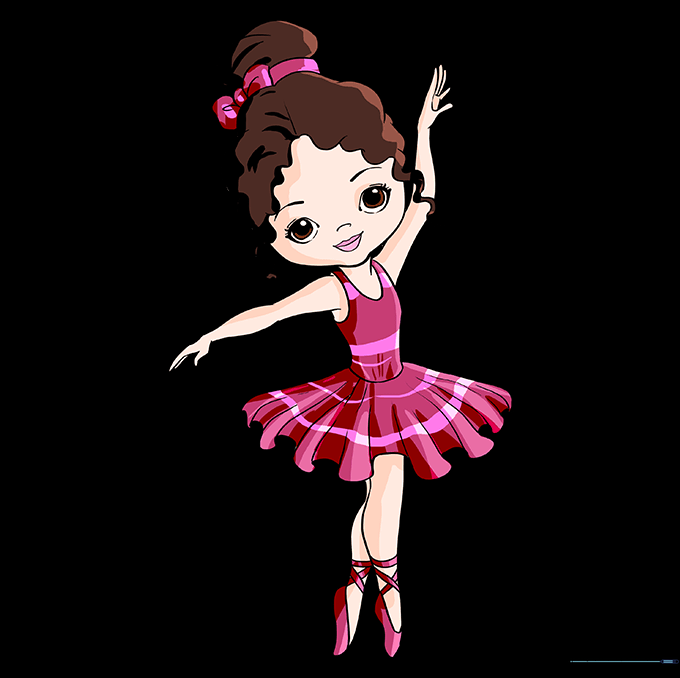
Erase your guide lines and add color! Use soft pinks for the tutu and slippers to complete the look. Teacher's Tip: Try using colored pencils to add light shading to the folds of the tutu for a professional finish.
More Tutorials


