How to Draw a Bagel: Easy 9-Step Guide for Kids
Looking for a fun, screen-free activity? This bagel drawing tutorial is perfect for artists ages 5 and up. All you need is a pencil, an eraser, and some paper to create a tasty masterpiece that helps practice basic shape construction and line control.
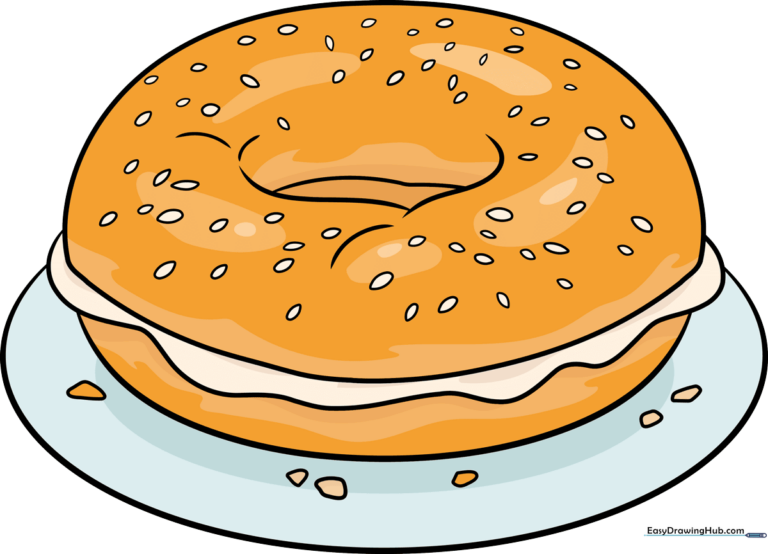
🎯 Final Result
Step-by-Step Instructions
Step 1: Sketching the Top Crust
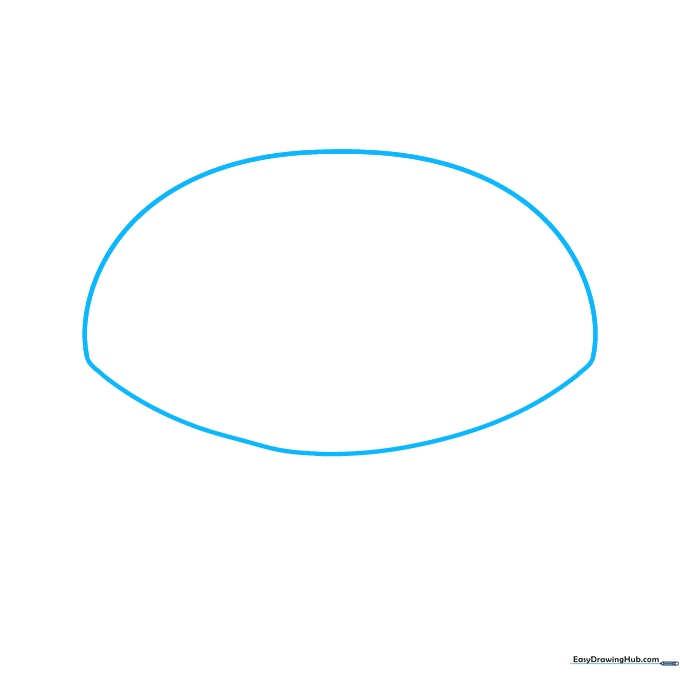
Draw a long, gentle curved line, then mirror it below to enclose an irregular oval shape. Teacher's Tip: Keep this shape slightly lumpy rather than a perfect circle to make it look like a real, hand-rolled bagel.
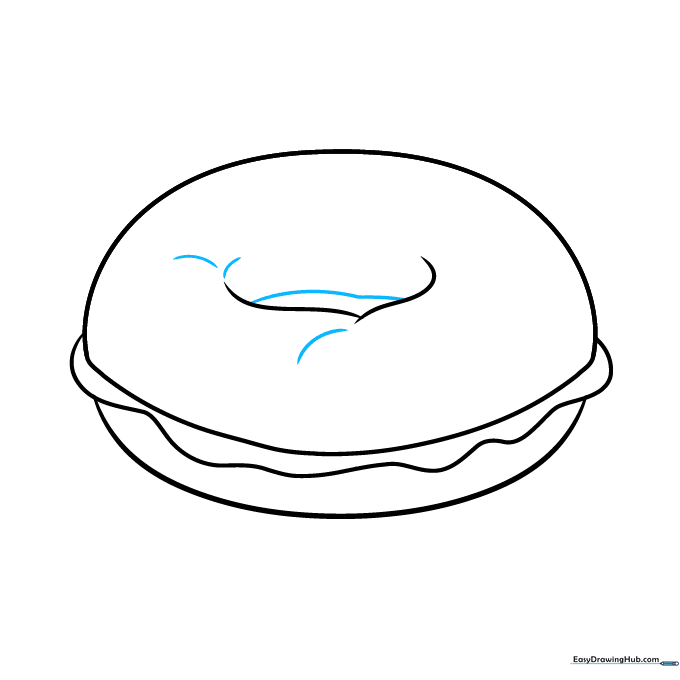
Step 2: Defining the Filling
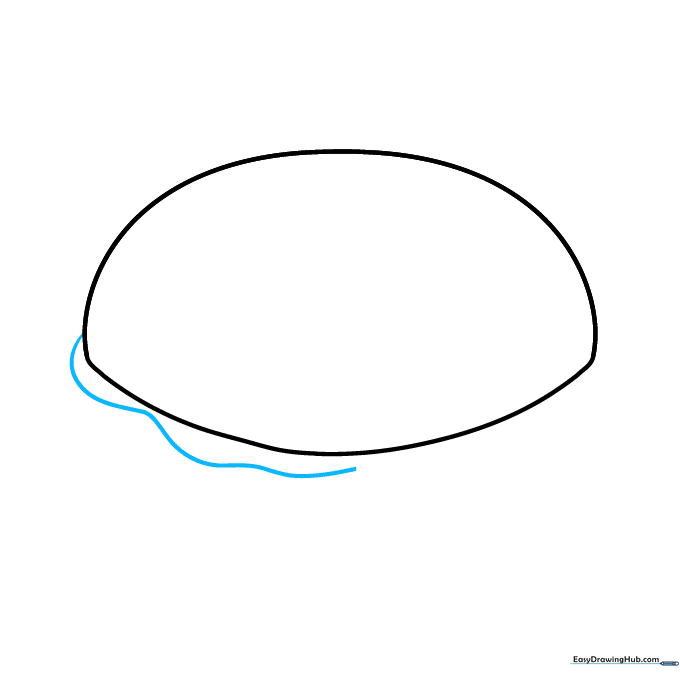
Starting at one end, draw a wavy line that follows the inner curve of your bagel. Teacher's Tip: Use a light, shaky hand to create the wavy line; it makes the cream cheese or filling look soft and textured.
Step 3: Connecting the Filling

Extend your wavy line until it meets the opposite side of the bagel. Teacher's Tip: Make sure the line touches the outer edge so the filling looks like it is sandwiched perfectly between the two halves.
Step 4: The Bottom Half and Center Hole
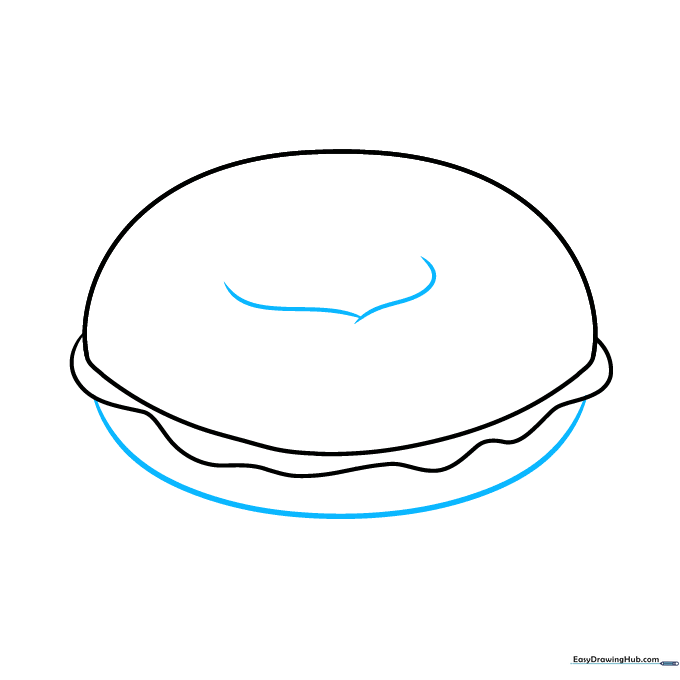
Draw a curved line for the bottom half, then add two overlapping curved lines in the center to create the hole. Teacher's Tip: The hole doesn't need to be perfectly centered; bagels are rustic, so a little asymmetry adds character!
Step 5: Refining the Center
Add a long curved line inside the hole, followed by three shorter lines that don't quite touch. Teacher's Tip: These small lines create the illusion of depth and shadow inside the bagel's center.
Step 6: Adding Texture
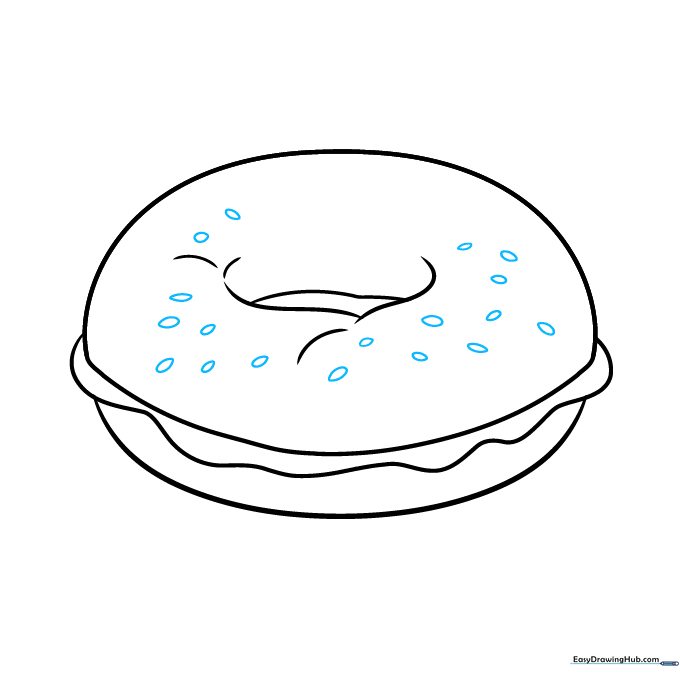
Draw small, teardrop-shaped lines on the top of the bagel to represent sesame seeds. Teacher's Tip: Vary the direction of the seeds so they look scattered naturally, rather than lined up in a row.
Step 7: More Toppings
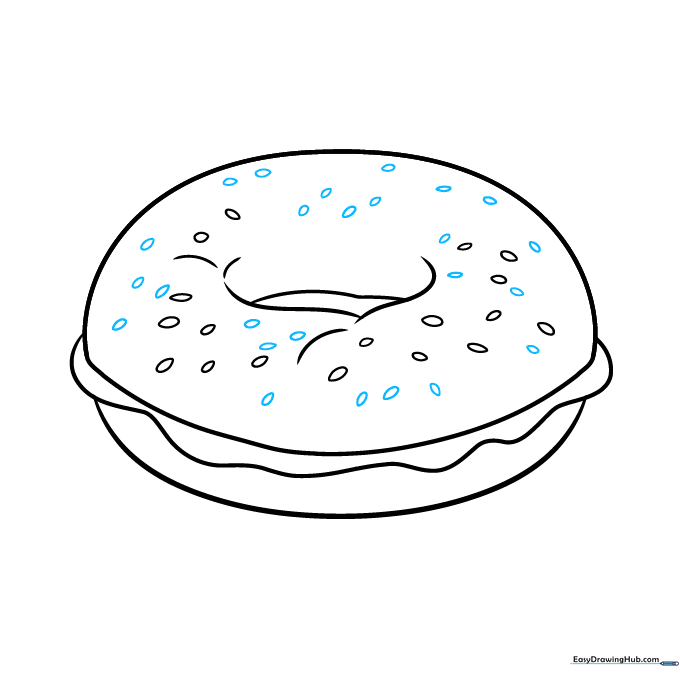
Continue adding more teardrop shapes across the bagel's surface. Teacher's Tip: Don't overfill it! Leaving some empty space makes the seeds look more realistic.
Step 8: Drawing the Plate
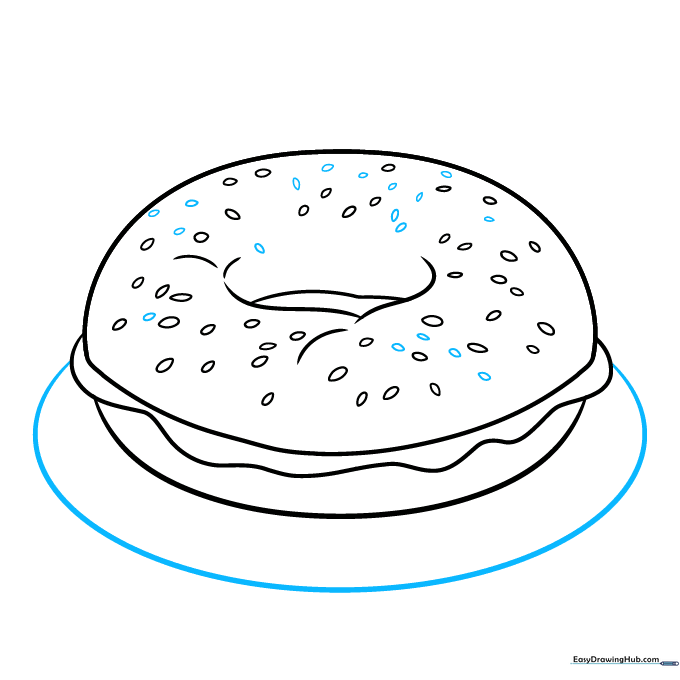
Draw a large, wide curved line underneath the bagel to form the plate. Teacher's Tip: Make sure the line is wide enough to extend past the edges of the bagel so it looks like it's resting on a flat surface.
Step 9: Final Details
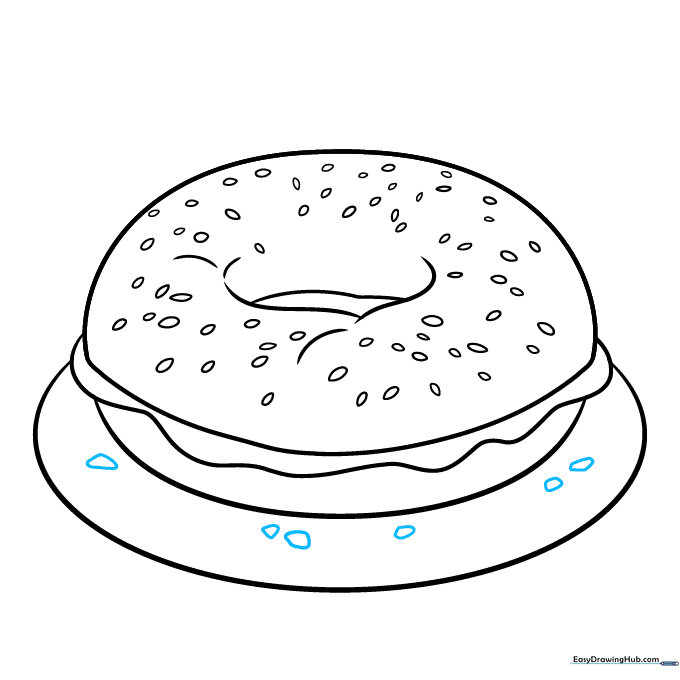
Add a few small, irregular shapes on the plate to represent crumbs. Teacher's Tip: Keep these shapes very small and scattered to add a fun, realistic touch to your drawing.
Step 10: Bring It to Life with Color
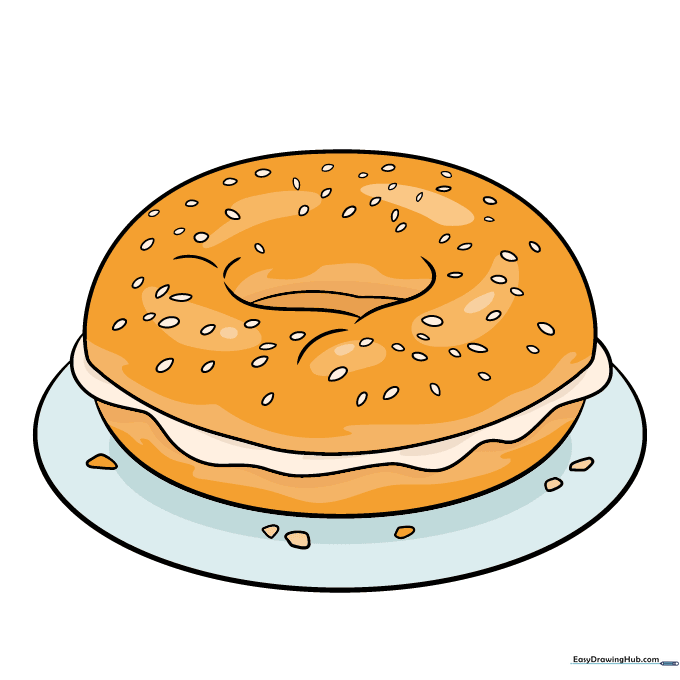
Now it's time to color! Use golden browns for the crust and white or cream for the filling. Teacher's Tip: Use a light tan pencil to add subtle shading around the edges of the bagel to make it look 3D.
More Tutorials


