How to Draw a Badger: Easy 10-Step Guide for Kids
This badger drawing tutorial is perfect for young artists ages 5 and up. You will only need a pencil, an eraser, and some paper to bring this woodland creature to life. Follow along to practice basic shapes and build confidence in your sketching skills.
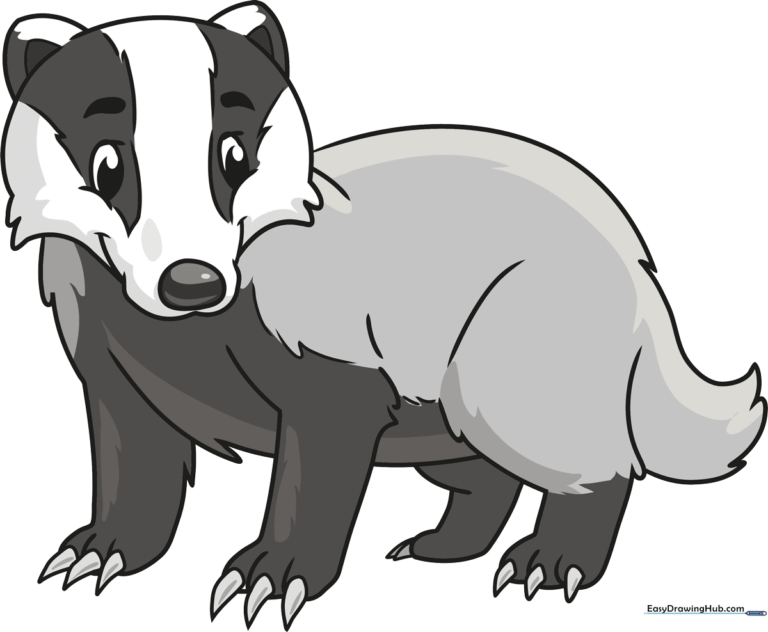
🎯 Final Result
Step-by-Step Instructions
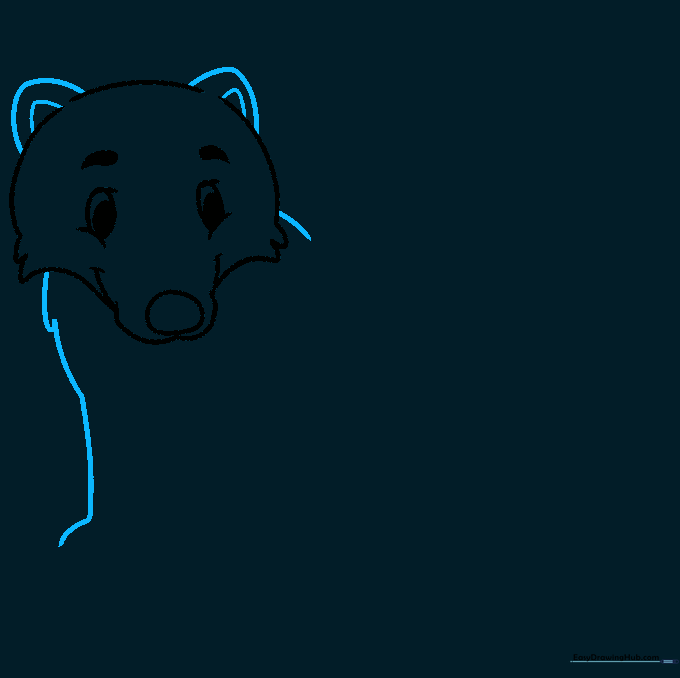
Step 1: Sketching the Face and Snout

Start by drawing two small ovals for the eyes, then add a larger oval around them to define the face. Sketch a small circle at the tip of the snout for the nose. Teacher's Tip: Keep the nose circle small to make the badger look extra cute!
Step 2: Defining the Head and Fur

Draw a long, smooth curve for the top of the head. Add short, zig-zag lines on the cheeks to suggest fluffy fur. Teacher's Tip: Use quick, light strokes for the fur to give it a soft, natural texture.
Step 3: Adding Ears and Shoulders
Use two 'C' shaped lines to create the ears on top of the head. Begin the shoulders with a gentle curve. Teacher's Tip: Make the ears slightly rounded to keep the character friendly and approachable.
Step 4: Drawing the Foreleg and Claws
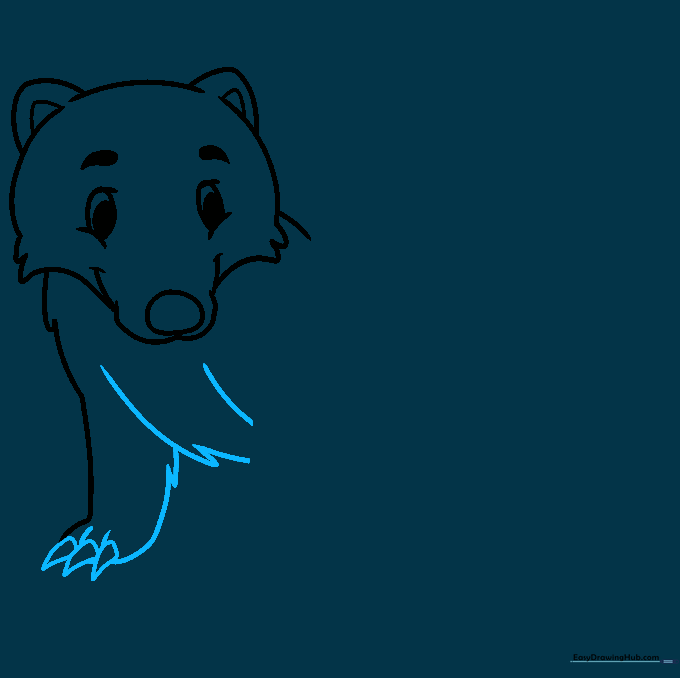
Sketch the foreleg using overlapping curves. Add small triangles at the bottom for the claws. Teacher's Tip: Badgers are diggers, so emphasize the sharp, triangular shape of the claws to show their strength.
Step 5: Adding the Second Foreleg
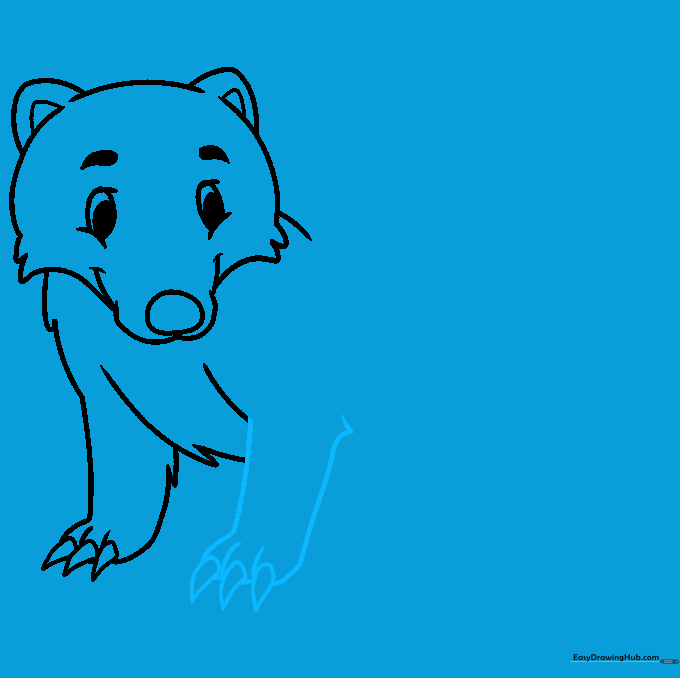
Draw the second foreleg tucked behind the first. Keep the lines consistent with the first leg. Teacher's Tip: Use a slightly lighter pressure here to show that this leg is further away in the background.
Step 6: Sketching the Belly and Rear Leg
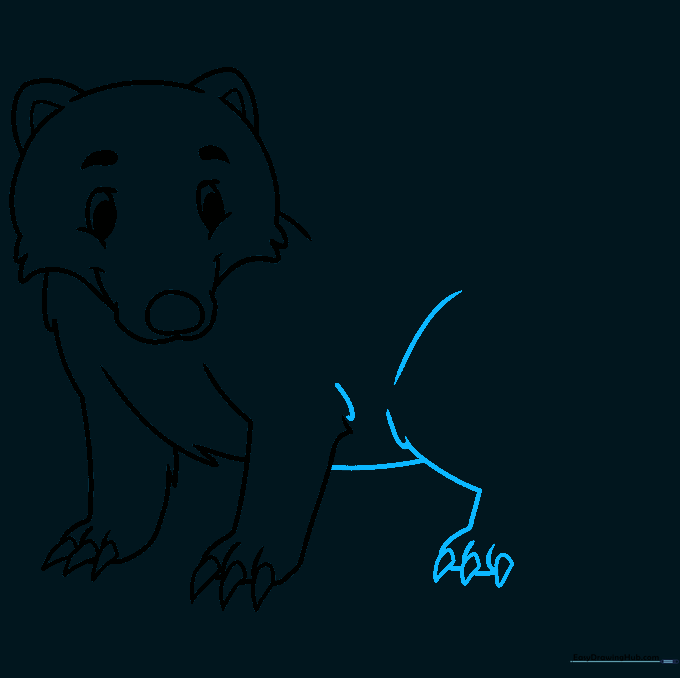
Connect the chest to the belly with a curved line, then draw the first rear leg. Teacher's Tip: A badger's belly is low to the ground, so keep this line nice and rounded.
Step 7: Completing the Back and Tail
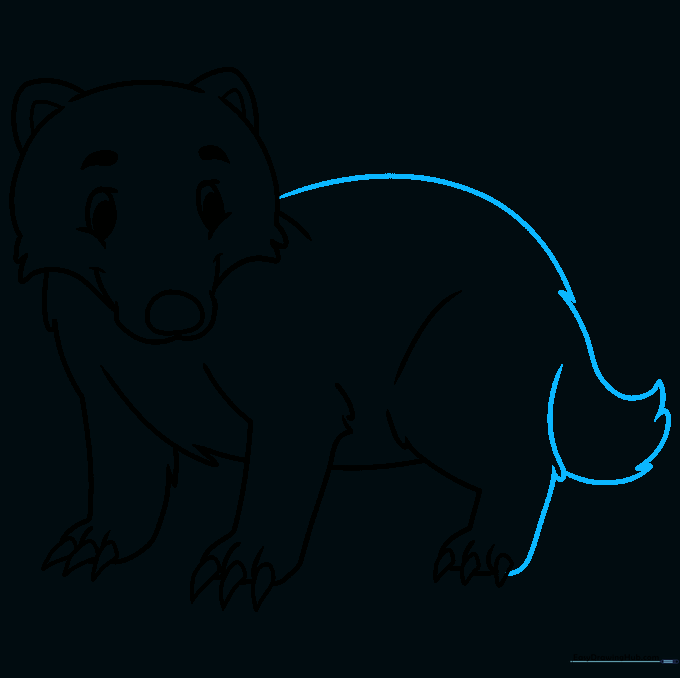
Draw a long, sweeping line for the back and add a fluffy tail. Use jagged lines to suggest fur. Teacher's Tip: Vary the length of your lines to make the tail look thick and bushy.
Step 8: Adding the Final Rear Leg
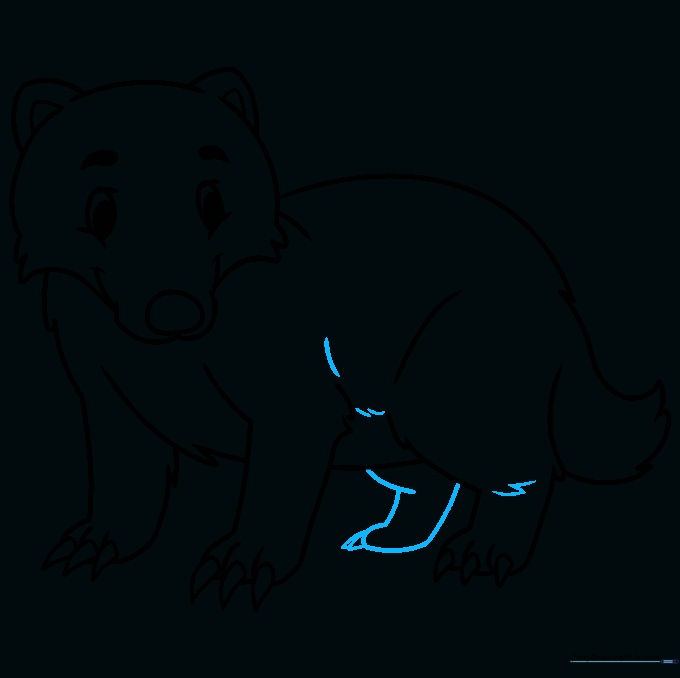
Draw the final rear leg with claws and add some fur texture to the hip. Teacher's Tip: Ensure the claws are visible to maintain the badger's distinct silhouette.
Step 9: Adding Iconic Badger Stripes
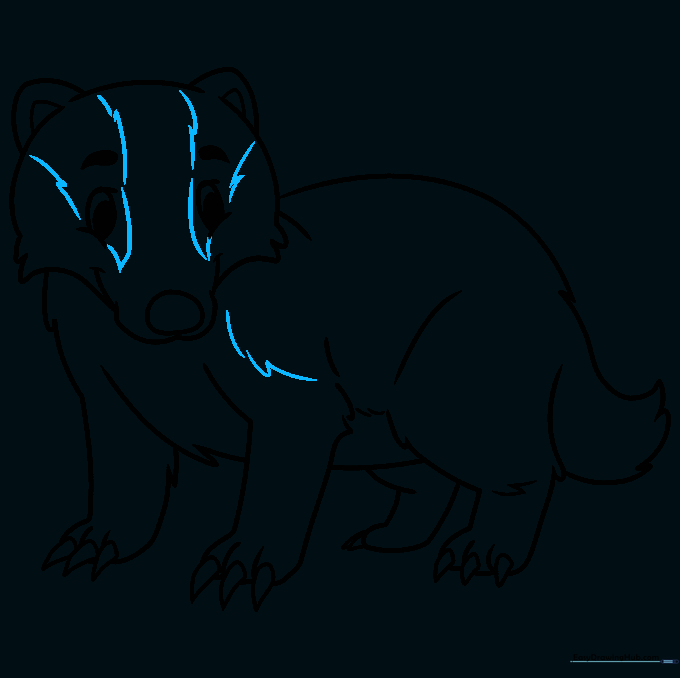
Draw inverted triangles over the eyes to create the badger's signature stripes. Add a jagged line on the front leg. Teacher's Tip: These stripes are the most important part of a badger's look, so take your time getting the shape right!
Step 10: Bringing Your Badger to Life with Color
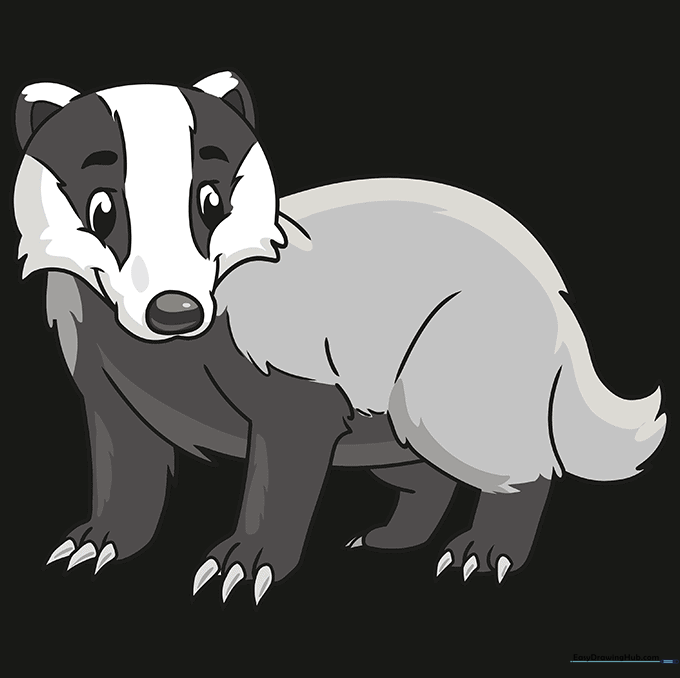
Color your badger using black, white, and grey. Use light grey for the fur and darker black for the stripes. Teacher's Tip: Use a blending technique to make the transition between the black and white fur look smooth.
More Tutorials


