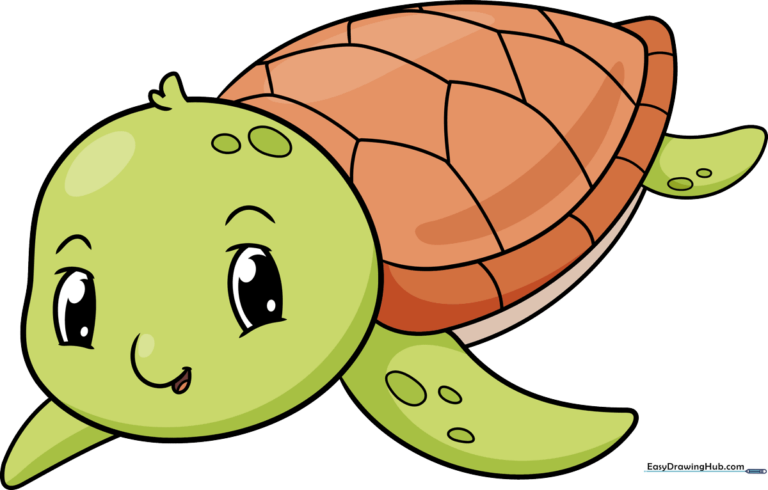
How to Draw a Baby Turtle: Easy 10-Step Guide for Kids
This step-by-step tutorial is perfect for young artists ages 5 and up. You only need a pencil, an eraser, and a piece of paper to bring this little sea creature to life. Follow along to develop your sketching confidence and create a charming cartoon turtle.
🎯 Final Result
Step-by-Step Instructions
Step 1: Sketching the First Eye
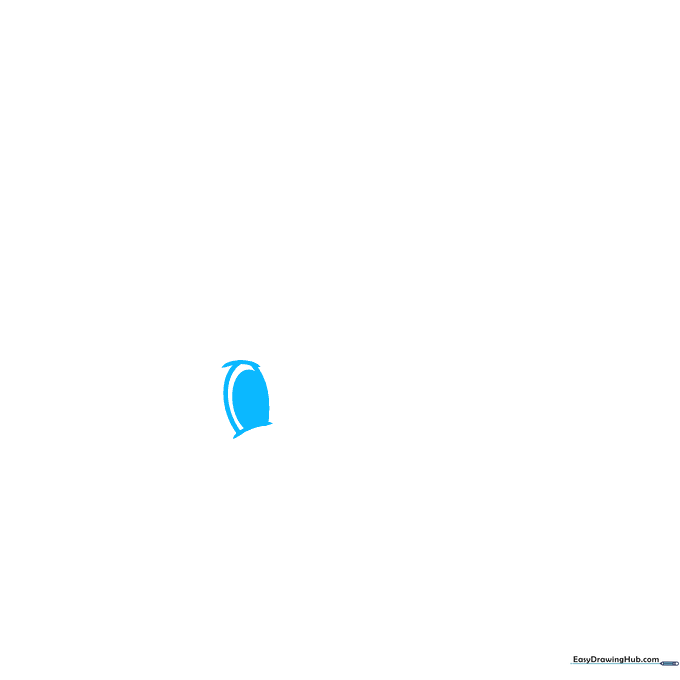
Draw two gentle curves for the top and bottom of the eye, then connect them with a small oval. Add a pupil inside. Teacher's Tip: Keep your pencil pressure light so you can easily adjust the shape if it looks a bit lopsided.
Step 2: Drawing the Second Eye
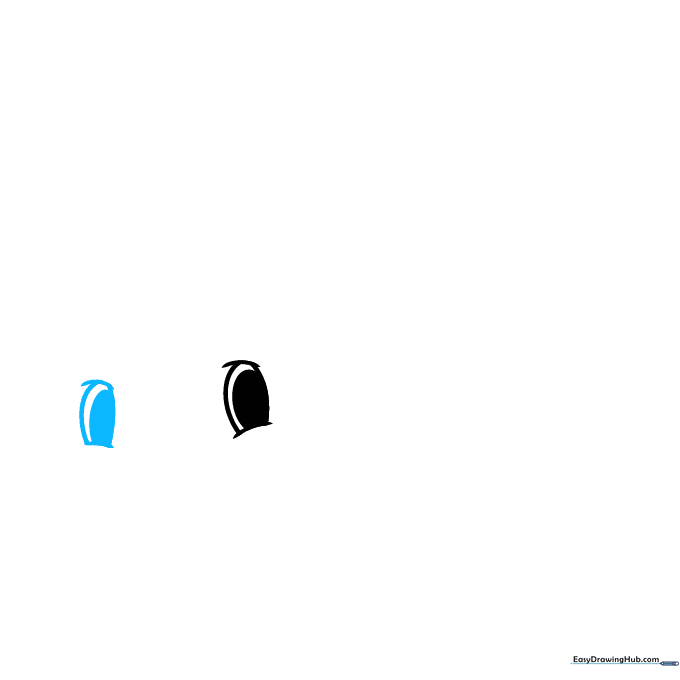
Repeat the process to draw the second eye next to the first. Teacher's Tip: Try to keep the eyes the same size; if they look different, don't worry—it just gives your turtle more personality!
Step 3: Adding Brows and a Smile
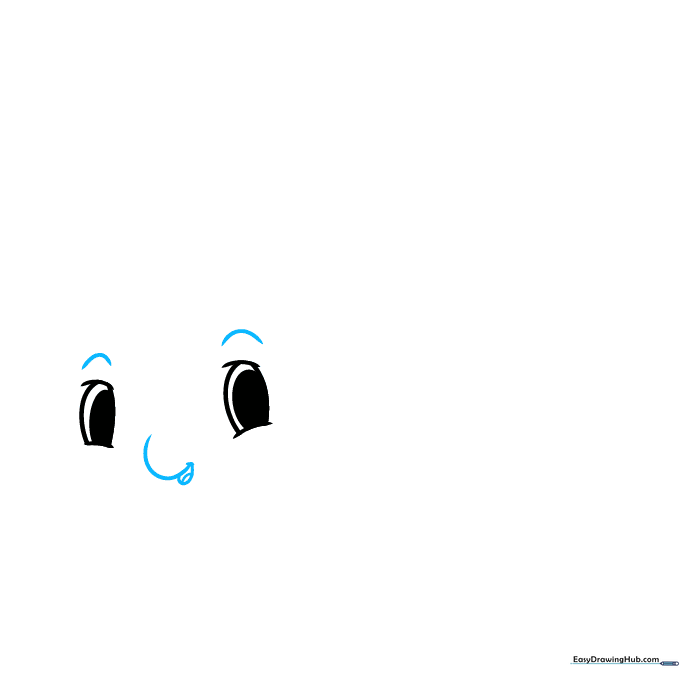
Draw small curved lines above the eyes for brows and a tiny curve for the nose. Below, sketch a happy, open mouth with a tongue. Teacher's Tip: Use a soft 'U' shape for the mouth to make the turtle look friendly.
Step 4: Shaping the Head
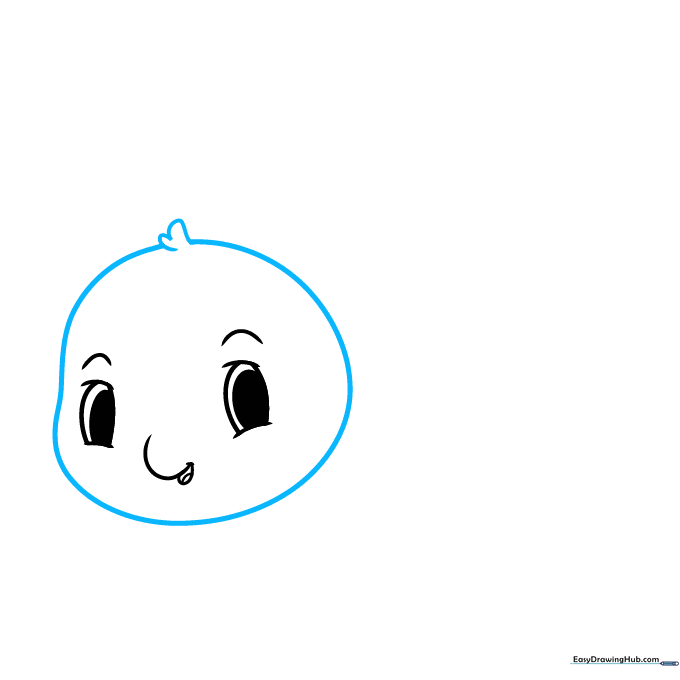
Outline the round head, leaving a small gap at the top to add a cute tuft of hair. Teacher's Tip: Use short, quick strokes for the hair to give it a textured, playful look.
Step 5: Sketching the Shell
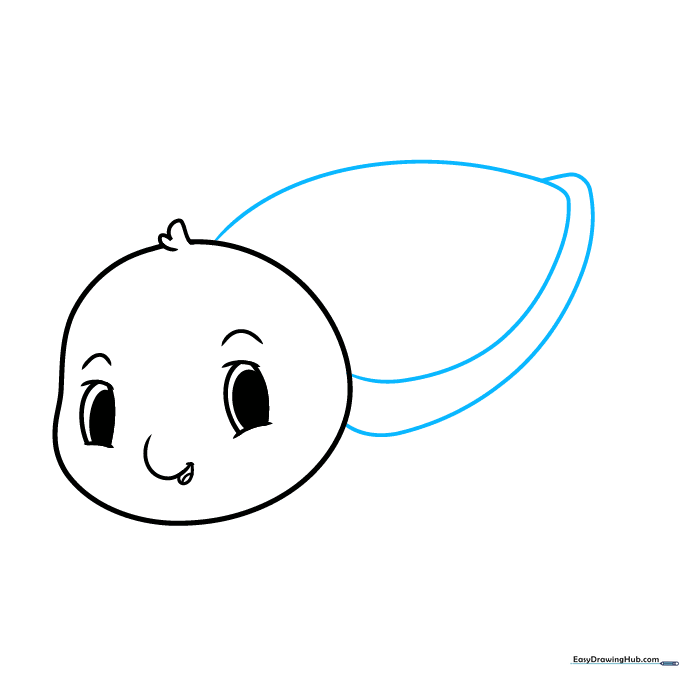
Draw a large, gently pointed oval behind the head for the shell. Add a curved line along the bottom edge for depth. Teacher's Tip: Imagine the shell as a round shield protecting your turtle.
Step 6: Adding Flippers

Extend curved lines from the body to create the flippers, doubling them back to show thickness. Add a line for the belly. Teacher's Tip: Keep the flippers rounded to make the turtle look soft and friendly.
Step 7: Shell Texturing
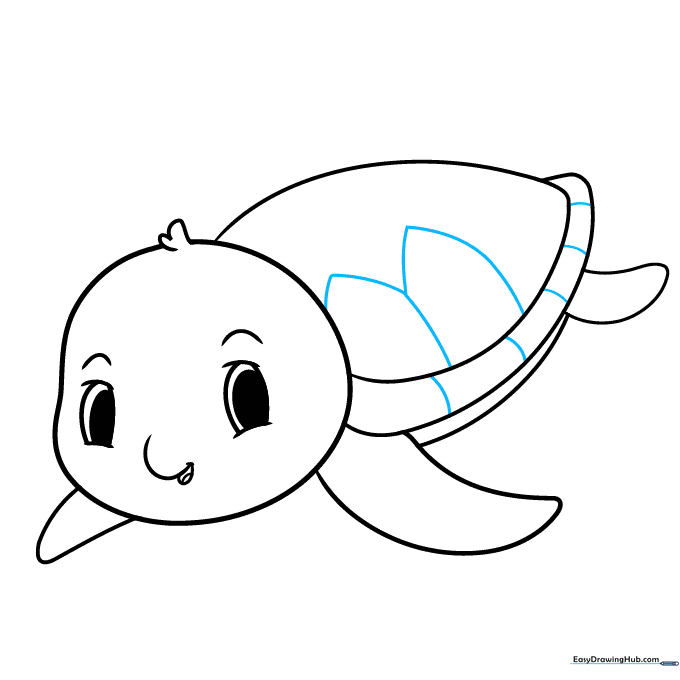
Add curved lines around the edge of the shell and draw pointed shapes inside. Teacher's Tip: These shapes don't have to be perfect; nature is full of irregular patterns!
Step 8: Refining the Shell
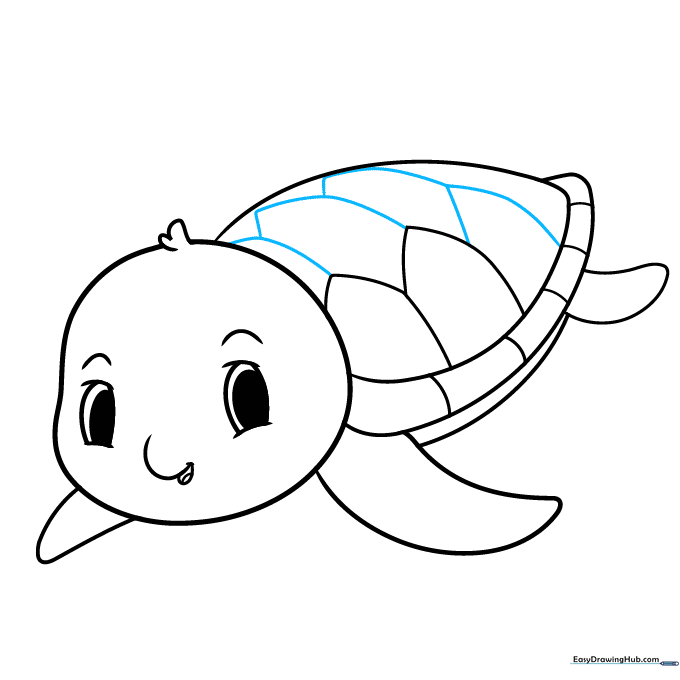
Continue adding pentagon and hexagon shapes across the shell. Teacher's Tip: Think of this like a puzzle—try to fit the shapes together to cover the surface.
Step 9: Adding Skin Texture
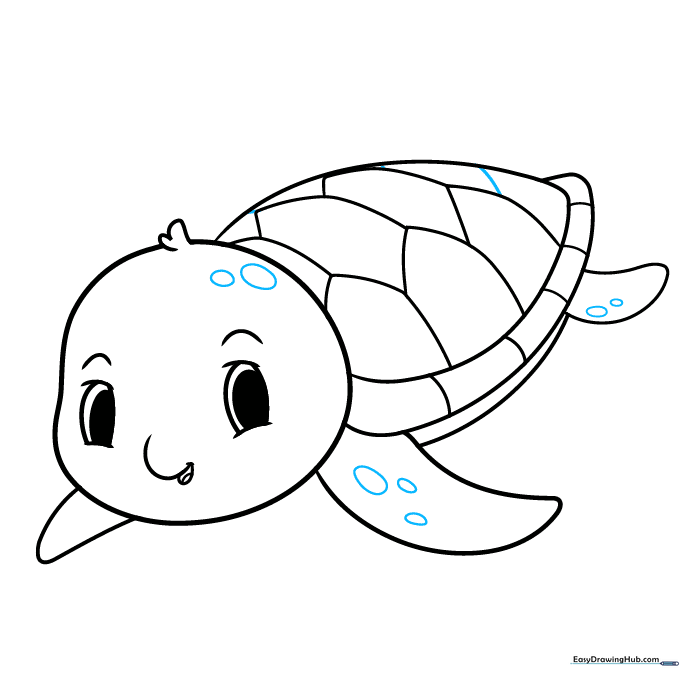
Draw small, scattered ovals on the head and flippers to represent scales. Teacher's Tip: Don't overdo it—a few well-placed ovals are enough to suggest texture.
Step 10: Bringing It to Life with Color
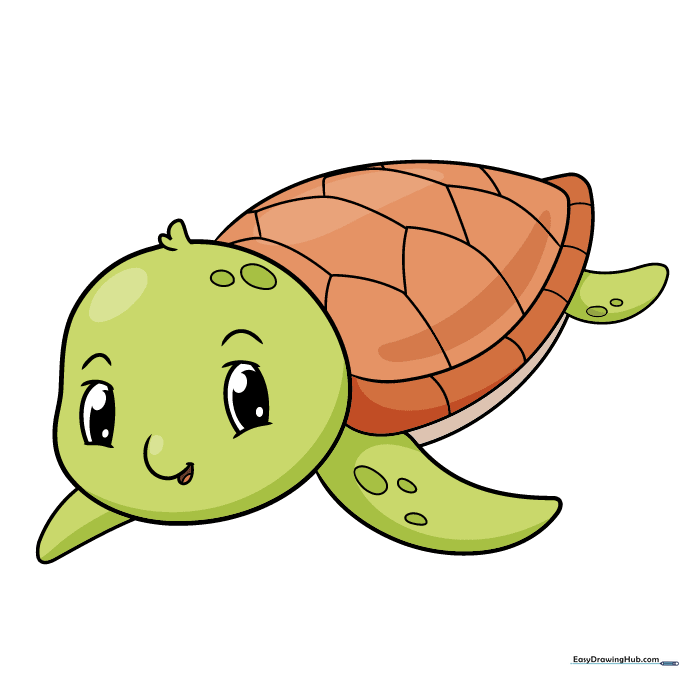
Your outline is finished! Use shades of green or brown to color your turtle. Teacher's Tip: Try using a darker green for the shell and a lighter shade for the skin to create contrast.
More Tutorials


