How to Draw a Baby Lion: Easy 10-Step Guide for Kids
Bring the king of the jungle to life with this beginner-friendly lion cub tutorial. Designed for ages 5 and up, this activity requires only a pencil, paper, and an eraser to build confidence and artistic precision. Follow along to master basic shapes and expressive character design.
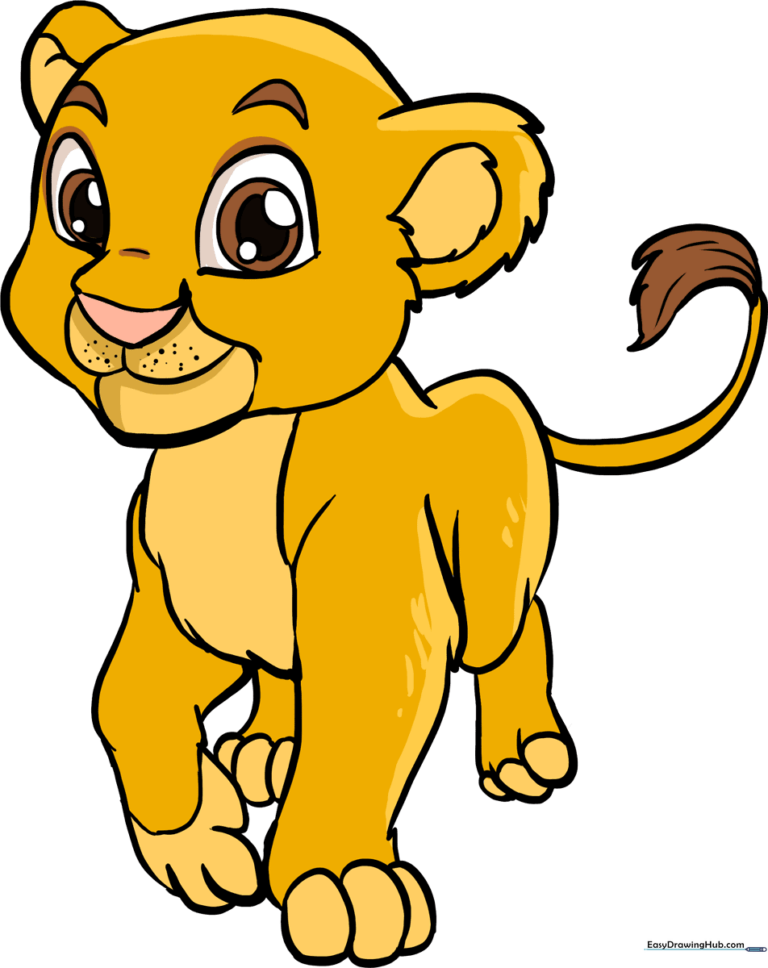
🎯 Final Result
Step-by-Step Instructions
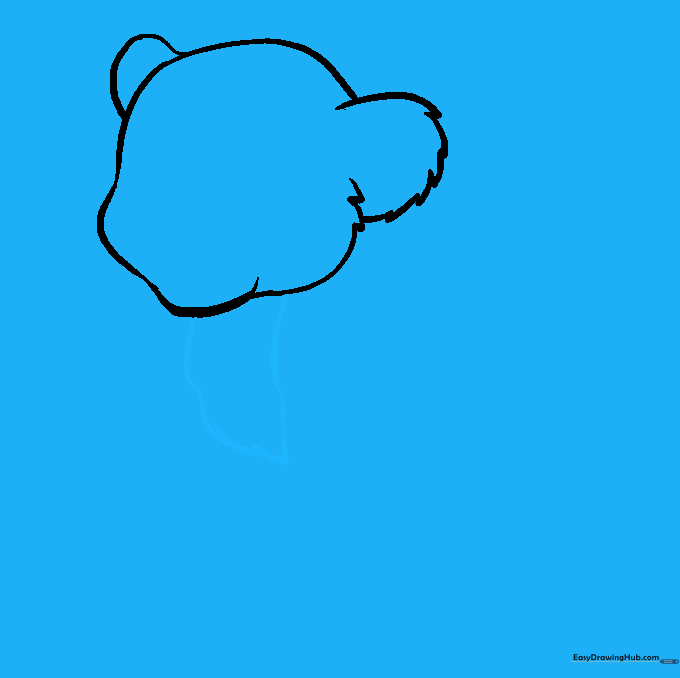
Step 1: Sketching the Head and Ears

Draw a rounded shape for the head, adding small, jagged bumps on the sides to represent fluffy cub fur. Teacher's Tip: Keep your pencil pressure light here; we want soft, rounded cheeks for that 'baby' look.
Step 2: Defining the Chest
Extend two curved lines downward from the head to form the chest. Teacher's Tip: Think of this as a soft 'U' shape that connects the head to the body, keeping the lines smooth and continuous.
Step 3: Sketching the First Front Leg
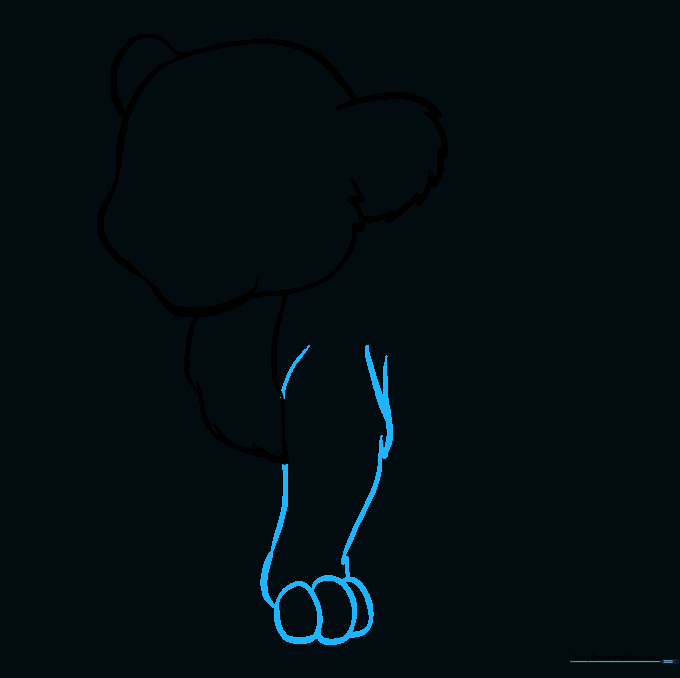
Draw the front leg using two parallel curved lines. At the bottom, add small, overlapping ovals to create the toes. Teacher's Tip: Make the paw slightly wider than the leg to give it a cute, 'puppy-like' appearance.
Step 4: Adding the Second Front Leg
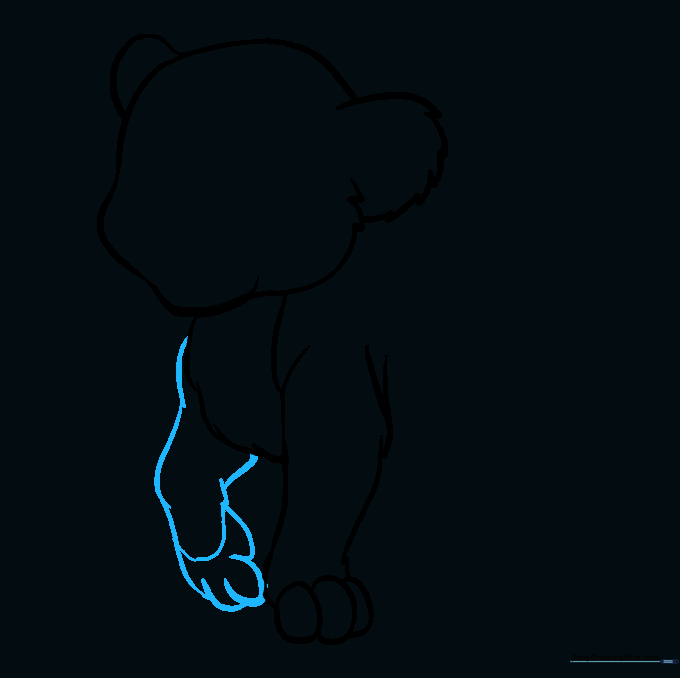
Draw the second leg slightly behind the first. Use 'U' shaped lines for the toes to show the cub is standing. Teacher's Tip: Overlapping the lines slightly creates depth, making the lion look three-dimensional.
Step 5: Forming the Back and Rear Leg
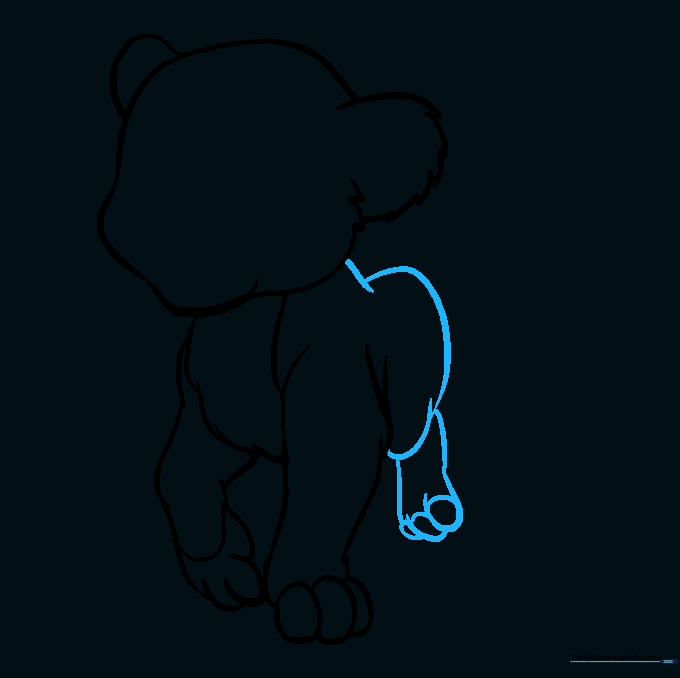
Sketch the curved back and the rear leg. Add 'U' shapes for the back paw toes and small lines to band them. Teacher's Tip: Keep the back line smooth to emphasize the cub's soft, rounded body.
Step 6: Drawing the Remaining Rear Leg
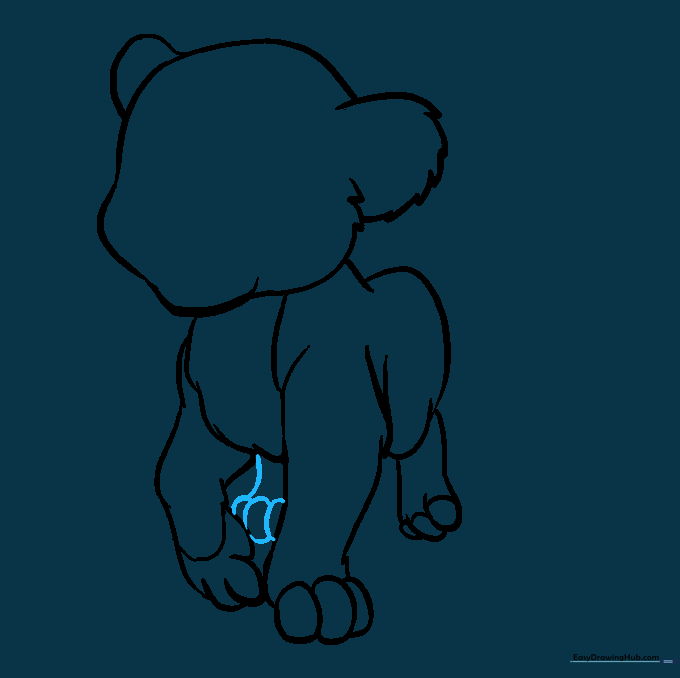
Add the final leg tucked behind the body. Use a simple curved line and small ovals for the toes. Teacher's Tip: Don't worry about making it perfect; since it's in the background, it just needs to suggest the shape of a leg.
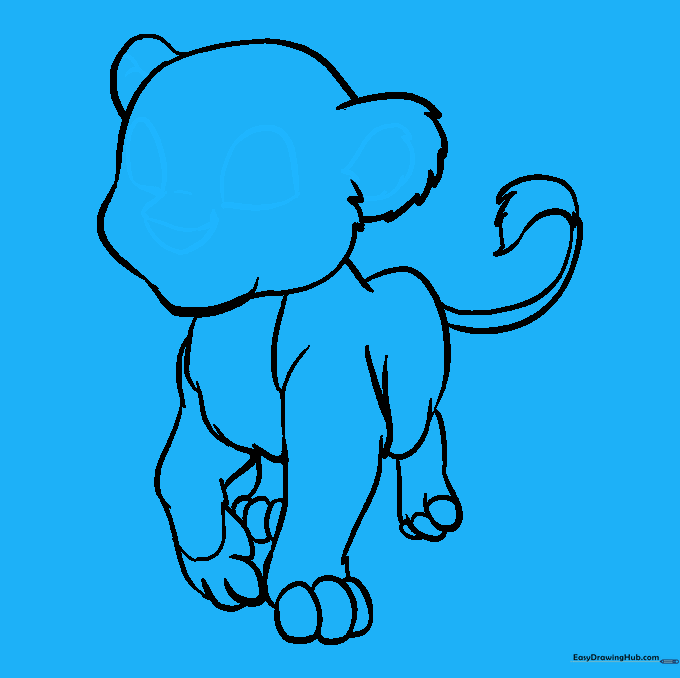
Step 7: Adding the Tail

Draw a long, curved tail with a fluffy tuft at the end using jagged lines. Teacher's Tip: The tuft is the most fun part—make it look like a little puffball by varying the length of your jagged strokes.
Step 8: Detailing the Face
Draw the eyes, nose, and inner ear details. Use a triangle for the nose and half-ovals for the eyes. Teacher's Tip: Placing the eyes slightly lower on the head makes the lion look much younger and cuter.
Step 9: Final Facial Expressions
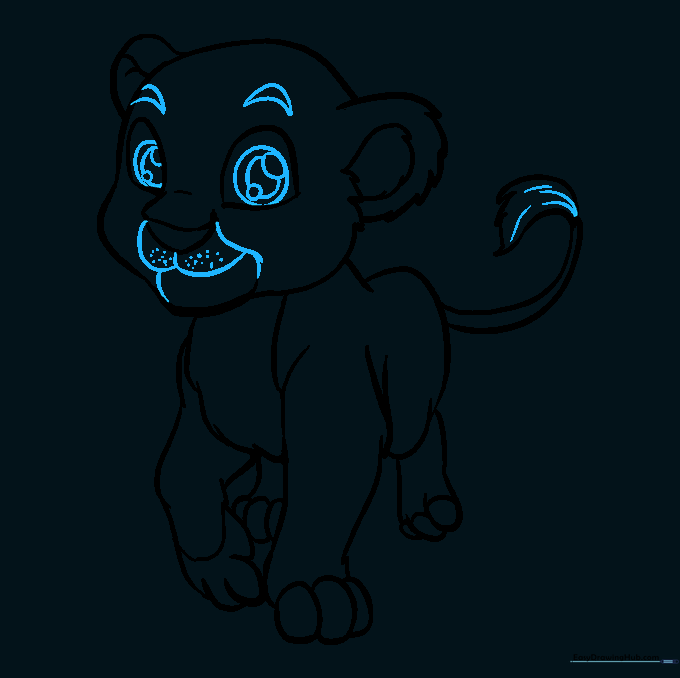
Add eyebrows, a mouth, and pupils to the eyes. Teacher's Tip: Use small dots for the whisker spots on the muzzle to give your cub a realistic, playful personality.
Step 10: Bringing Your Lion to Life with Color
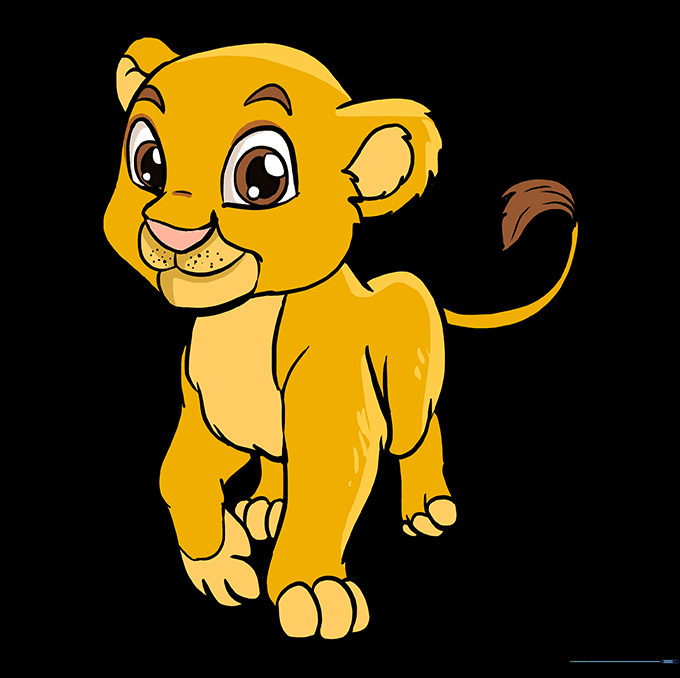
Color your cub! Use sandy yellows and soft browns. Teacher's Tip: Leave small white spots in the eyes to act as 'highlights'—this makes the eyes look bright and full of life.
More Tutorials


