How to Draw a Baby Husky: Easy 9-Step Guide for Kids
Ready to bring a fluffy puppy to life? This tutorial is perfect for young artists ages 5 and up. You’ll only need a pencil, an eraser, and some paper to master this adorable husky character while building your confidence in basic shape construction.
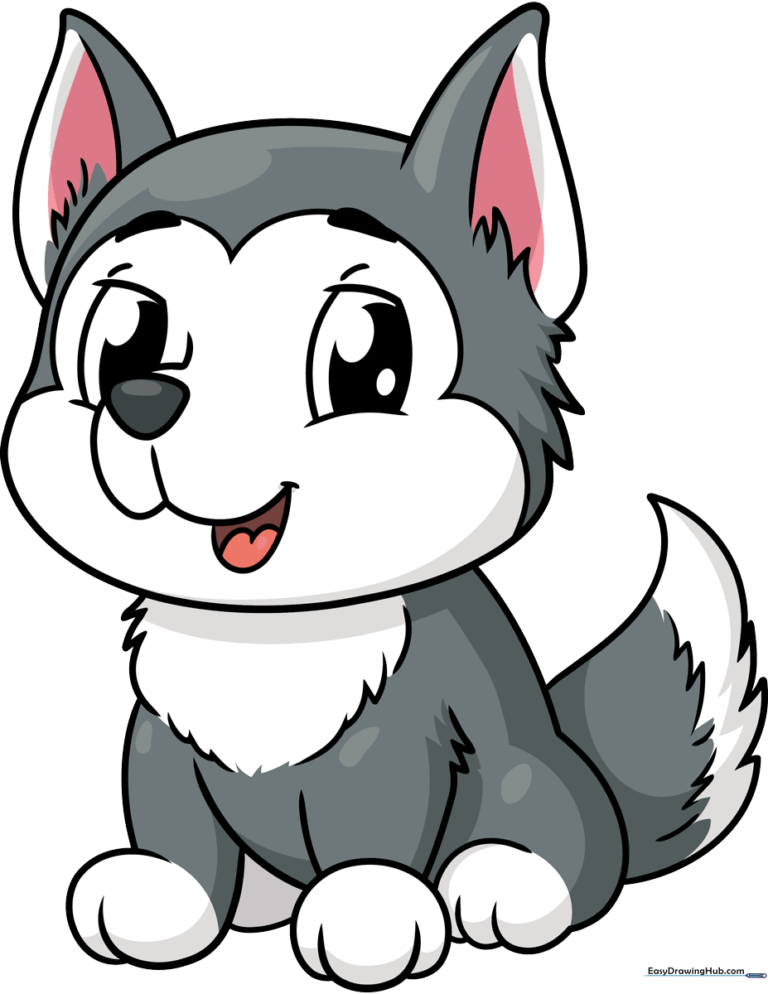
🎯 Final Result
Step-by-Step Instructions
Step 1: Sketching the Nose and Eyes
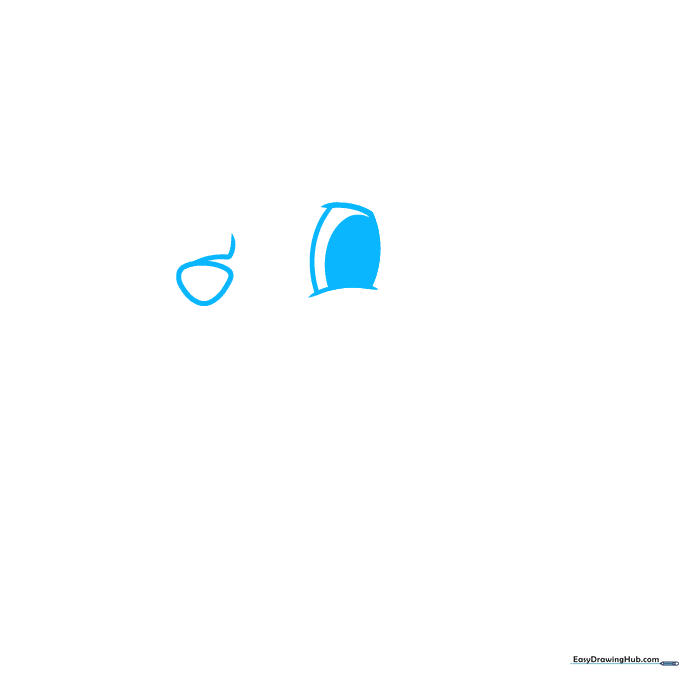
Start by drawing a small, upside-down triangle for the nose pad. Add an 'L' shaped line above it for the snout. For the eye, draw two curved lines with a partial oval in the middle. Teacher's Tip: Keep the eye small to make the puppy look younger and cuter!
Step 2: Defining the Snout
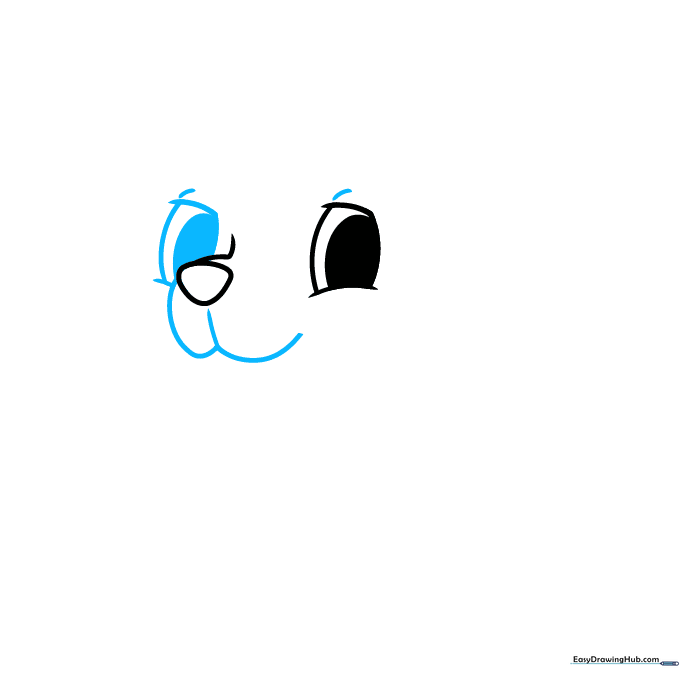
Draw a rounded 'W' shape under the nose to finish the snout. Add the second eye to match the first. Teacher's Tip: Use short, light strokes for the eyelids to give the puppy a soft, expressive look.
Step 3: Framing the Fuzzy Face
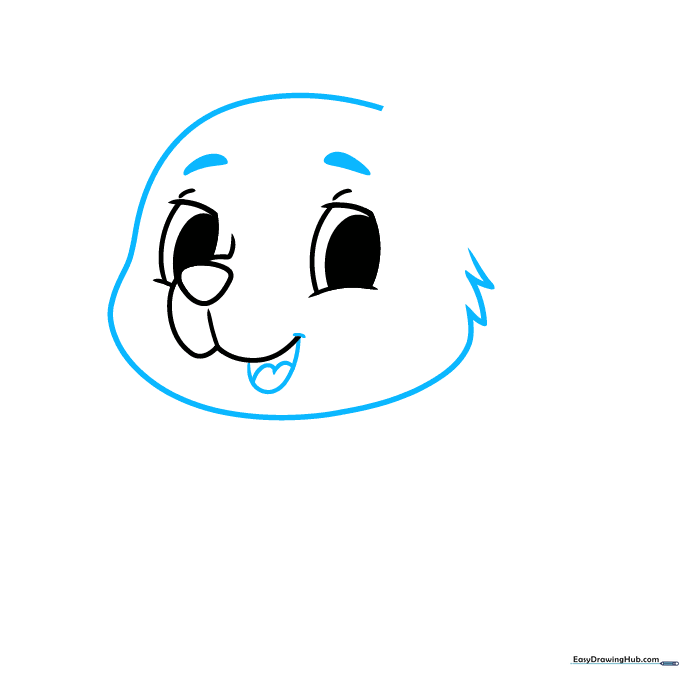
Use a long, curved line to outline the head. Add jagged, zigzag lines at the sides to represent fluffy fur. Draw the open mouth and a small tongue. Teacher's Tip: Make the fur lines uneven—nature is rarely perfectly symmetrical!
Step 4: Adding Pointy Ears
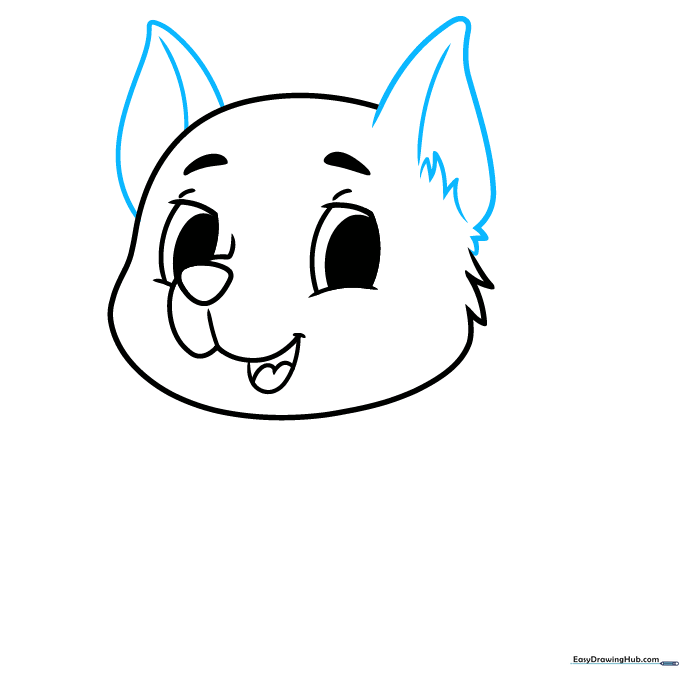
Draw two triangular shapes on top of the head. Add a curved line inside each ear for depth. Teacher's Tip: Keep the ears slightly rounded at the tips to maintain the 'baby' look.
Step 5: Sketching the Body
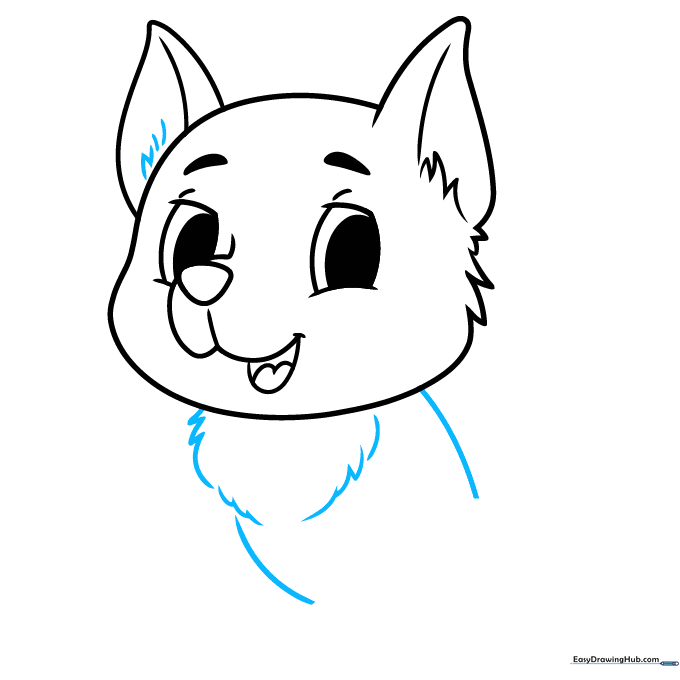
Draw the back and belly using smooth, curved lines. Add jagged lines on the chest to show thick, fluffy fur. Teacher's Tip: Think of the chest fur as a 'V' shape to give the puppy a sturdy posture.
Step 6: Drawing the Front Legs
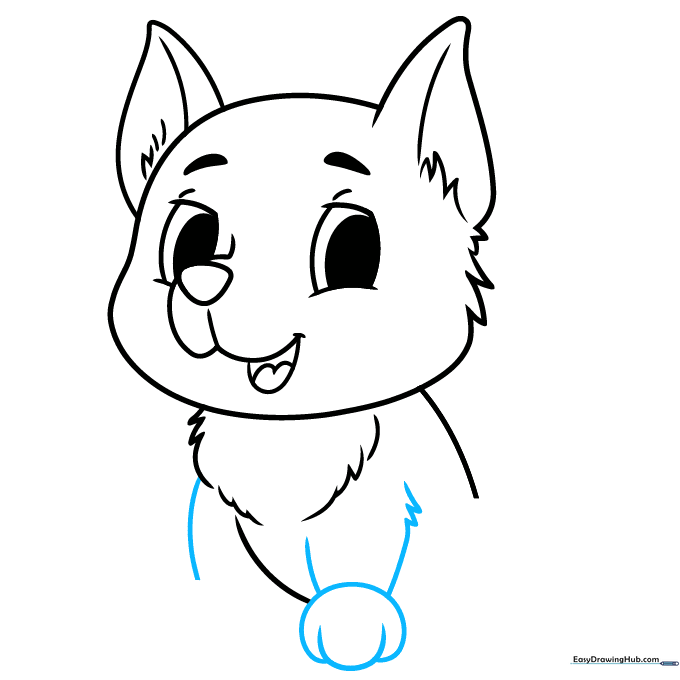
Sketch the front legs with long, curved lines. Draw the paw by using a 'C' shape for the top and a 'U' shape for the toes. Teacher's Tip: Make sure the legs look slightly wider at the bottom to represent puppy paws.
Step 7: Adding the Back Legs
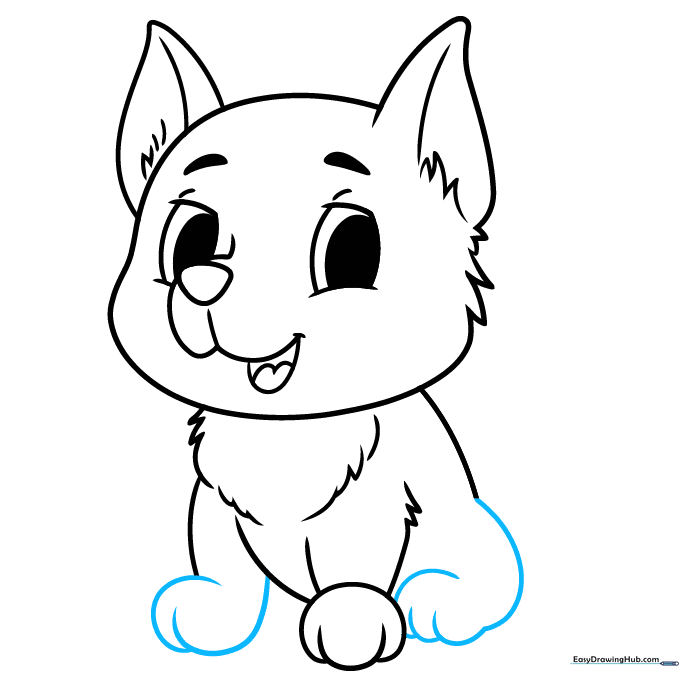
Use overlapping curved lines to sketch the remaining forepaw and the rear leg. Teacher's Tip: Overlapping lines help create a sense of depth, making the puppy look like it's standing in 3D space.
Step 8: The Fluffy Tail
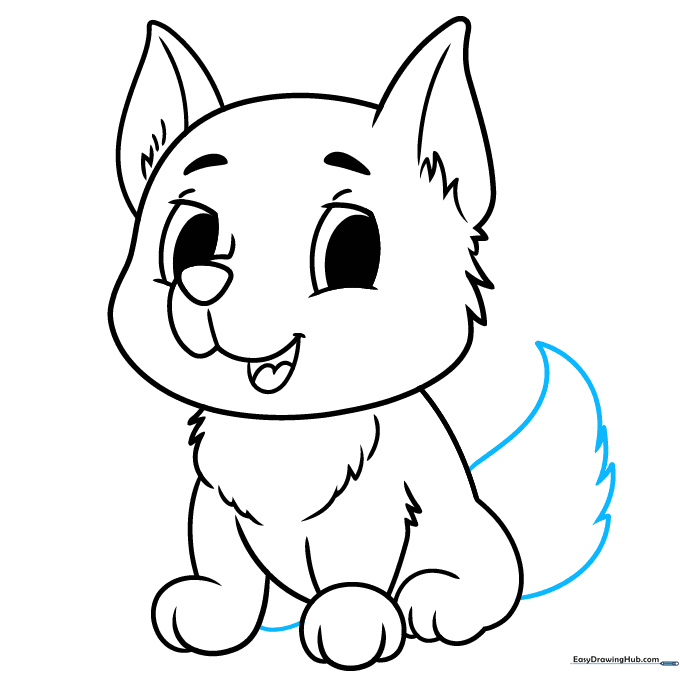
Draw a small curve between the front paws for the hidden rear paw. Then, use long, jagged lines to create a big, bushy tail. Teacher's Tip: Huskies are known for their thick tails, so don't be afraid to make it look extra fluffy!
Step 9: Final Details
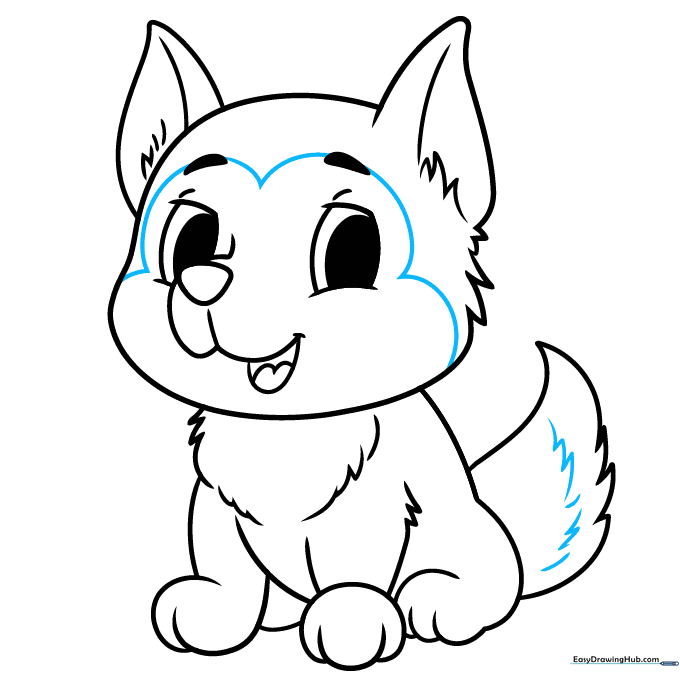
Add markings to the face with curved lines and add texture to the tail with short, quick strokes. Teacher's Tip: These markings are what make a husky look like a husky—keep them symmetrical for the best look.
Step 10: Bring Your Husky to Life with Color
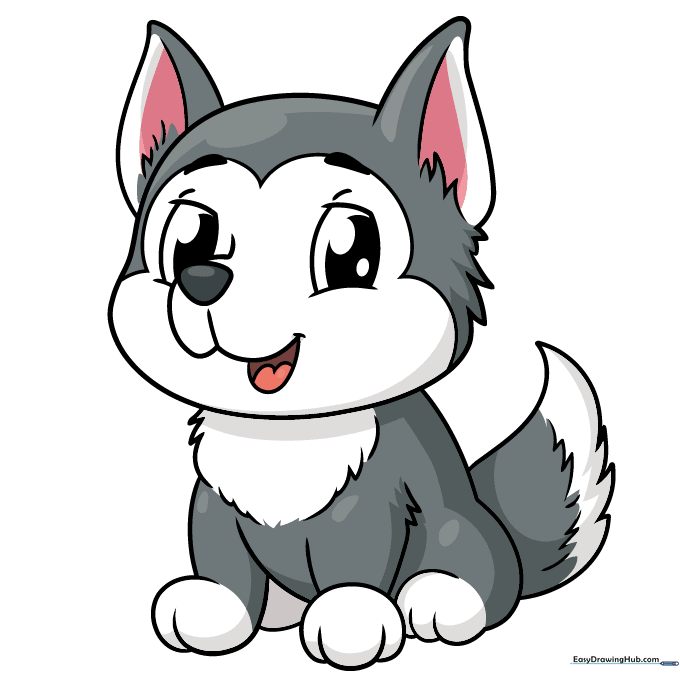
Your outline is complete! Now, grab your favorite colors. Huskies look great in shades of gray, black, or brown with white patches. Teacher's Tip: Use a light touch with your colored pencils to blend the colors together for a realistic fur effect.
More Tutorials


