How to Draw a Baby Bunny: Easy 10-Step Guide for Kids
Bring a fluffy baby bunny to life with this simple, step-by-step drawing lesson designed for young artists. All you need is a pencil, an eraser, and your favorite coloring supplies to get started. By breaking the bunny down into basic shapes, you'll build confidence and improve your hand-eye coordination in no time.
🎯 Final Result

Step-by-Step Instructions
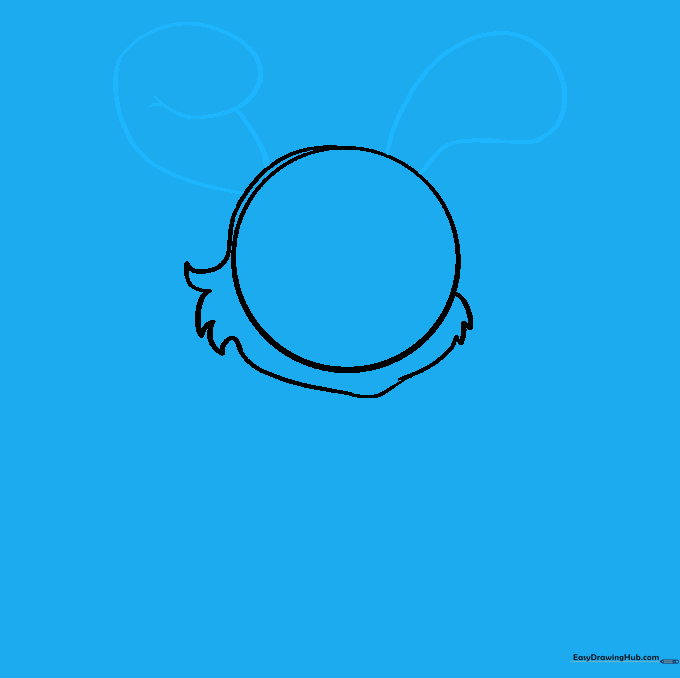
Step 1: Sketching the Head

Draw a light circle to serve as the bunny's head. Teacher's Tip: Keep your pencil strokes very faint so you can easily erase the guidelines later once the face is finished.
Step 2: Defining the Furry Jaw

Draw a 'U' shape under the head and connect it to the circle using short, jagged lines to mimic soft fur. Tip: Use quick, flicking motions with your pencil to make the fur look natural and fluffy.
Step 3: Sketching Floppy Ears
Enclose two long, curved shapes on top of the head for the ears. Make one ear bend slightly by overlapping the lines. Tip: Rabbits have expressive ears; don't worry if they aren't perfectly symmetrical!
Step 4: Cleaning Up

Gently erase the overlapping guide lines inside the head shape. Tip: Use a soft eraser and hold the paper down firmly so you don't accidentally crinkle it.
Step 5: Adding Ear Detail
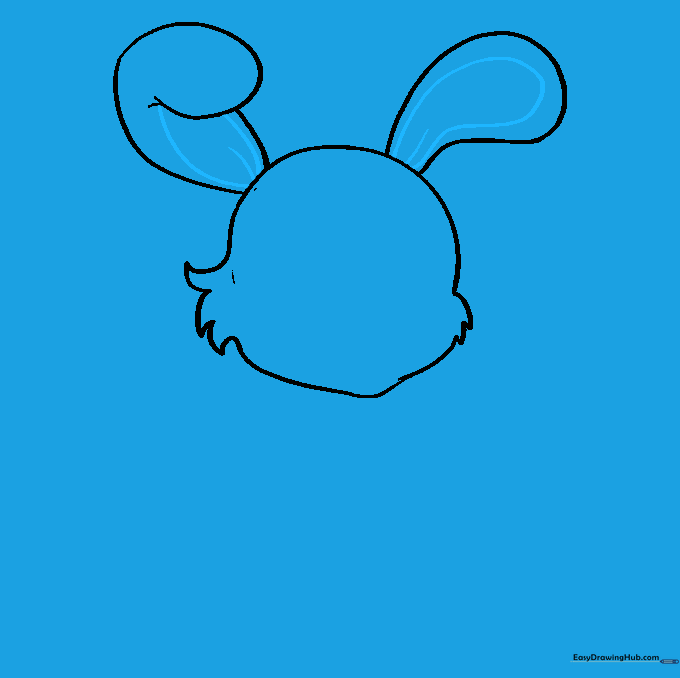
Draw a smaller curved line inside each ear to show depth. Add a short line at the base of each ear to connect them to the head. Tip: This small detail makes the ears look three-dimensional rather than flat.
Step 6: Drawing the Arms
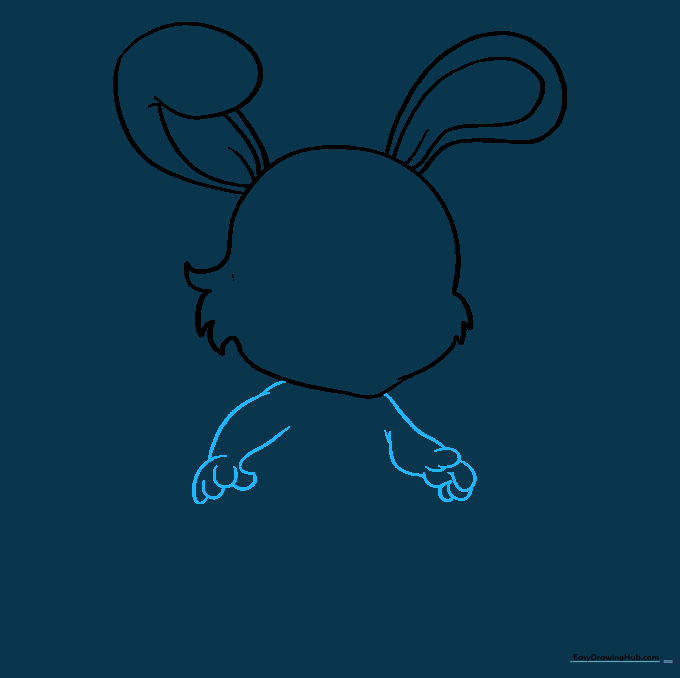
Sketch the arms using pairs of curved lines, ending in small 'U' shapes for the paws. Tip: Keep the arms close to the body to make the bunny look cozy and compact.
Step 7: The Body and Feet
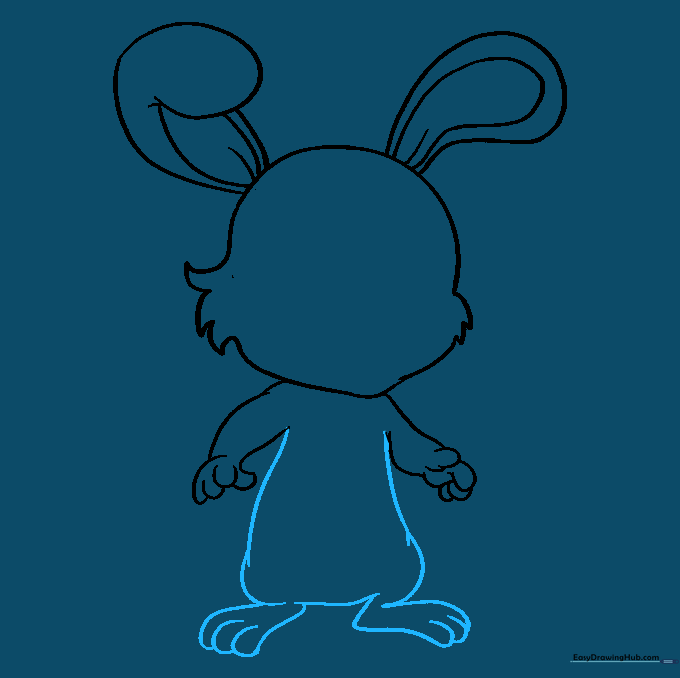
Use long, sweeping lines to outline the torso and legs. Add small, overlapping curved lines at the bottom for the feet. Tip: Focus on the curve of the back to give the bunny a cute, sitting posture.
Step 8: Belly and Tail
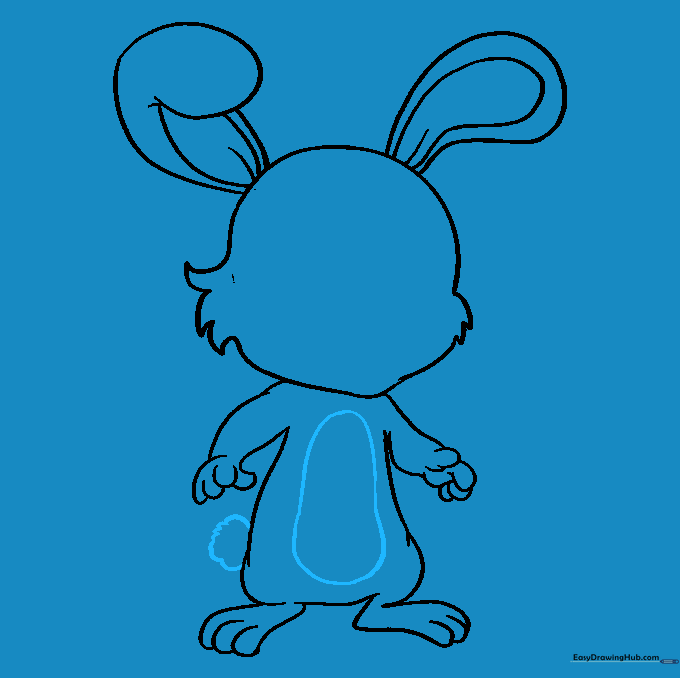
Draw a soft, rounded shape on the tummy and a small, fluffy circle for the tail. Tip: Use short, quick strokes for the tail to make it look extra fuzzy.
Step 9: The Face
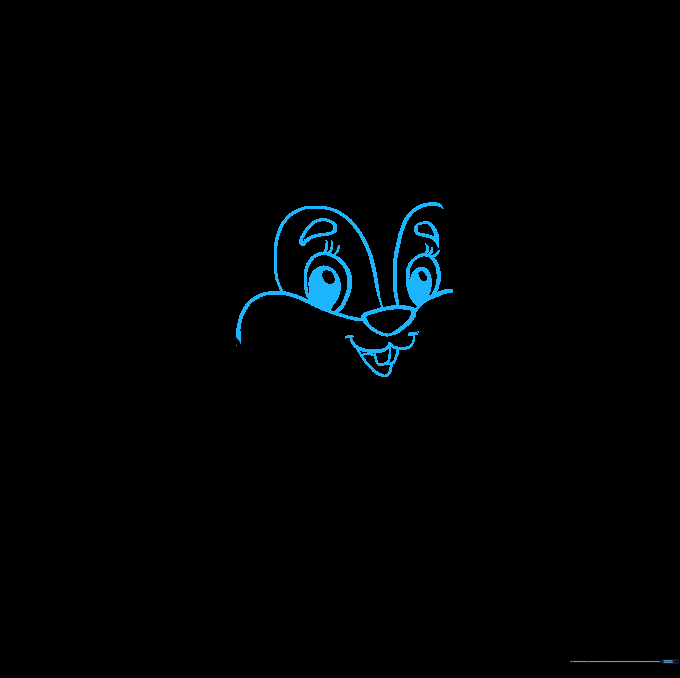
Draw an inverted triangle for the nose, then add the mouth, teeth, and expressive eyes. Tip: To make the eyes look bright, leave a tiny white circle uncolored inside the pupil to act as a 'glint' of light.
Step 10: Bring It to Life with Color
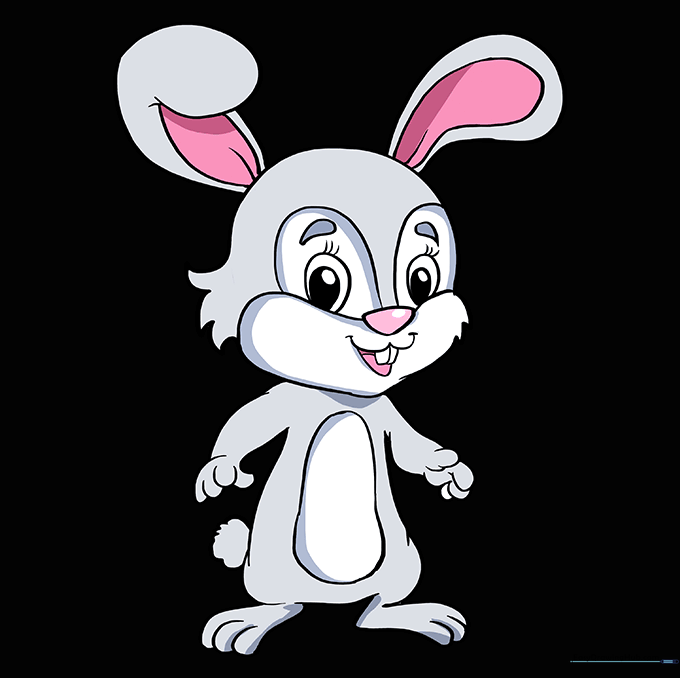
Time to color! Use soft browns, greys, or even white with pink accents for the ears. Tip: Try using light, circular shading motions to make the fur look soft and smooth.
More Tutorials


