How to Draw a Cute Baby: Easy 10-Step Guide for Kids
Looking for a fun, creative project for your little artist? This step-by-step tutorial is perfect for ages 5 and up, helping children practice basic shapes and facial proportions. Grab a pencil, eraser, and paper, and let’s bring this adorable baby character to life together.
🎯 Final Result

Step-by-Step Instructions
Step 1: Sketching the Expressive Eyes

Draw two curved lines for the cheeks. Above these, add two ovals for the eyes with smaller circles inside for pupils. Tip: Keep the pupils large to give the baby a sweet, wide-eyed look. Add three small lashes to each eye for extra charm.
Step 2: Defining the Face
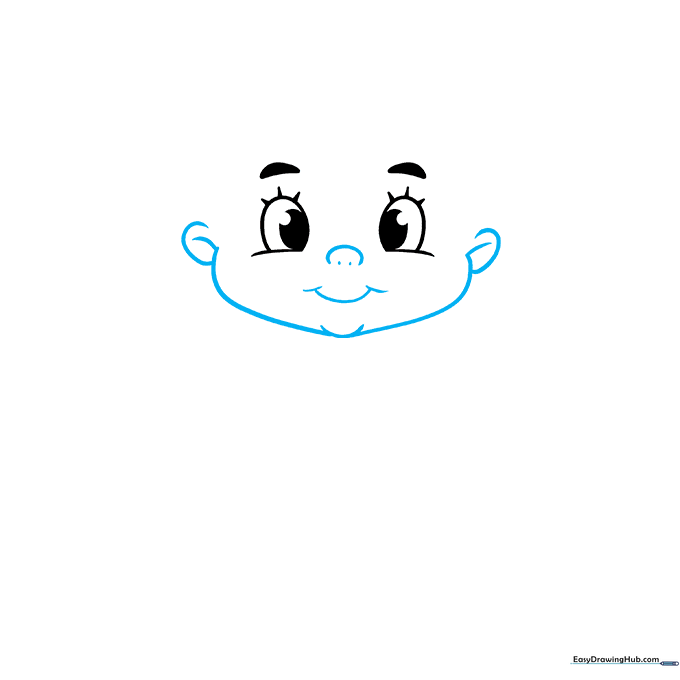
Add the ears, a small nose, and a happy, curved mouth. Tip: Use very light pressure for the nose; it should be subtle so the face looks soft and youthful.
Step 3: Shaping the Head and Hair
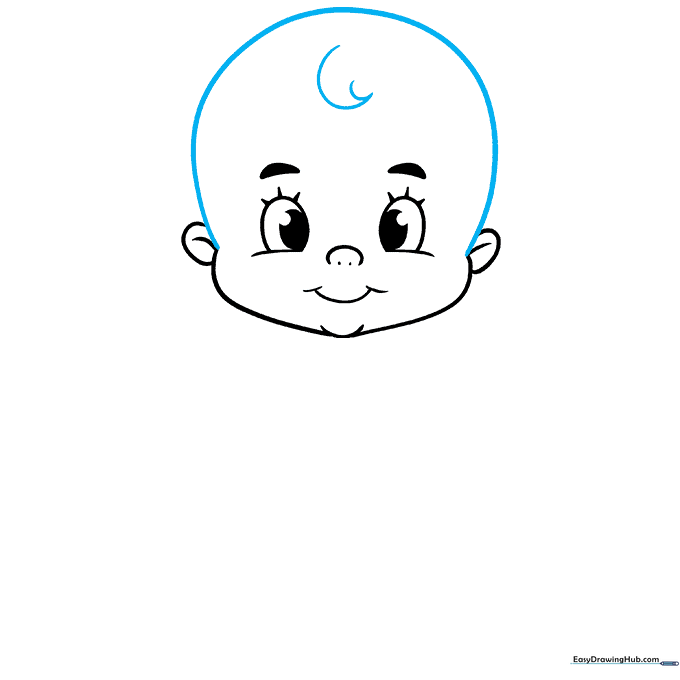
Draw a large, rounded curve for the top of the head. Add a small 'V' shape on the forehead for a cute curl of hair. Tip: Make the head slightly oversized compared to the body to emphasize the 'baby' proportions.
Step 4: Starting the Onesie
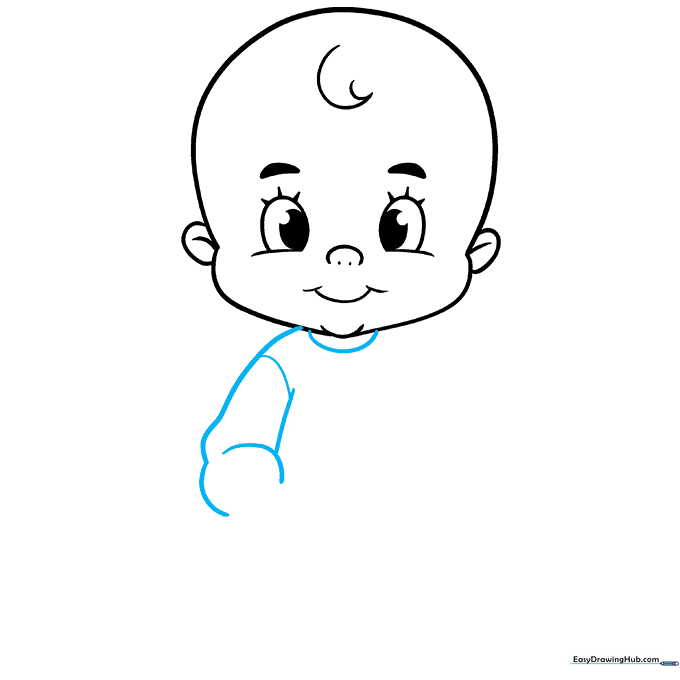
Draw a partial circle under the chin for the neck of the garment, then sketch the first sleeve. Tip: Add a small curved line at the shoulder to suggest a seam in the fabric.
Step 5: Drawing the First Hand
Add a crescent-shaped cuff and a small hand at the end of the sleeve. Tip: Keep the hand simple—you don't need to draw individual fingers at this stage.
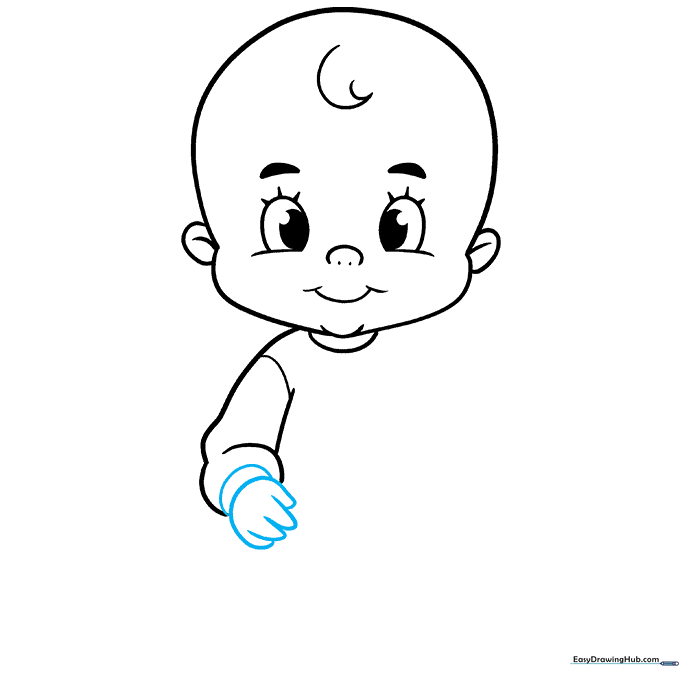
Step 6: Adding the Second Arm
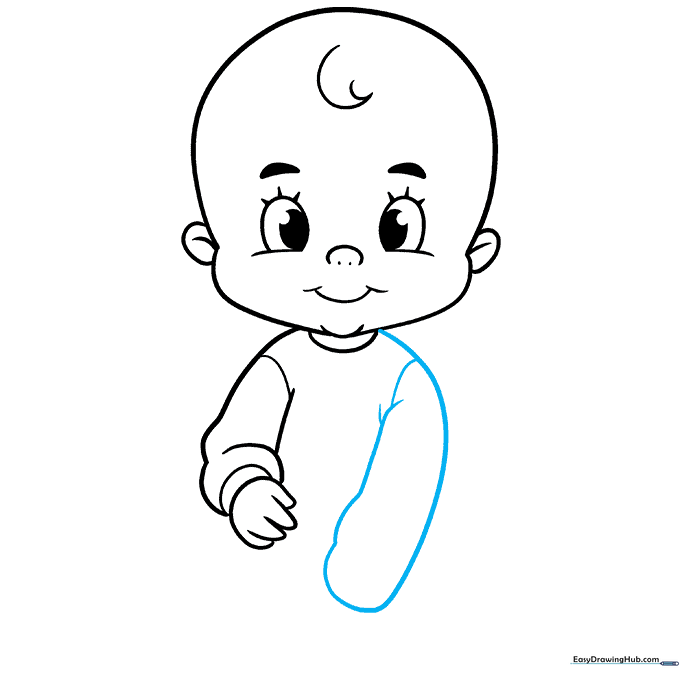
Sketch the second sleeve in a different position to show movement. Tip: Try to mirror the thickness of the first sleeve to keep the drawing balanced.
Step 7: Completing the Second Hand
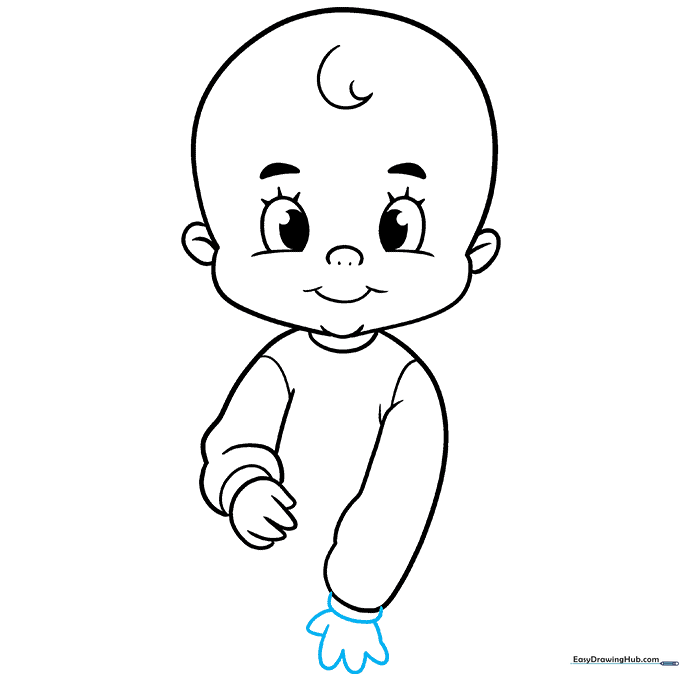
Finish the second sleeve with a cuff and hand, matching the style of the first one. Tip: Ensure the hand looks like it's reaching out to make the character feel more active.
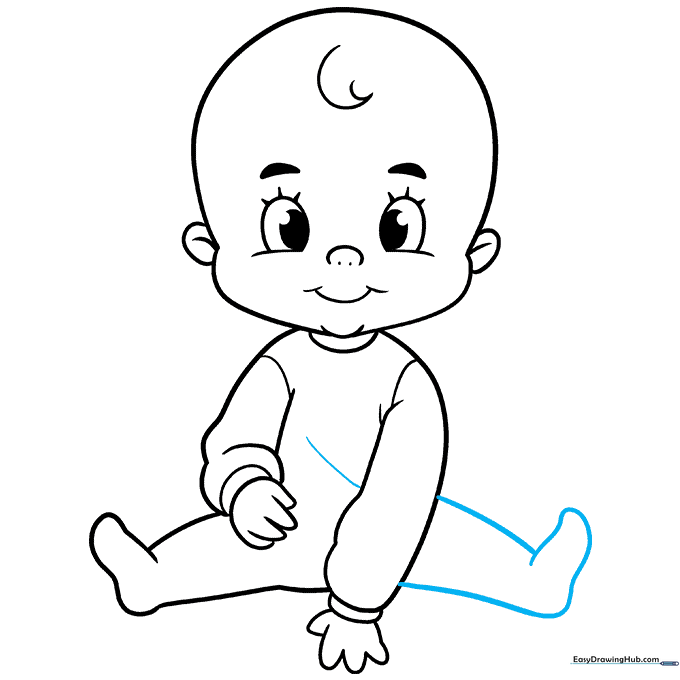
Step 8: Sketching the First Leg

Use overlapping curved lines to draw the leg and foot. Tip: The foot should be rounded and soft, which helps maintain the 'baby' aesthetic.
Step 9: Finalizing the Body
Draw the second leg and add a few contour lines on the torso to suggest the fabric of the onesie. Tip: These small lines add depth and make the drawing look more professional.
Step 10: Adding Color
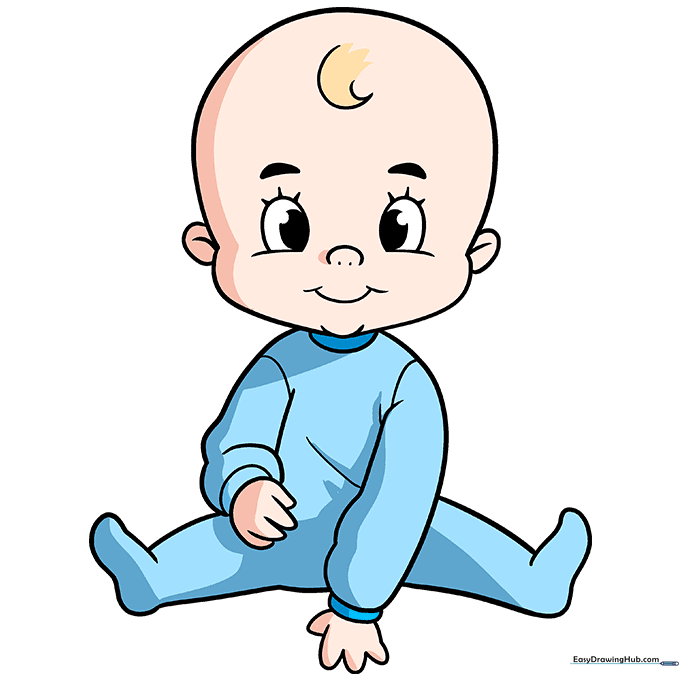
Time to bring your drawing to life! Use soft pastels or bright colors for the onesie. Tip: Try adding a pattern like stars or hearts to the clothing to show off your unique style.
More Tutorials


