How to Draw a Baboon: Simple 10-Step Guide for Kids
Bring a wild safari character to life with this beginner-friendly baboon drawing tutorial. Designed for young artists ages 5 and up, this activity requires only a pencil, paper, and an eraser. Follow these simple steps to master primate anatomy while building confidence in your sketching skills.
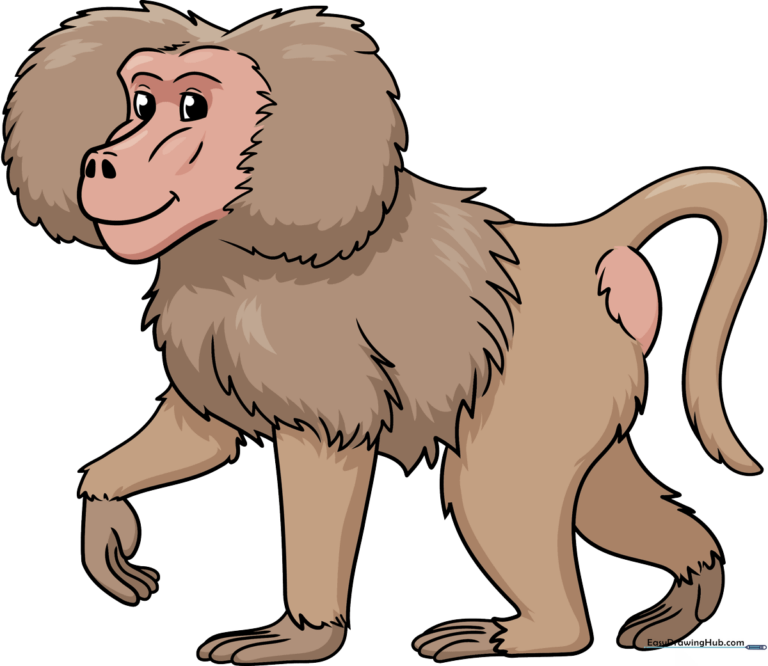
🎯 Final Result
Step-by-Step Instructions
Step 1: Sketching the Face and Snout
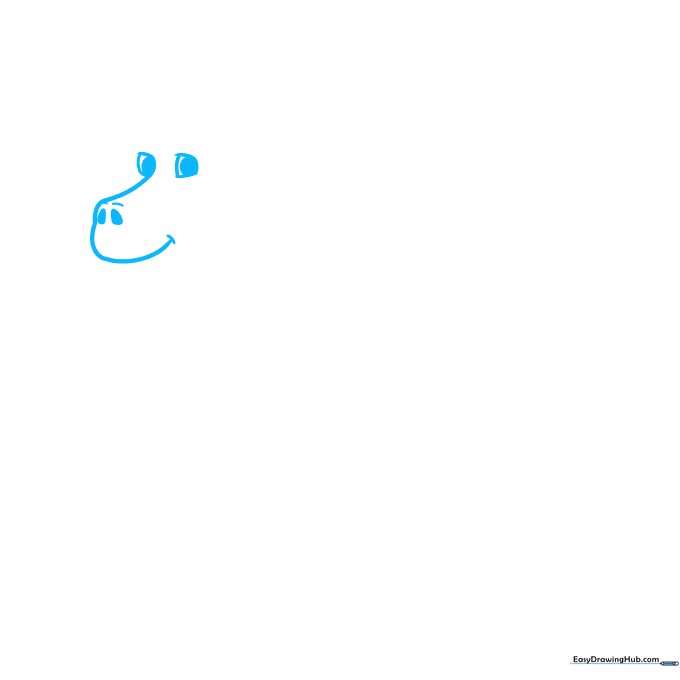
Start by drawing two rectangular shapes for the eyes, shading a small oval inside each for the pupils. Extend a curved line from one eye to form the snout. Teacher's Tip: Keep your pencil pressure light here so you can easily adjust the snout shape if it looks a bit too long!
Step 2: Defining Facial Features
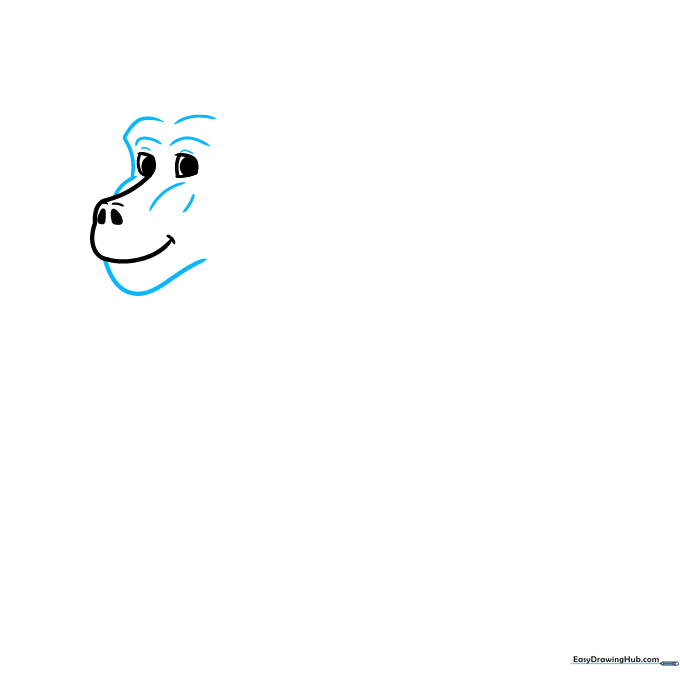
Add the lower jaw, brow lines, and upper eyelids using smooth, curved lines. Teacher's Tip: Focus on the expression—slightly arched brows make your baboon look curious and friendly.
Step 3: Creating the Furry Ruff
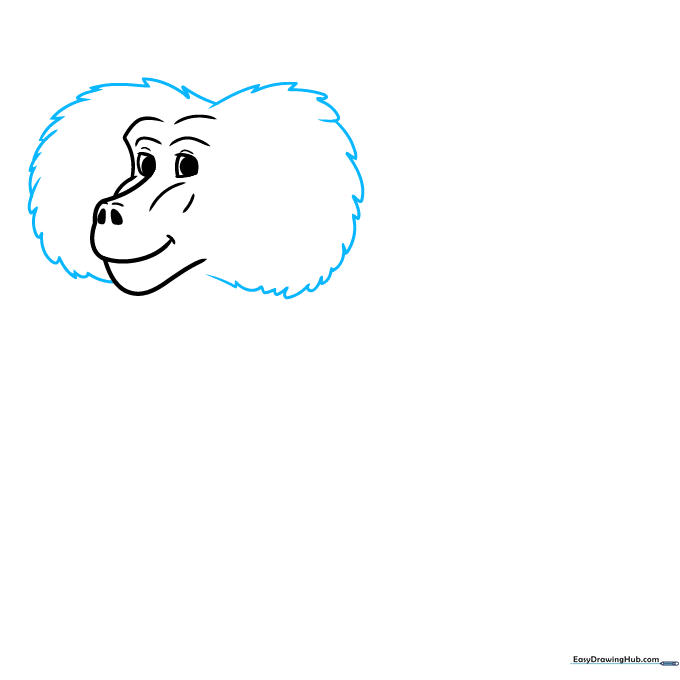
Use short, jagged strokes on both sides of the face to create the baboon's signature ruff. Teacher's Tip: Don't worry about making the lines perfect; the 'messier' the jagged lines, the more realistic the fur texture will look.
Step 4: Sketching the Shoulders
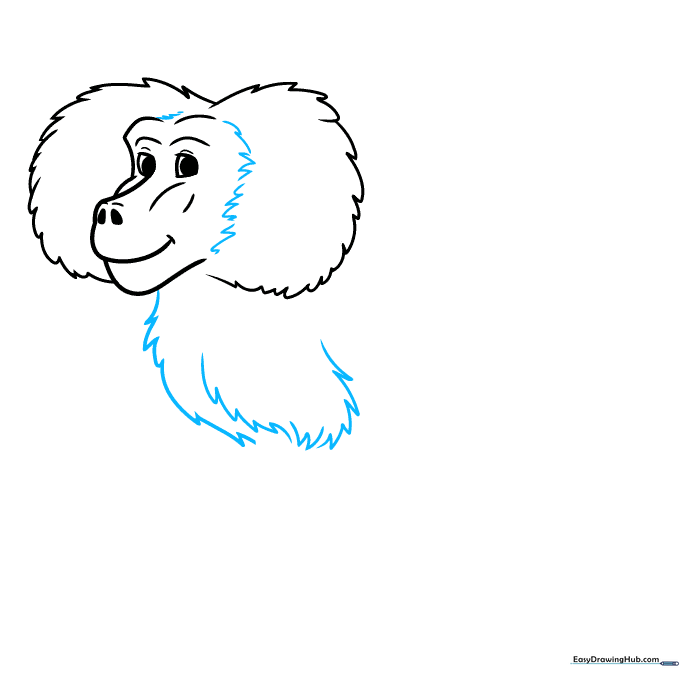
Continue the jagged fur pattern downward to outline the chest and shoulders. Teacher's Tip: Imagine the baboon is wearing a furry cape; this helps visualize where the shoulder lines should curve.
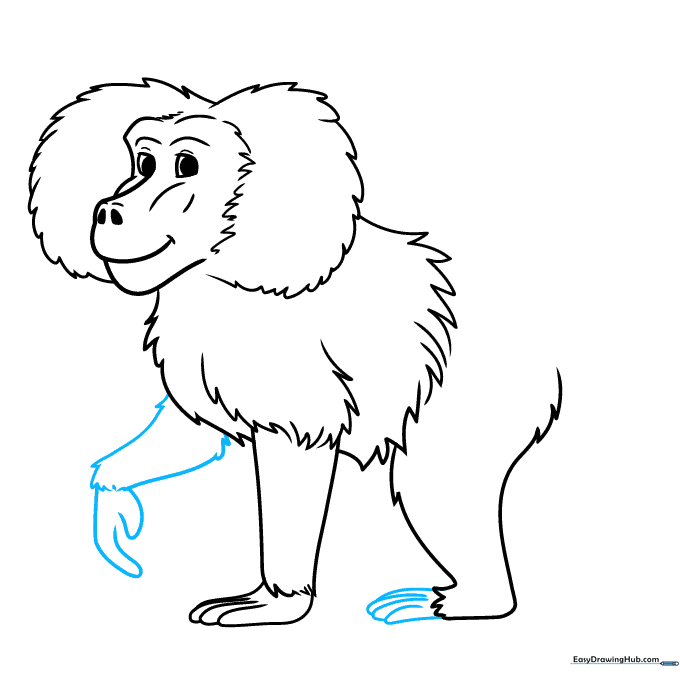
Step 5: Drawing the First Arm
Extend two long lines from the shoulder to form the arm, connecting them at the bottom with jagged fur lines and a paw. Teacher's Tip: Use overlapping curved lines for the paw to give it a sense of depth and grip.
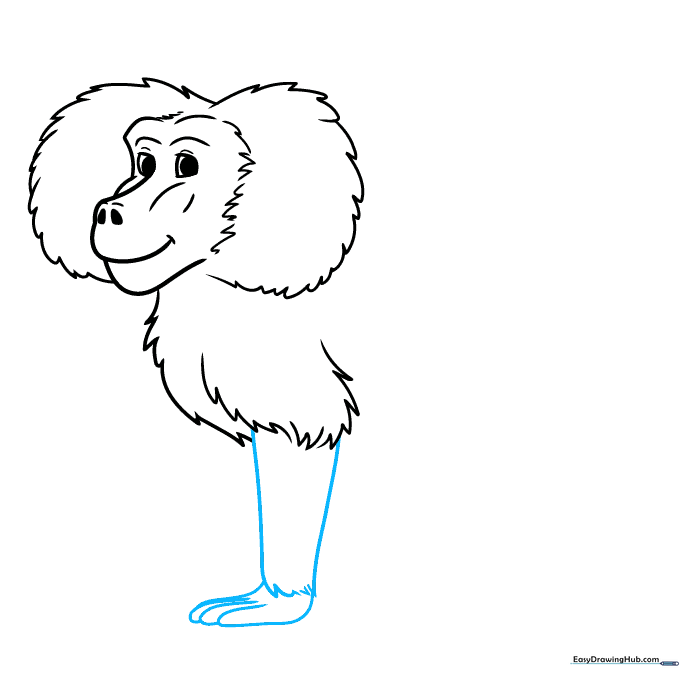
Step 6: Adding the Torso and Rear Leg
Use jagged, rhythmic lines to define the torso and the upper part of the rear leg. Teacher's Tip: Keep the lines flowing in the same direction to make the fur look consistent.
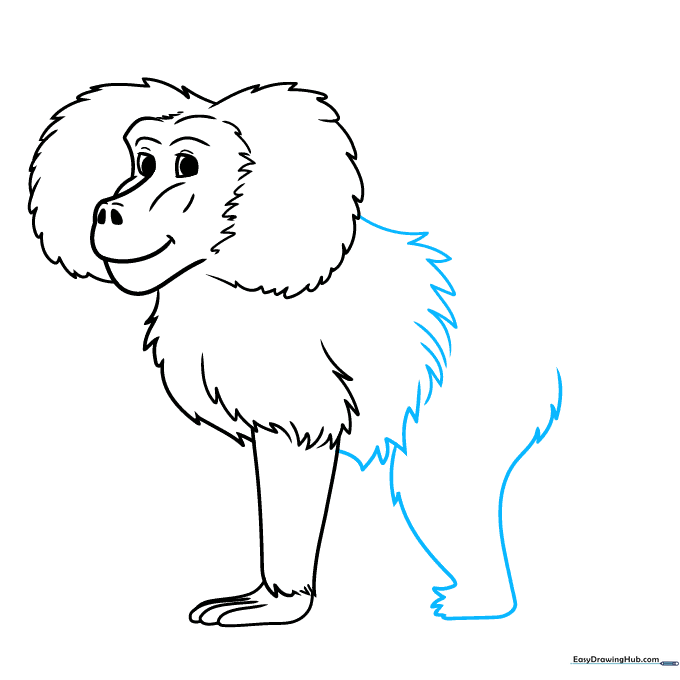
Step 7: Sketching the Second Foreleg
Draw the remaining foreleg using the same jagged technique as the first. Teacher's Tip: Ensure the paws are roughly the same size to keep your character looking balanced.
Step 8: Completing the Rear Leg
Add the final rear leg using jagged lines for the fur and overlapping curves for the paw. Teacher's Tip: If you're drawing a sitting baboon, make the leg look slightly bent to show posture.
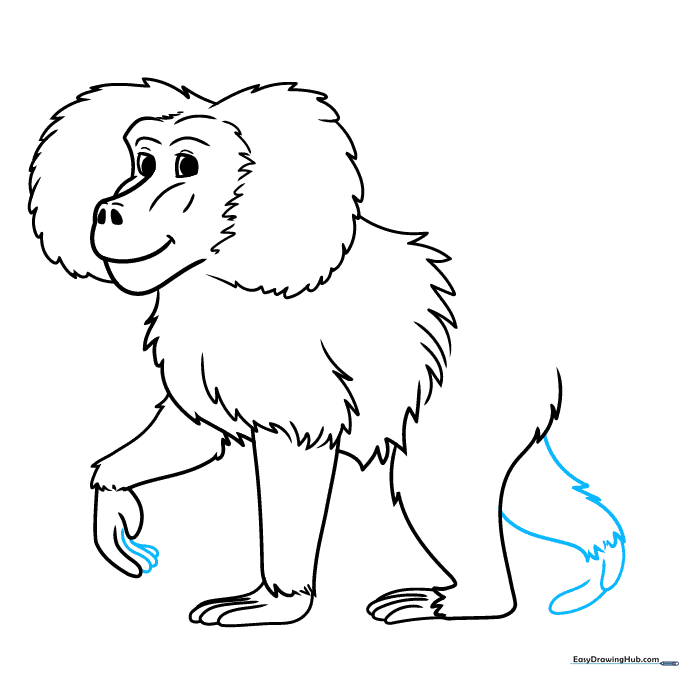
Step 9: Adding the Tail
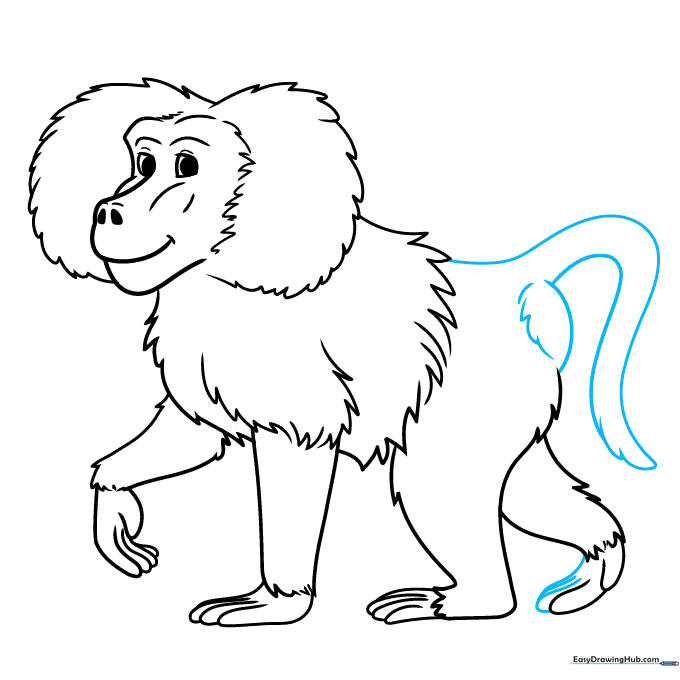
Finish the paw toes and draw a long, sweeping tail. Add a tuft of jagged fur at the tip. Teacher's Tip: A long, curved tail adds a sense of movement to your drawing!
Step 10: Bringing Your Baboon to Life with Color
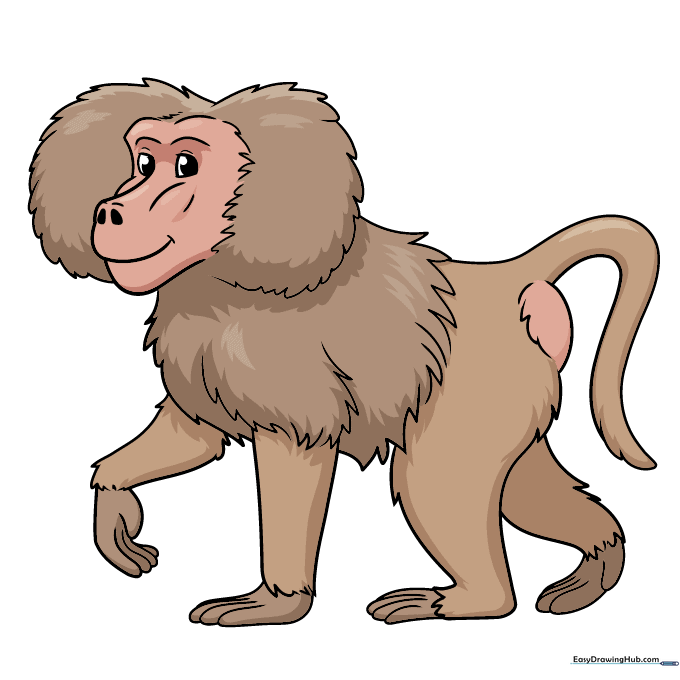
Your outline is complete! Use tan, brown, and pink tones to color your baboon. Teacher's Tip: Use light pink for the face and hands, and layer your browns to create a realistic, multi-tonal fur effect.
More Tutorials


