How to Draw 3D Shapes: Easy Step-by-Step Guide
Ready to bring your drawings to life? This tutorial is perfect for young artists and students looking to understand depth and perspective. All you need is a pencil, an eraser, and a piece of paper to start building your own 3D world.
🎯 Final Result

Step-by-Step Instructions
Step 1: Sketching the Base Square
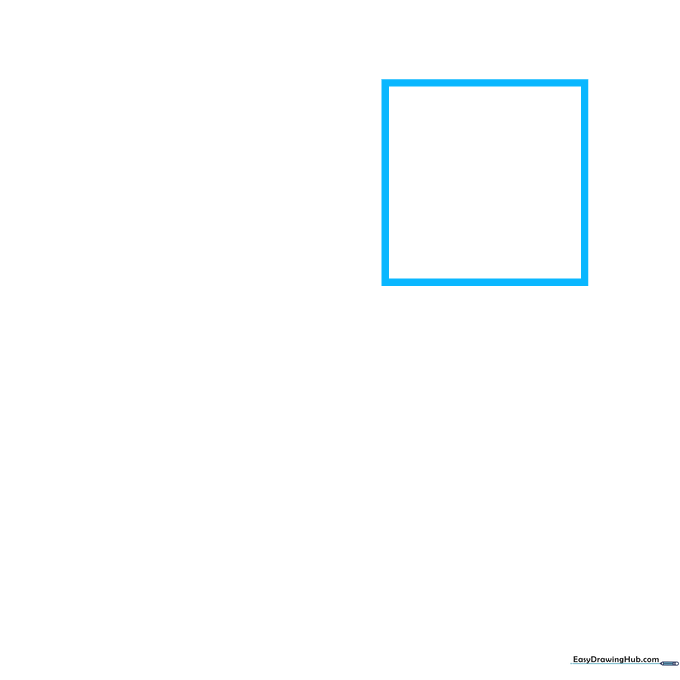
Draw a clean square using four equal straight lines. This will serve as the front face of your cube. Teacher's Tip: Use a ruler if you want perfect geometry, or practice freehand to build steady hand control!
Step 2: Adding Depth Lines
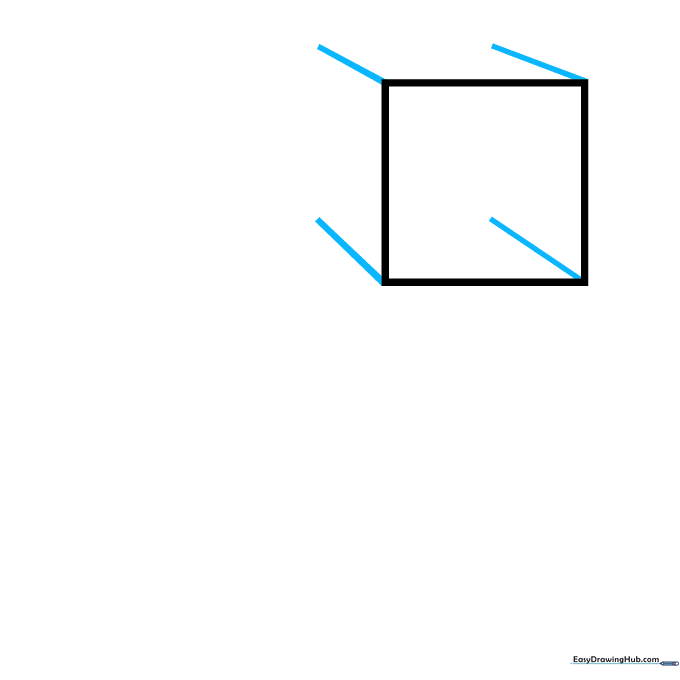
From each corner of your square, draw a short, slanted diagonal line. These lines create the illusion of depth. Teacher's Tip: Keep these lines parallel to each other so your cube doesn't look lopsided.
Step 3: Closing the Cube
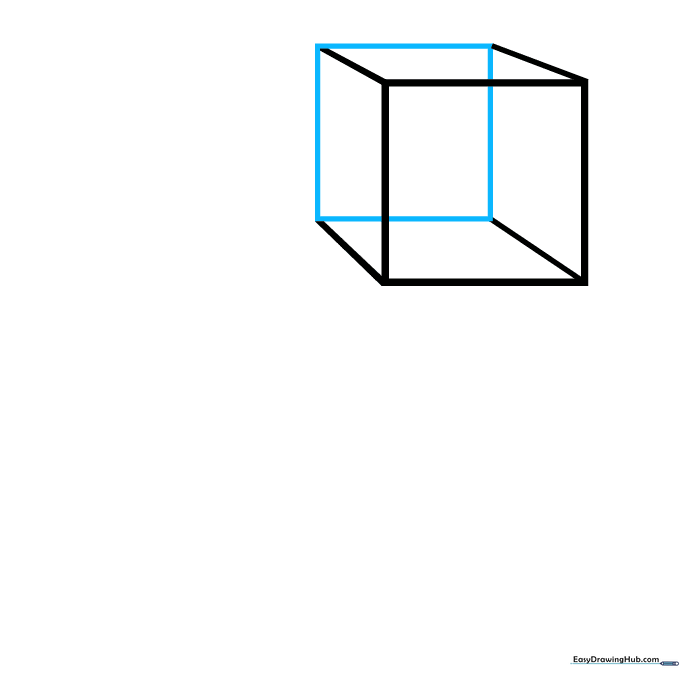
Connect the ends of your diagonal lines with four more straight lines to form a second square. Your cube is now complete! Teacher's Tip: If your lines don't meet perfectly, don't worry—just use your eraser to clean up the corners.
Step 4: Starting the Pyramid
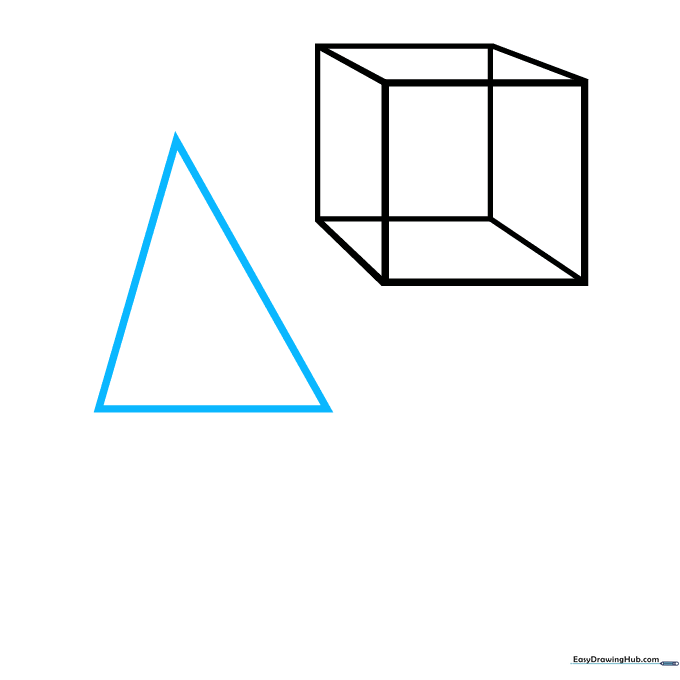
Draw a triangle using three straight lines. This will be the front face of your pyramid. Teacher's Tip: Try drawing an isosceles triangle for a balanced look.
Step 5: Defining the Base
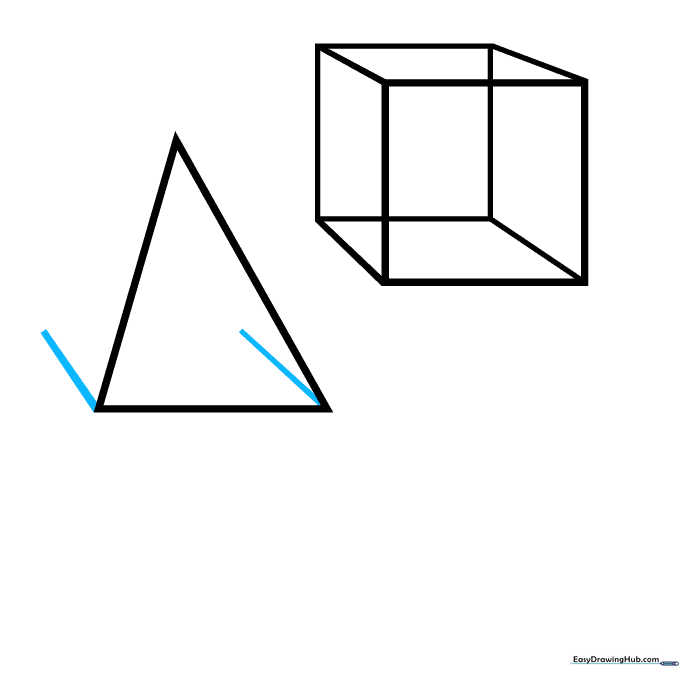
Extend straight lines from the bottom corners of your triangle to create the base. Teacher's Tip: Imagine the pyramid is sitting on a table; these lines show where it touches the surface.
Step 6: Completing the Pyramid
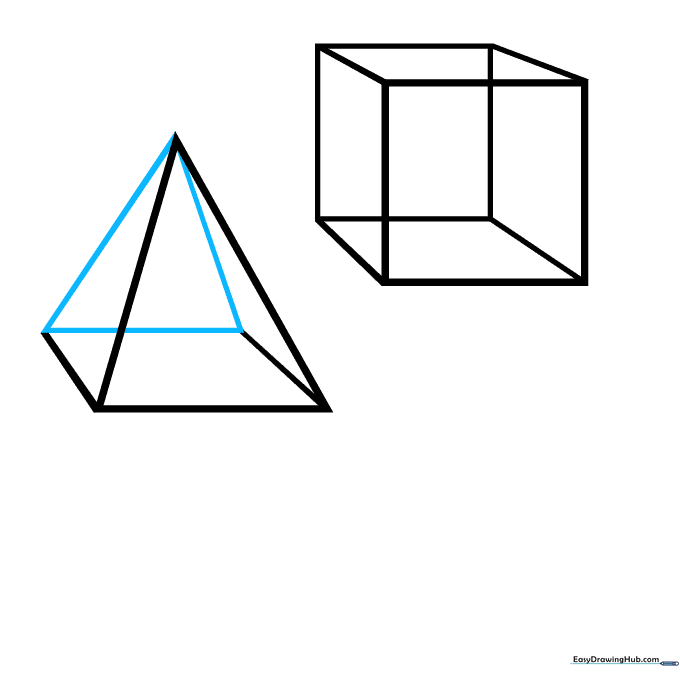
Connect the top point of your triangle to the ends of the base lines. This creates the slanted sides of the pyramid. Teacher's Tip: Keep your lines sharp to make the shape look solid.
Step 7: Drawing the Cylinder Top
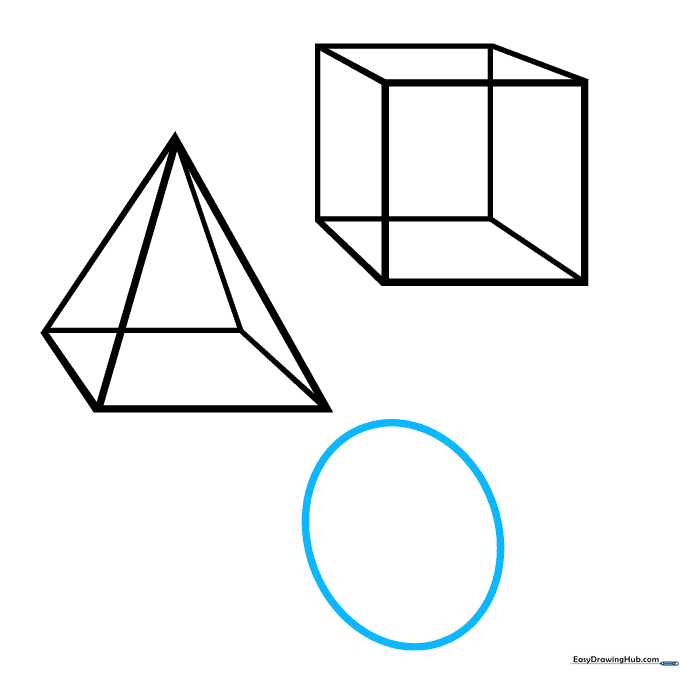
Draw a circle to represent the top of your cylinder. Teacher's Tip: If you struggle with circles, trace a small coin to get a perfect round shape every time!
Step 8: Creating the Cylinder Sides
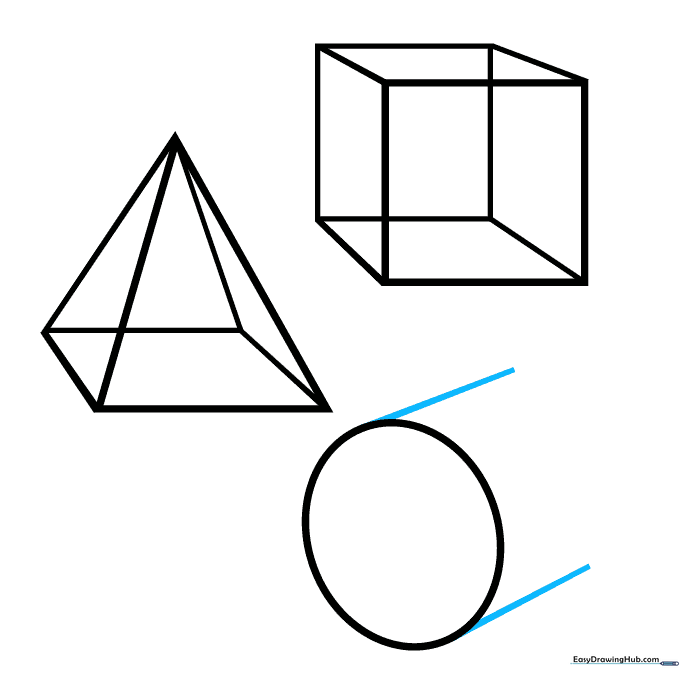
Draw two straight vertical lines down from the sides of the circle. These form the body of the cylinder. Teacher's Tip: Make sure the lines are the same length so your cylinder stands straight.
Step 9: Finishing the Cylinder
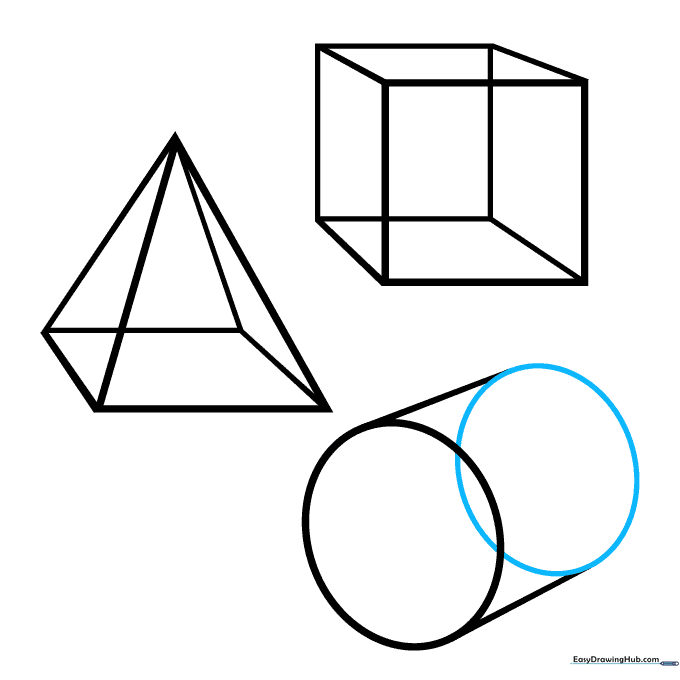
Draw a curved line at the bottom to connect the two vertical lines. This creates the base of the cylinder. Teacher's Tip: Match the curve of the bottom line to the curve of the top circle for a realistic look.
Step 10: Adding Shading
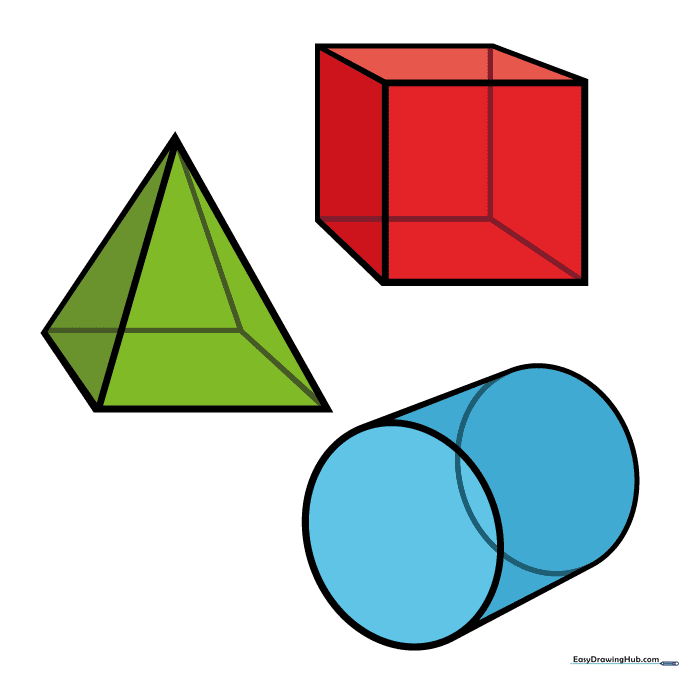
Now, bring your shapes to life with shading! Use a darker pencil stroke on one side of each shape to show where the shadow falls. Teacher's Tip: Pick one side for your 'light source' and keep all shadows on the opposite side for consistency.
More Tutorials


